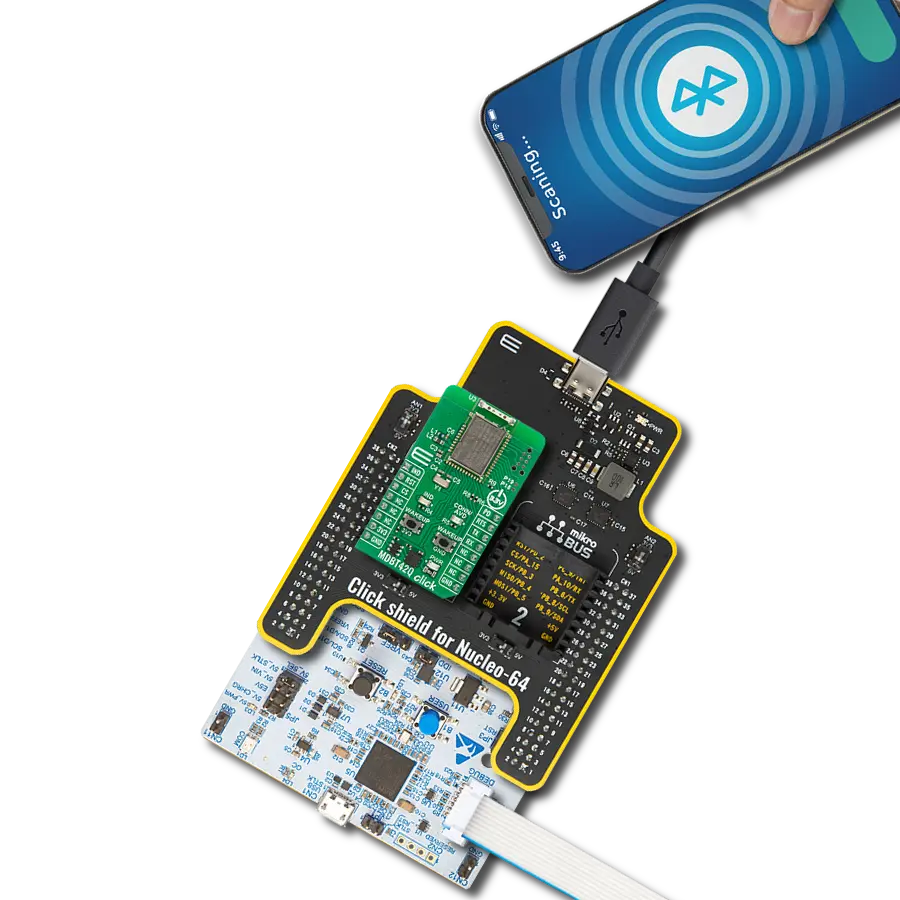
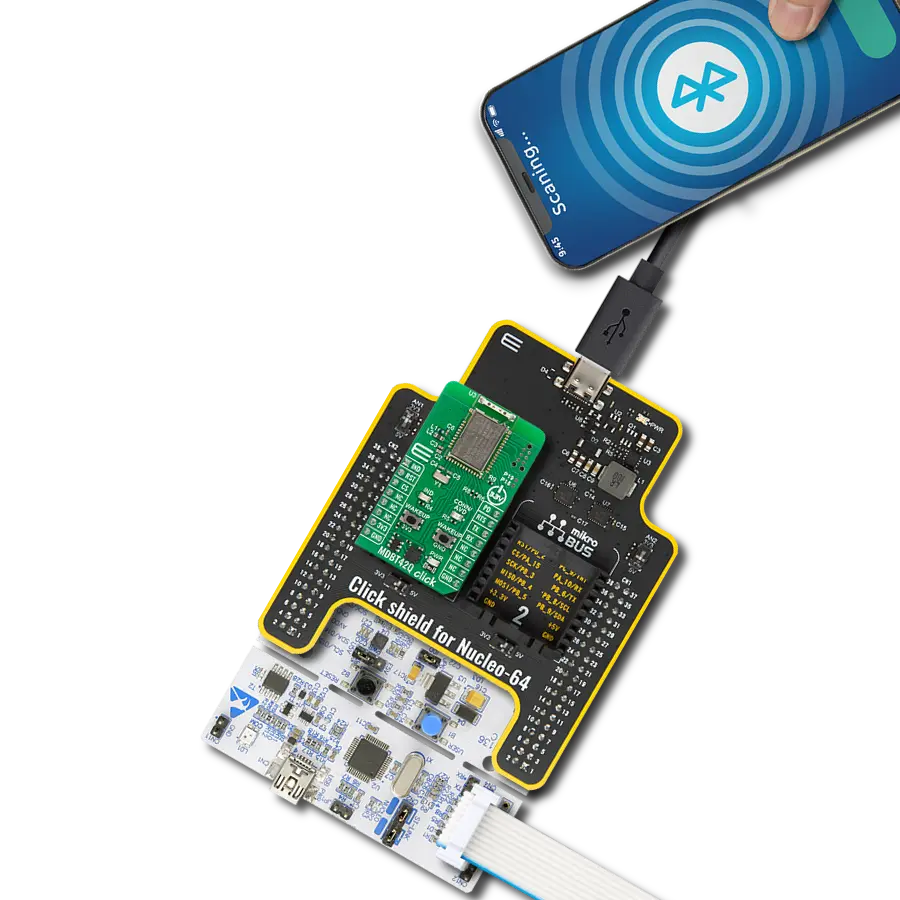
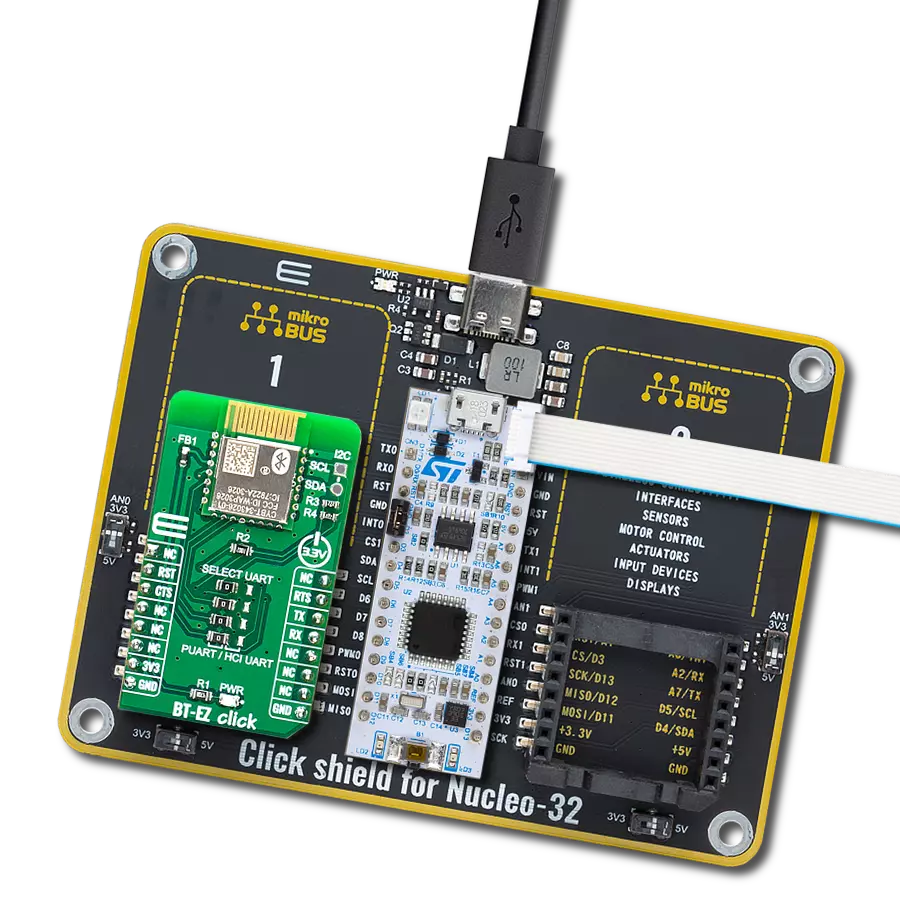
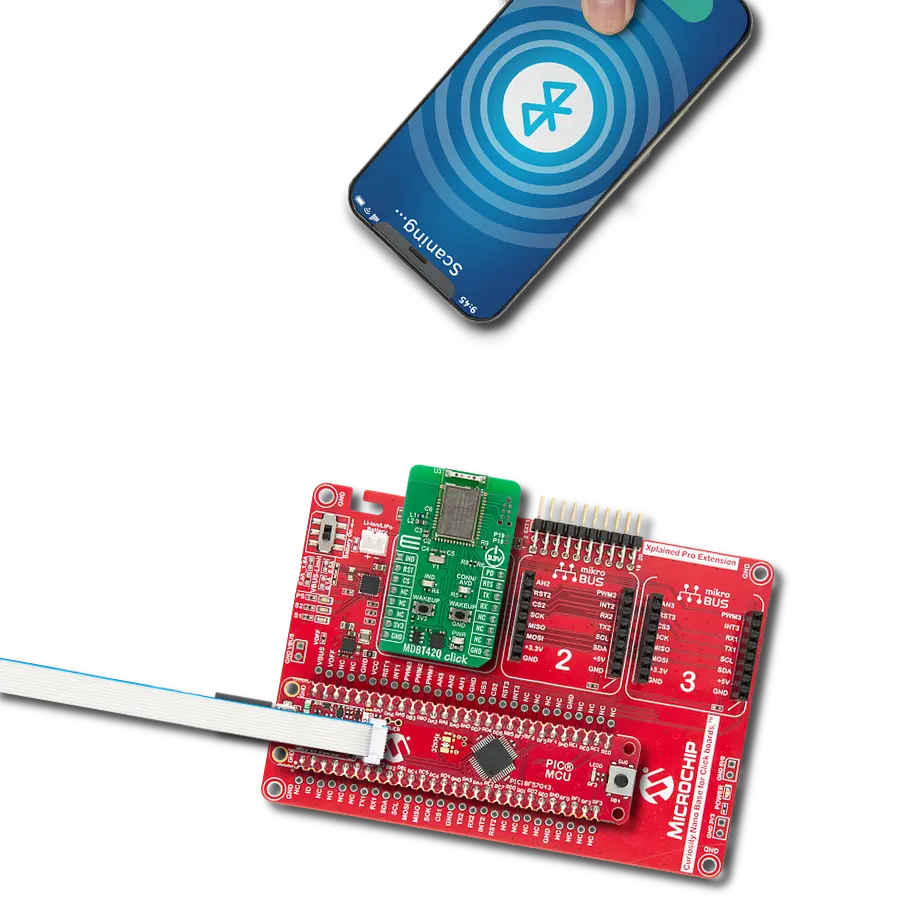
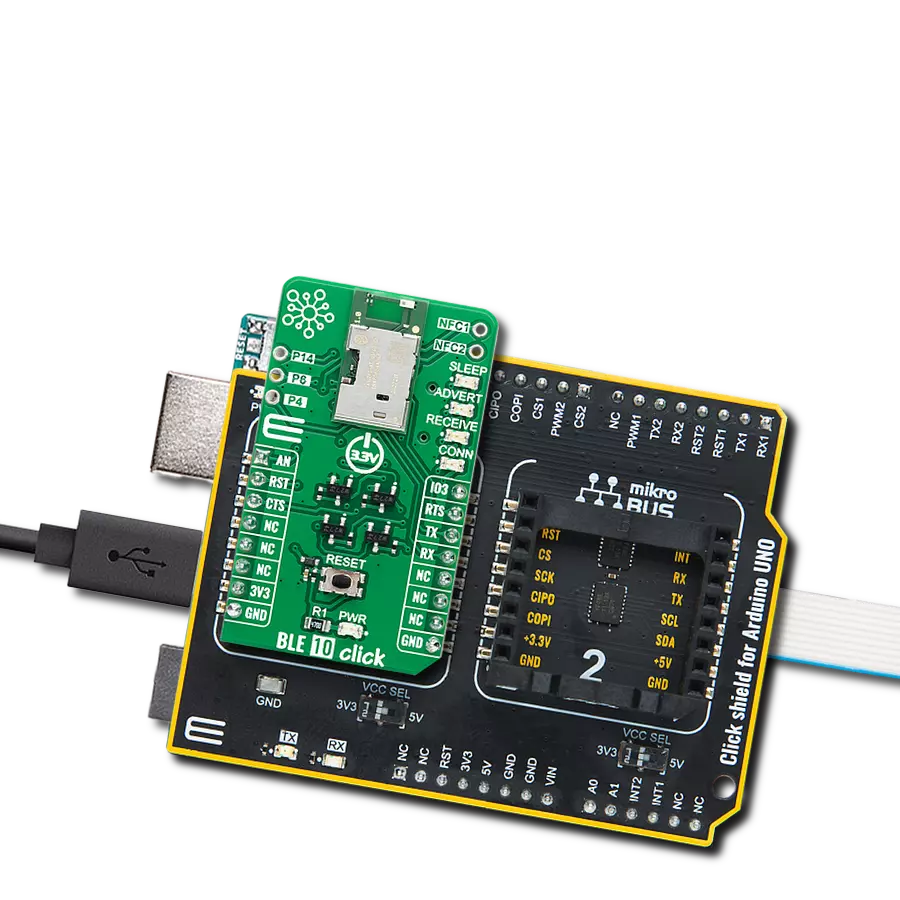
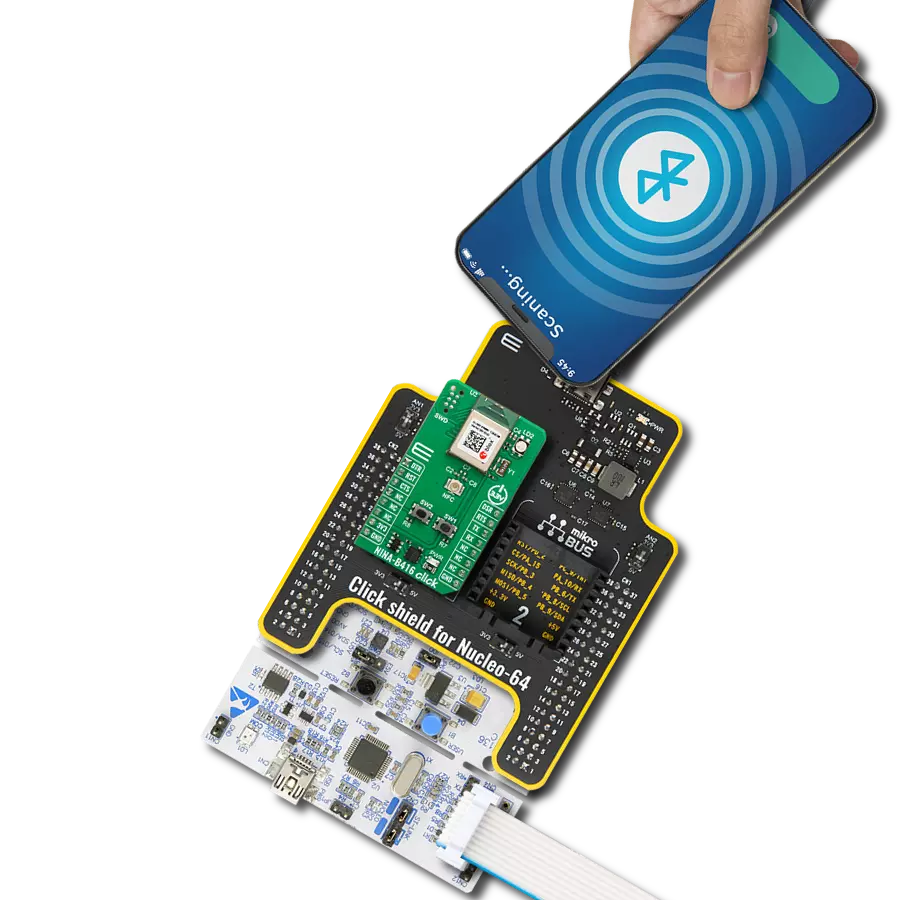
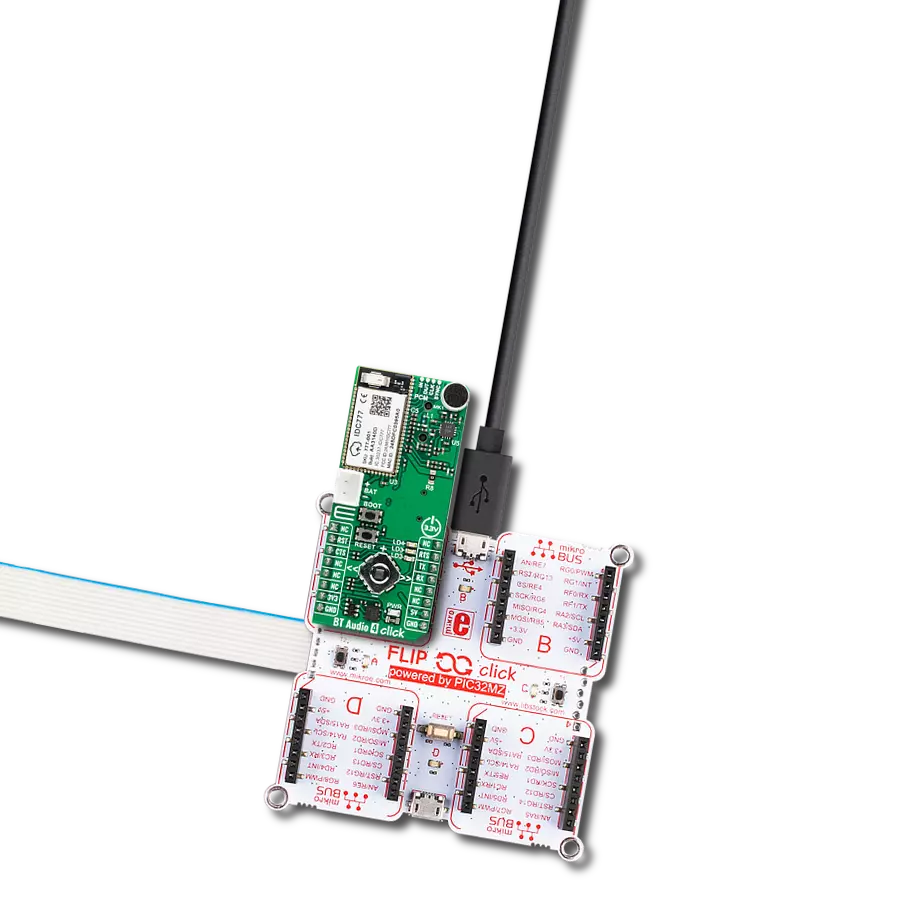
实现双模式蓝牙无线连接,用于物联网、支付系统安全、家庭自动化和工业应用
A
A
硬件概览
它是如何工作的?
BM78 Click 基于 Microchip 的 BM78,这是一款经过完全认证的 2.4GHz 蓝牙(BR/EDR/LE)无线模块。该模块旨在轻松将双模式蓝牙无线功能集成到各种项目中。BM78 以 Microchip 的 IS1678 蓝牙双模 SoC 为基础,具体为基于 ROM 的 BM78SPPX5NC2 版本。该模块包含板载蓝牙协议栈、电源管理子系统、2.4GHz 收发器和 RF 功率放大器。它支持 GAP、SDP、SPP 和 GATT 配置文件,通过透明 UART 模式实现数据传输,便于与任何具有 UART 接口的 MCU 集成。这使其非常适合将产品连接到智能手机或平板电脑,以方便数据传输、控制、云应用访问,以及物联网、安全支付系统、家庭自动化、安全、工业应用和数据记录的本地连接。BM78 Click 提供两种操作模式的灵活性:自动模式和手动模式。这些模式使用不同的状态机,可以通过在 EEPROM 内存中设置
适当的值来选择。默认情况下,BM78 模块在自动模式下工作。该板还包括一个模式选择开关,允许用户将模块设置为两种模式之一:正常运行的应用模式或更改 EEPROM 值的测试模式。当所有三个开关都处于高位置时,模块正常运行。如果只有第一个开关(1)处于低位置,则模块进入测试模式。如前所述,BM78 和主机 MCU 之间的通信通过 UART 接口进行,标准 UART RX 和 TX 引脚,以及硬件流控制引脚(CTS 和 RTS),以实现高效的数据传输。BM78 Click 还具有一个复位(RST)引脚,用于对模块进行硬复位,并在 ST1 和 ST2 引脚上提供两个状态指示器。这些引脚向主机 MCU 提供各种状态指示,例如电源开启、深状态、访问状态和连接状态指示,显示是否正在传输 UART 数据。此外,该板还包括一个 SW BT 开关,作为软件电源按钮,允许用户将 BM78
模块打开(高)或切换到深度睡眠模式(低)以降低功耗。该板还具有一个 WAKE 按钮,可将模块从睡眠模式切换到待机模式,一个可由用户配置的红色 LED 指示灯 LD2,用于指示各种状态,如待机、链接恢复、电池电量低、查询或链接,以及两个未填充的 1x3 接口,提供对 BM78 的几个 I/O 引脚的访问。这些引脚可以执行多种功能,包括低电量指示、RSSI、链接丢失、UART RX、配对键和查询控制等。此 Click board™ 以及模块本身只能在 3.3V 逻辑电压水平下运行。因此,除了通过 mikroBUS™ 插座供电外,用户还可以选择外部电池供电,通过 VCC SEL 跳线进行电源选择管理。在使用具有不同逻辑电平的 MCU 之前,必须执行适当的逻辑电压电平转换。此外,它配备了包含功能和示例代码的库,可作为进一步开发的参考。
功能概述
开发板
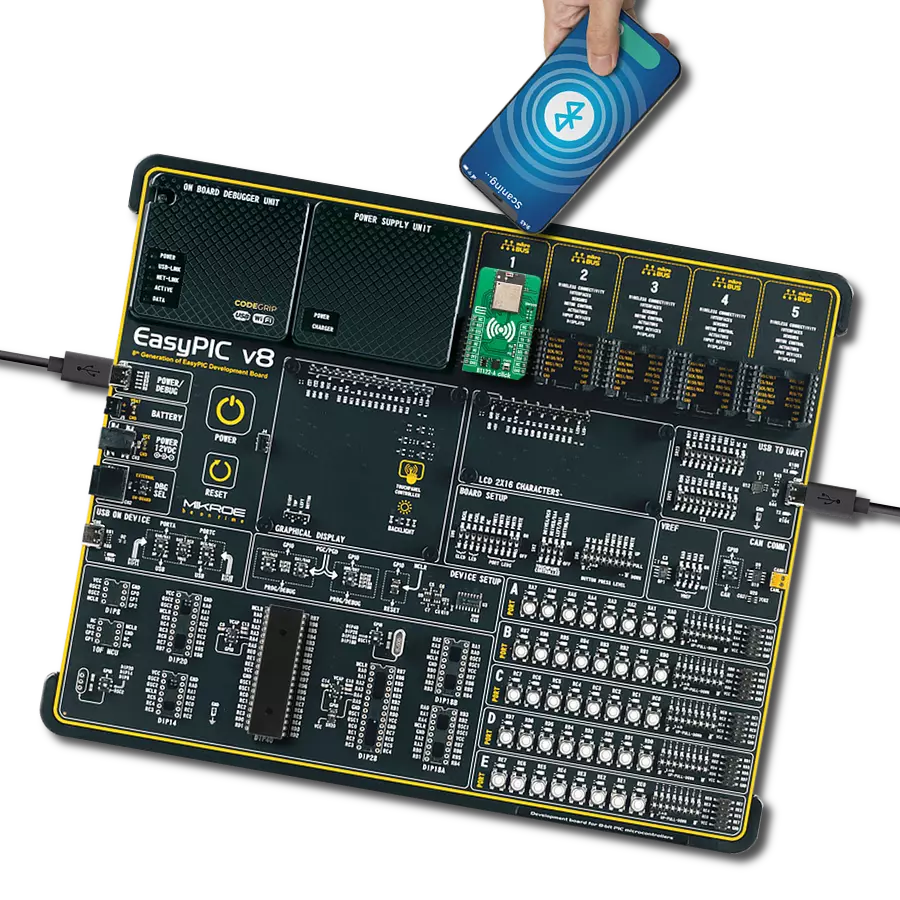
EasyPIC v8 是一款专为快速开发嵌入式应用的需求而特别设计的开发板。它支持许多高引脚计数的8位PIC微控制器,来自Microchip,无论它们的引脚数量如何,并且具有一系列独特功能,例如首次集成的调试器/程序员。开发板布局合理,设计周到,使得最终用户可以在一个地方找到所有必要的元素,如开关、按钮、指示灯、连接器等。得益于创新的制造技术,EasyPIC v8 提供了流畅而沉浸式的工作体验,允许在任何情况下、任何地方、任何时候都能访问。
EasyPIC v8 开发板的每个部分都包含了使同一板块运行最高效的必要组件。除了先进的集成CODEGRIP程 序/调试模块,该模块提供许多有价值的编程/调试选项和与Mikroe软件环境的无缝集成外,该板还包括一个干净且调节过的开发板电源供应模块。它可以使用广泛的外部电源,包括电池、外部12V电源供应和通过USB Type-C(USB-C)连接器的电源。通信选项如USB-UART、USB DEVICE和CAN也包括在内,包括 广受好评的mikroBUS™标准、两种显示选项(图形和
基于字符的LCD)和几种不同的DIP插座。这些插座覆盖了从最小的只有八个至四十个引脚的8位PIC MCU的广泛范围。EasyPIC v8 是Mikroe快速开发生态系统的一个组成部分。它由Mikroe软件工具原生支持,得益于大量不同的Click板™(超过一千块板),其数量每天都在增长,它涵盖了原型制作和开发的许多方面。
微控制器概述
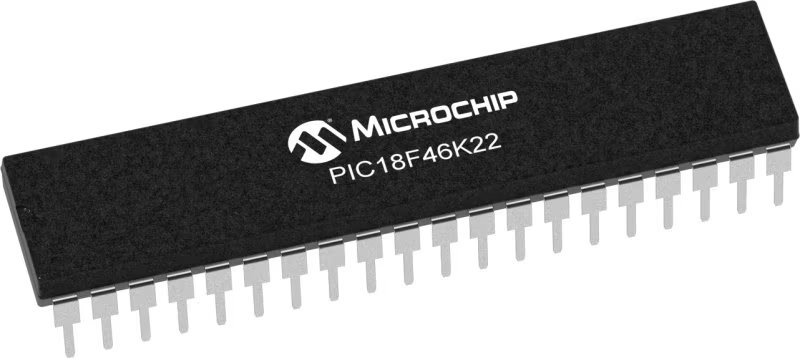
MCU卡片 / MCU
建筑
PIC
MCU 内存 (KB)
64
硅供应商
Microchip
引脚数
40
RAM (字节)
3896
使用的MCU引脚
mikroBUS™映射器
“仔细看看!”
Click board™ 原理图
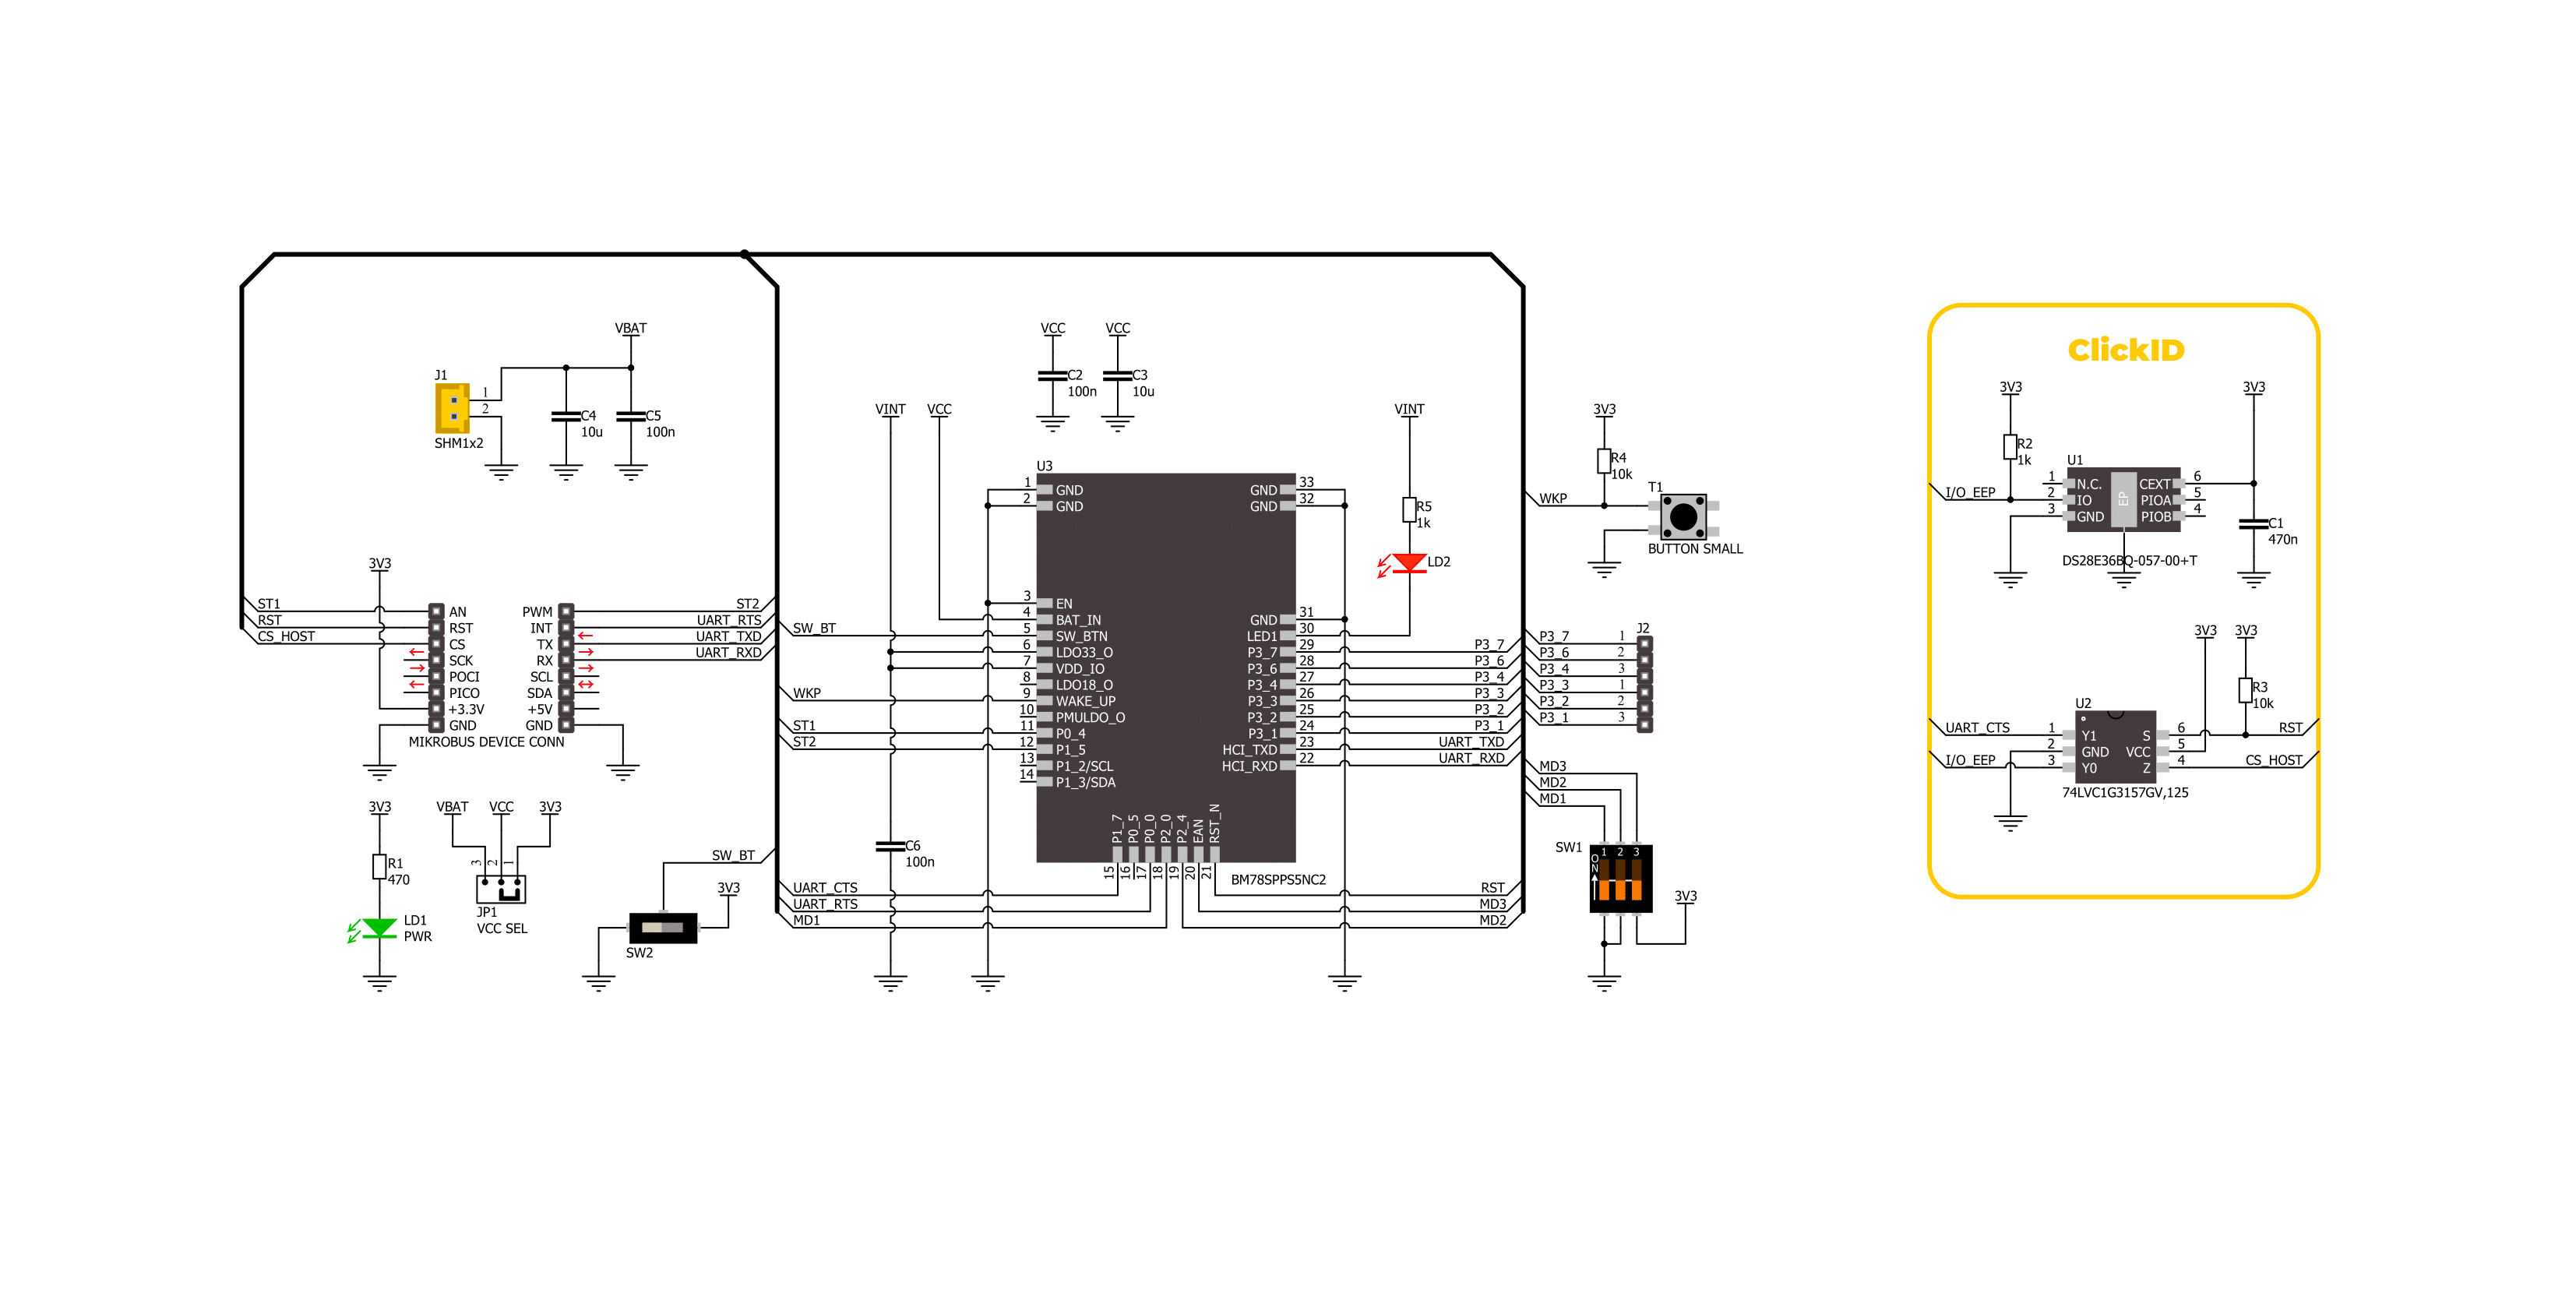
一步一步来
项目组装
软件支持
库描述
该库包含 BM78 Click 驱动程序的 API。
关键功能:
bm78_eeprom_send_cmd- 此函数通过使用UART串行接口发送特定的EEPROM命令。bm78_eeprom_write- 此函数用于将数据写入由地址参数指定的EEPROM位置。bm78_flash_eeprom- 此函数用于将默认配置写入EEPROM。
开源
代码示例
完整的应用程序代码和一个现成的项目可以通过NECTO Studio包管理器直接安装到NECTO Studio。 应用程序代码也可以在MIKROE的GitHub账户中找到。
/*!
 * @file main.c
 * @brief BM78 Click Example.
 *
 * # Description
 * This example demonstrates the use of BM78 Click board by processing
 * the incoming data and displaying them on the USB UART.
 *
 * The demo application is composed of two sections :
 *
 * ## Application Init
 * Initializes the driver and performs the Click default configuration by writing it into the EEPROM.
 *
 * ## Application Task
 * Reads and processes all incoming data from the Serial Bluetooth Terminal smartphone application and displays them on the USB UART.
 *
 * ## Additional Function
 * - static void bm78_clear_app_buf ( void )
 * - static void bm78_log_app_buf ( void )
 * - static err_t bm78_process ( bm78_t *ctx )
 *
 * @note
 * We have used the Serial Bluetooth Terminal smartphone application for the test.
 * A smartphone and the Click board must be paired in order to exchange messages with each other.
 *
 * @author Stefan Ilic
 *
 */

#include "board.h"
#include "log.h"
#include "bm78.h"

// Application buffer size
#define APP_BUFFER_SIZE             500
#define PROCESS_BUFFER_SIZE         200

static bm78_t bm78;
static log_t logger;

static uint8_t app_buf[ APP_BUFFER_SIZE ] = { 0 };
static int32_t app_buf_len = 0;

/**
 * @brief BM78 clearing application buffer.
 * @details This function clears memory of application buffer and reset its length.
 * @note None.
 */
static void bm78_clear_app_buf ( void );

/**
 * @brief BM78 log application buffer.
 * @details This function logs data from application buffer to USB UART.
 * @note None.
 */
static void bm78_log_app_buf ( void );

/**
 * @brief BM78 data reading function.
 * @details This function reads data from device and concatenates data to application buffer.
 * @param[in] ctx : Click context object.
 * See #bm78_t object definition for detailed explanation.
 * @return @li @c  0 - Read some data.
 *         @li @c -1 - Nothing is read.
 * See #err_t definition for detailed explanation.
 * @note None.
 */
static err_t bm78_process ( bm78_t *ctx );

void application_init ( void )
{
    log_cfg_t log_cfg;  /**< Logger config object. */
    bm78_cfg_t bm78_cfg;  /**< Click config object. */

    /**
     * Logger initialization.
     * Default baud rate: 115200
     * Default log level: LOG_LEVEL_DEBUG
     * @note If USB_UART_RX and USB_UART_TX
     * are defined as HAL_PIN_NC, you will
     * need to define them manually for log to work.
     * See @b LOG_MAP_USB_UART macro definition for detailed explanation.
     */
    LOG_MAP_USB_UART( log_cfg );
    log_init( &logger, &log_cfg );
    log_info( &logger, " Application Init " );

    // Click initialization.
    bm78_cfg_setup( &bm78_cfg );
    BM78_MAP_MIKROBUS( bm78_cfg, MIKROBUS_1 );
    if ( UART_ERROR == bm78_init( &bm78, &bm78_cfg ) )
    {
        log_error( &logger, " Communication init." );
        for ( ; ; );
    }
    uint8_t tmp_data[ 16 ];
    bm78_generic_read( &bm78, &tmp_data, 1 );
    Delay_ms ( 100 );

    log_printf( &logger, " = = = = = = = = = = = = = = = = = \r\n" );
    log_printf( &logger, " Place Click into Write EEPROM mode \r\n" );
    log_printf( &logger, " By setting MODE SEL in the following configuration \r\n" );
    log_printf( &logger, "         | 1 | 2 | 3 |             \r\n" );
    log_printf( &logger, "         | H | L | L |             \r\n" );
    log_printf( &logger, " = = = = = = = = = = = = = = = = = \r\n" );
    log_printf( &logger, " Send YES once you placed Click into Write EEPROM mode \r\n" );
    #define WANTED_ANSWER "YES/r/n"
    log_printf( &logger, " = = = = = = = = = = = = = = = = = \r\n" );
    while ( 1 )
    {
        log_read( &logger, &tmp_data, 5 );

        if ( 0 == strstr ( WANTED_ANSWER, tmp_data ) )
        {
            break;
        }
        else
        {
            log_printf( &logger, " Send YES once you placed Click into Write EEPROM mode \r\n" );
        }
    }
    bm78_hw_reset( &bm78 );
    log_printf( &logger, " Writing into the EEPROM \r\n" );
    if ( BM78_ERROR == bm78_flash_eeprom ( &bm78 ) )
    {
        log_error( &logger, " EEPROM Flash failed. " );
        log_printf( &logger, " Check Selected Click mode. \r\n" );
        for ( ; ; );
    }

    log_printf( &logger, " = = = = = = = = = = = = = = = = = \r\n" );
    log_printf( &logger, " Place Click into Application mode \r\n" );
    log_printf( &logger, " By setting MODE SEL in the following configuration \r\n" );
    log_printf( &logger, "         | 1 | 2 | 3 |             \r\n" );
    log_printf( &logger, "         | L | L | L |             \r\n" );
    log_printf( &logger, " = = = = = = = = = = = = = = = = = \r\n" );
    log_printf( &logger, " Send YES once you placed Click into Application mode \r\n" );
    log_printf( &logger, " = = = = = = = = = = = = = = = = = \r\n" );
    while ( 1 )
    {
        log_read( &logger, &tmp_data, 5 );

        if ( 0 == strstr ( WANTED_ANSWER, tmp_data ) )
        {
            break;
        }
        else
        {
            log_printf( &logger, " Send YES once you placed Click into Application mode \r\n" );
        }
    }
    bm78_hw_reset( &bm78 );

    log_info( &logger, " Application Task " );
    log_printf( &logger, " Connect to the device using the Serial Bluetooth Terminal App \r\n\r\n" );
}

void application_task ( void )
{
    if ( BM78_OK == bm78_process( &bm78 ) )
    {
        bm78_log_app_buf( );
        bm78_clear_app_buf( );
    }
}

int main ( void )
{
    /* Do not remove this line or clock might not be set correctly. */
    #ifdef PREINIT_SUPPORTED
    preinit();
    #endif

    application_init( );

    for ( ; ; )
    {
        application_task( );
    }

    return 0;
}

static void bm78_clear_app_buf ( void )
{
    memset( app_buf, 0, app_buf_len );
    app_buf_len = 0;
}

static void bm78_log_app_buf ( void )
{
    for ( int32_t buf_cnt = 0; buf_cnt < app_buf_len; buf_cnt++ )
    {
        log_printf( &logger, "%c", app_buf[ buf_cnt ] );
    }
}

static err_t bm78_process ( bm78_t *ctx )
{
    uint8_t rx_buf[ PROCESS_BUFFER_SIZE ] = { 0 };
    int32_t overflow_bytes = 0;
    int32_t rx_cnt = 0;
    int32_t rx_size = bm78_generic_read( ctx, rx_buf, PROCESS_BUFFER_SIZE );
    if ( ( rx_size > 0 ) && ( rx_size <= APP_BUFFER_SIZE ) )
    {
        if ( ( app_buf_len + rx_size ) > APP_BUFFER_SIZE )
        {
            overflow_bytes = ( app_buf_len + rx_size ) - APP_BUFFER_SIZE;
            app_buf_len = APP_BUFFER_SIZE - rx_size;
            memmove ( app_buf, &app_buf[ overflow_bytes ], app_buf_len );
            memset ( &app_buf[ app_buf_len ], 0, overflow_bytes );
        }
        for ( rx_cnt = 0; rx_cnt < rx_size; rx_cnt++ )
        {
            if ( rx_buf[ rx_cnt ] )
            {
                app_buf[ app_buf_len++ ] = rx_buf[ rx_cnt ];
            }
        }
        return BM78_OK;
    }
    return BM78_ERROR;
}

// ------------------------------------------------------------------------ END


