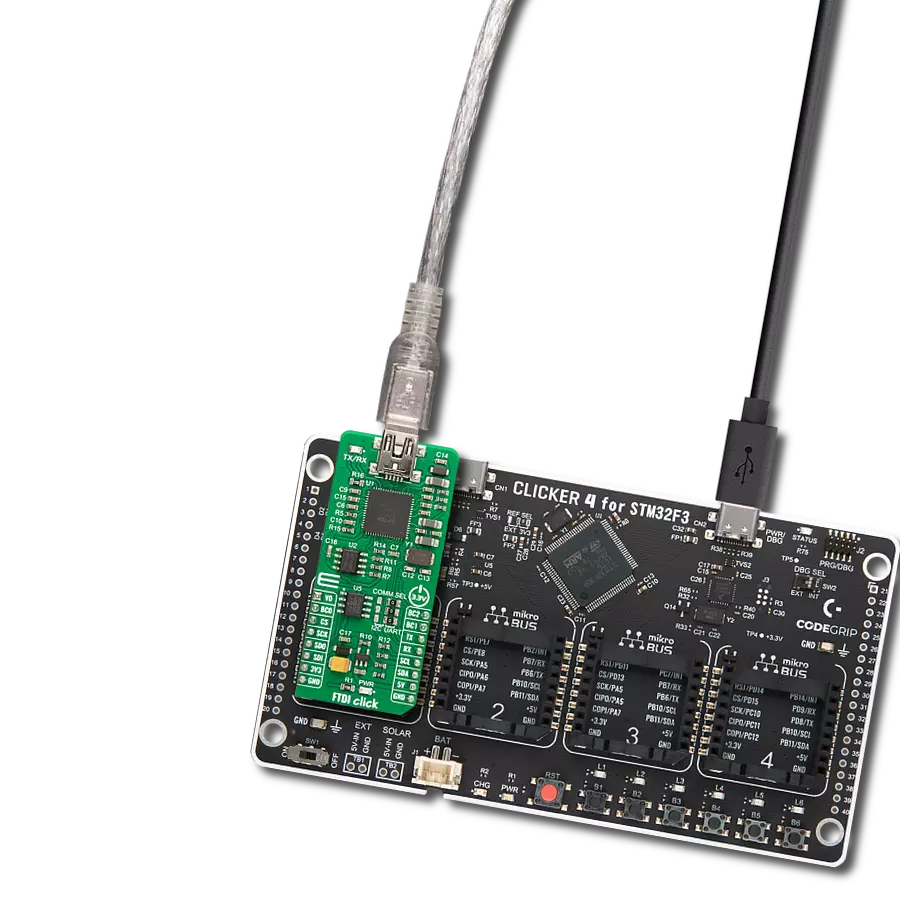
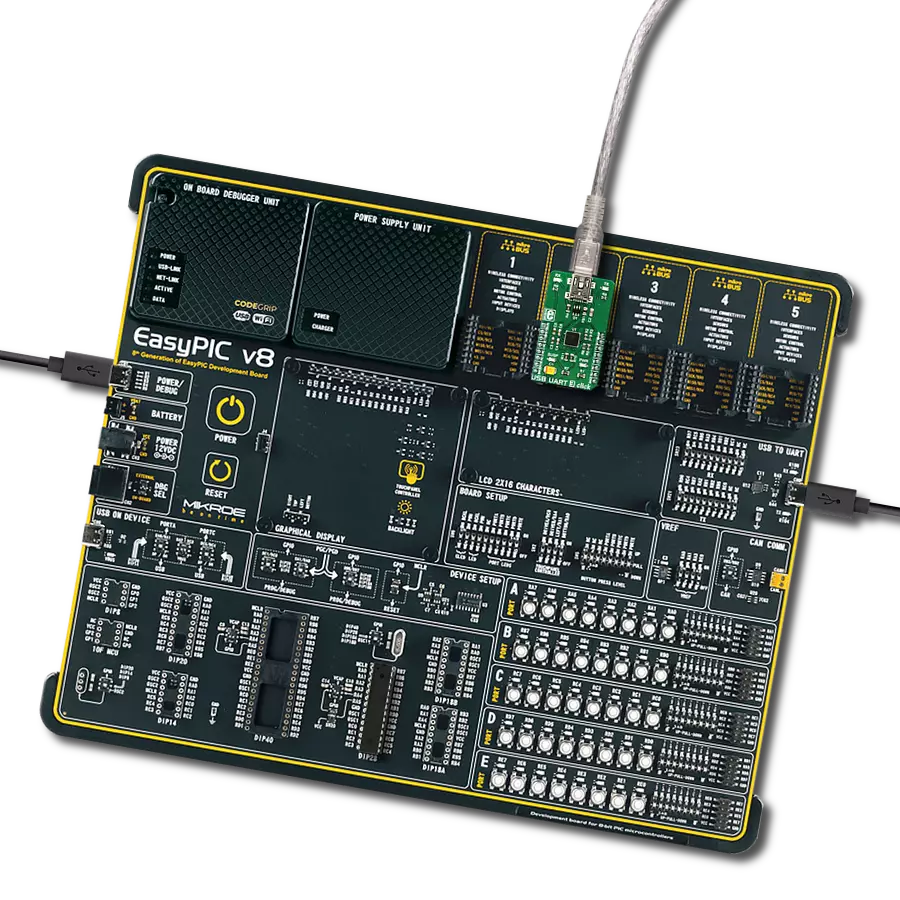
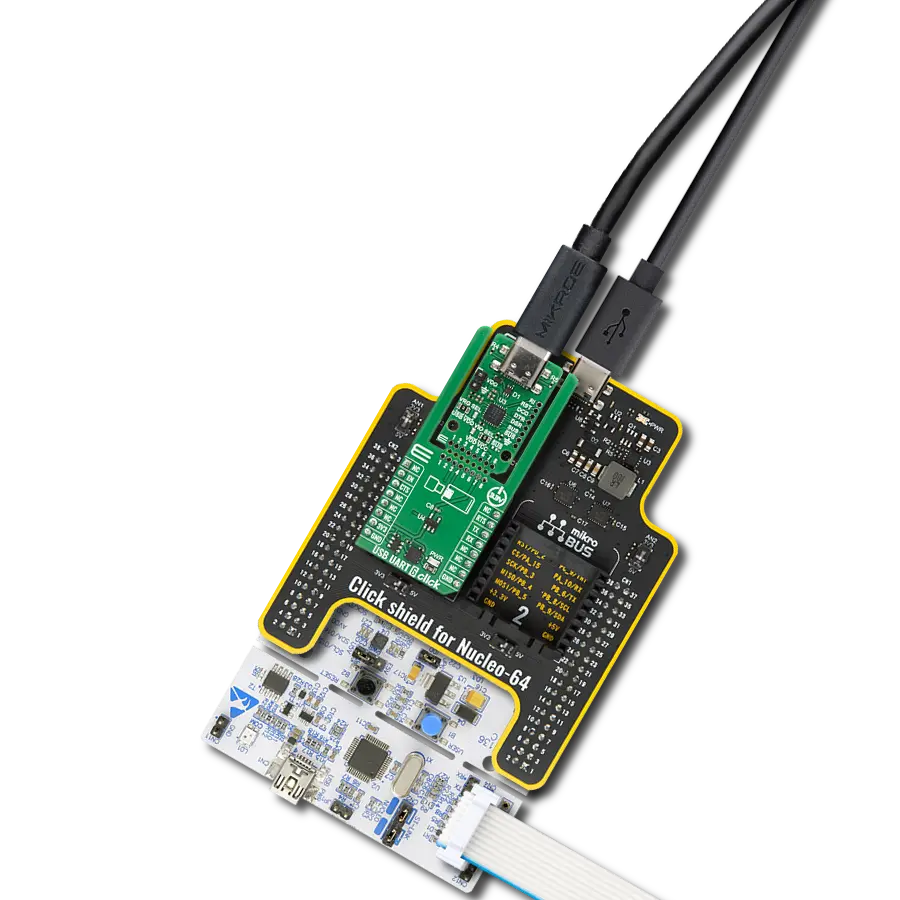
多路复用差分输出从未如此简单——您可以在 USB 主机的两个相应输出之间进行选择,或轻松合并来自两个不同主机的输出,以增强多功能性。
A
A
硬件概览
它是如何工作的?
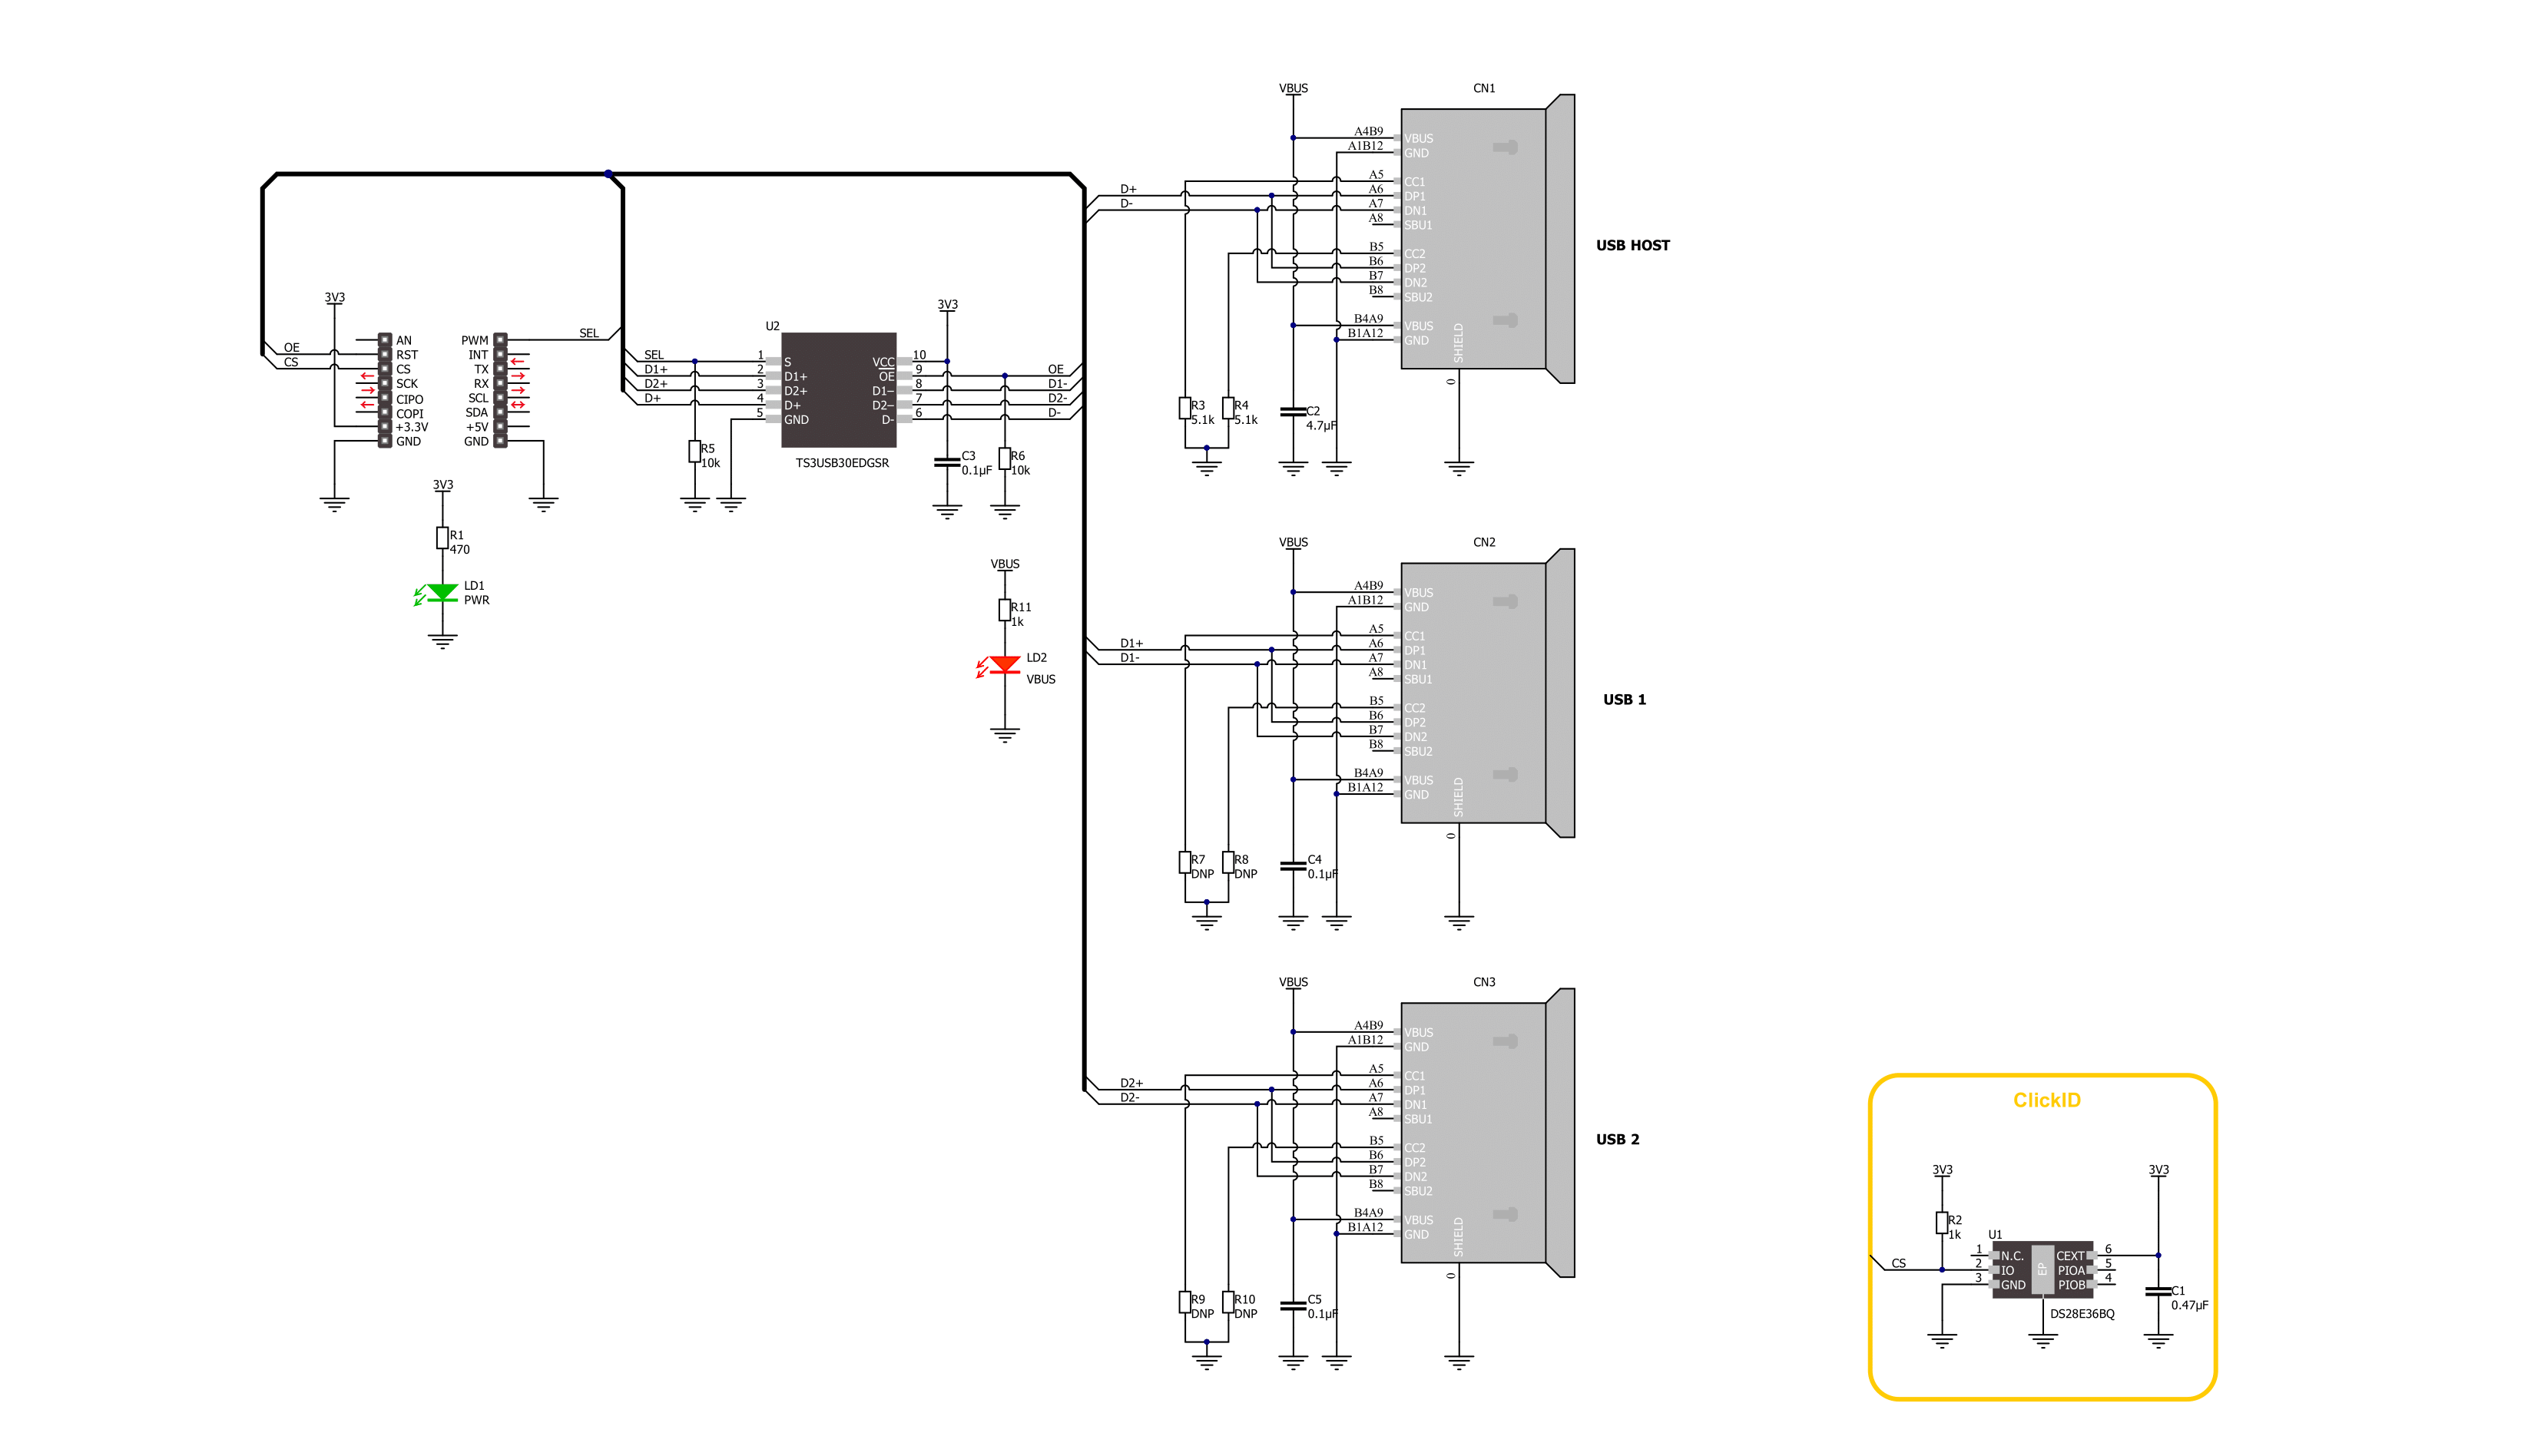
USB MUX Click 基于德州仪器的 TS3USB30E,这是一款带单使能功能的 USB 2.0 1:2 多路复用/解复用开关。它是一款具备 ESD 保护的设备,能够双向切换高速 USB 2.0 信号,同时在输出时几乎没有或没有信号衰减。除了 ESD 保护外,TS3USB30E 还提供低位到位偏移和高通道间噪声隔离。此外,除了兼容 USB 2.0 标准外,它还兼容 USB 1.1 标准。TS3USB30E 的最大速度为 480Mbps(USB
2.0)。USB MUX Click 使用几个 GPIO 与主 MCU 通信。OE 总线开关使能引脚允许用户在不使用时隔离总线,从而消耗更少的电流。当在 OE 引脚上设置低逻辑电平时,可以将其与 SEL 引脚结合使用,选择两条 USB 信号路径中的一条并将其连接到公共 USB 信号路径,低逻辑电平连接到 USB1,高逻辑电平连接到 USB2。默认情况下,USB1 通过下拉电阻 R5 和 R6 设置,这将 OE 和 SEL 线都置于低逻
辑状态。此外,如果有供电的 USB 设备连接到 USB MUX Click,VBUS LED 将指示连接状态。此 Click board™ 只能在 3.3V 逻辑电压水平下运行。使用具有不同逻辑电平的 MCU 之前,板必须执行适当的逻辑电压电平转换。此外,它配备了包含易于使用的函数和示例代码的库,可用于进一步开发。
功能概述
开发板
Curiosity PIC32 MZ EF 开发板是一个完全集成的 32 位开发平台,特点是高性能的 PIC32MZ EF 系列(PIC32MZ2048EFM),该系列具有 2MB Flash、512KB RAM、集成的浮点单元(FPU)、加密加速器和出色的连接选项。它包括一个集成的程序员和调试器,无需额外硬件。用户可以通过 MIKROE
mikroBUS™ Click™ 适配器板扩展功能,通过 Microchip PHY 女儿板添加以太网连接功能,使用 Microchip 扩展板添加 WiFi 连接能力,并通过 Microchip 音频女儿板添加音频输入和输出功能。这些板完全集成到 PIC32 强大的软件框架 MPLAB Harmony 中,该框架提供了一个灵活且模块化的接口
来应用开发、一套丰富的互操作软件堆栈(TCP-IP、USB)和易于使用的功能。Curiosity PIC32 MZ EF 开发板提供了扩展能力,使其成为连接性、物联网和通用应用中快速原型设计的绝佳选择。
微控制器概述
MCU卡片 / MCU
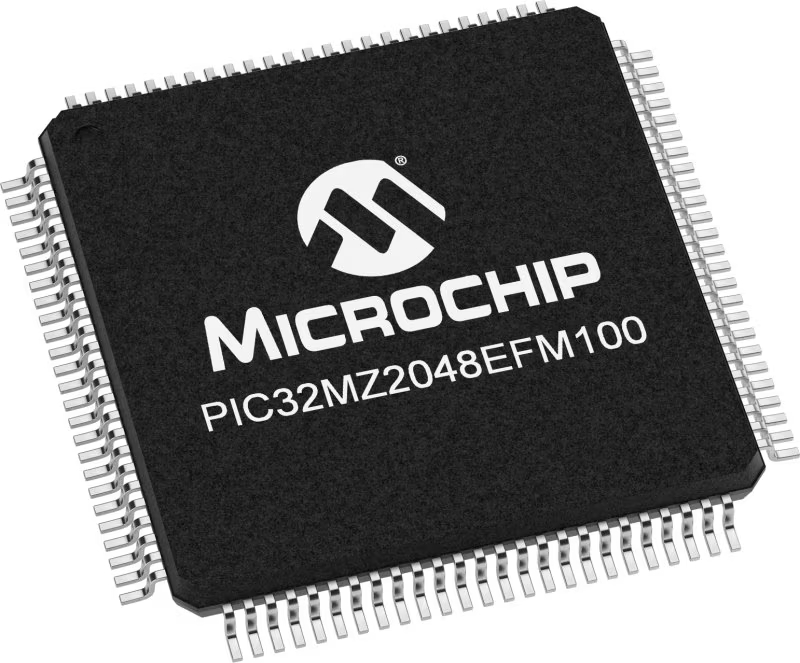
建筑
PIC32
MCU 内存 (KB)
2048
硅供应商
Microchip
引脚数
100
RAM (字节)
524288
使用的MCU引脚
mikroBUS™映射器
“仔细看看!”
Click board™ 原理图
一步一步来
项目组装
软件支持
库描述
该库包含 USB MUX Click 驱动程序的 API。
关键功能:
usbmux_set_oe_pin- USB MUX 设置 OE 引脚输出功能。usbmux_enable_output- USB MUX 启用输出功能。usbmux_set_output- USB MUX 选择输出功能。
开源
代码示例
完整的应用程序代码和一个现成的项目可以通过NECTO Studio包管理器直接安装到NECTO Studio。 应用程序代码也可以在MIKROE的GitHub账户中找到。
/*!
 * @file main.c
 * @brief USB MUX Click Example.
 *
 * # Description
 * This example demonstrates the use of the USB MUX Click board.
 * This driver provides functions for device configurations
 * and for the selection of the output.
 *
 * The demo application is composed of two sections :
 *
 * ## Application Init
 * Initialization of the log UART, performing default configuration which disables the output.
 *
 * ## Application Task
 * Reading user input from UART Terminal and using it for the selection of the output of
 * disabling output of the USB MUX Click board.
 *
 * @author Stefan Ilic
 *
 */

#include "board.h"
#include "log.h"
#include "usbmux.h"

static usbmux_t usbmux;   /**< USB MUX Click driver object. */
static log_t logger;    /**< Logger object. */

/**
 * @brief Display possible selection function.
 * @details This function is used to display possible selections for the user input.
 * @return Nothing.
 * @note None.
 */
static void display_selection ( void );

void application_init ( void )
{
    log_cfg_t log_cfg;  /**< Logger config object. */
    usbmux_cfg_t usbmux_cfg;  /**< Click config object. */

    /**
     * Logger initialization.
     * Default baud rate: 115200
     * Default log level: LOG_LEVEL_DEBUG
     * @note If USB_UART_RX and USB_UART_TX
     * are defined as HAL_PIN_NC, you will
     * need to define them manually for log to work.
     * See @b LOG_MAP_USB_UART macro definition for detailed explanation.
     */
    LOG_MAP_USB_UART( log_cfg );
    log_init( &logger, &log_cfg );
    log_info( &logger, " Application Init " );

    // Click initialization.
    usbmux_cfg_setup( &usbmux_cfg );
    USBMUX_MAP_MIKROBUS( usbmux_cfg, MIKROBUS_1 );
    if ( DIGITAL_OUT_UNSUPPORTED_PIN == usbmux_init( &usbmux, &usbmux_cfg ) )
    {
        log_error( &logger, " Communication init." );
        for ( ; ; );
    }

    usbmux_default_cfg( &usbmux );

    log_info( &logger, " Application Task " );
    display_selection( );
}

void application_task ( void )
{
    static char index;

    if ( 1 == log_read( &logger, &index, 1 ) )
    {
        switch ( index )
        {
            case ( '0' ):
            {
                log_printf( &logger, " Turning output off. \r\n" );
                usbmux_disable_output( &usbmux );
                break;
            }
            case ( '1' ):
            {
                log_printf( &logger, " USB1 Enabled and selected. \r\n" );
                usbmux_set_output( &usbmux, USBMUX_USB1_SELECT );
                usbmux_enable_output( &usbmux );
                break;
            }
            case ( '2' ):
            {
                log_printf( &logger, " USB2 Enabled and selected. \r\n" );
                usbmux_set_output( &usbmux, USBMUX_USB2_SELECT );
                usbmux_enable_output( &usbmux );
                break;
            }
            default:
            {
                display_selection( );
            }
        }
    }
}

int main ( void )
{
    /* Do not remove this line or clock might not be set correctly. */
    #ifdef PREINIT_SUPPORTED
    preinit();
    #endif

    application_init( );

    for ( ; ; )
    {
        application_task( );
    }

    return 0;
}

static void display_selection ( void )
{
    log_printf( &logger, "  To select USB output settings  \r\n" );
    log_printf( &logger, "  Send one of the numbers: \r\n" );
    log_printf( &logger, "- - - - - - - - - - - - - -\r\n" );
    log_printf( &logger, " '0' - Turn off output  \r\n" );
    log_printf( &logger, " '1' - Enable and select USB1 \r\n" );
    log_printf( &logger, " '2' - Enable and select USB2  \r\n" );
    log_printf( &logger, "---------------------------\r\n" );
}

// ------------------------------------------------------------------------ END


