使用eINK显示屏和STM32F031K6创造、指挥和创新如从未有过
MCU和eINK——完美的共生关系

已发布 10月 01, 2024
点击板
eINK Click
开发板
Nucleo 32 with STM32F031K6 MCU
编译器
NECTO Studio
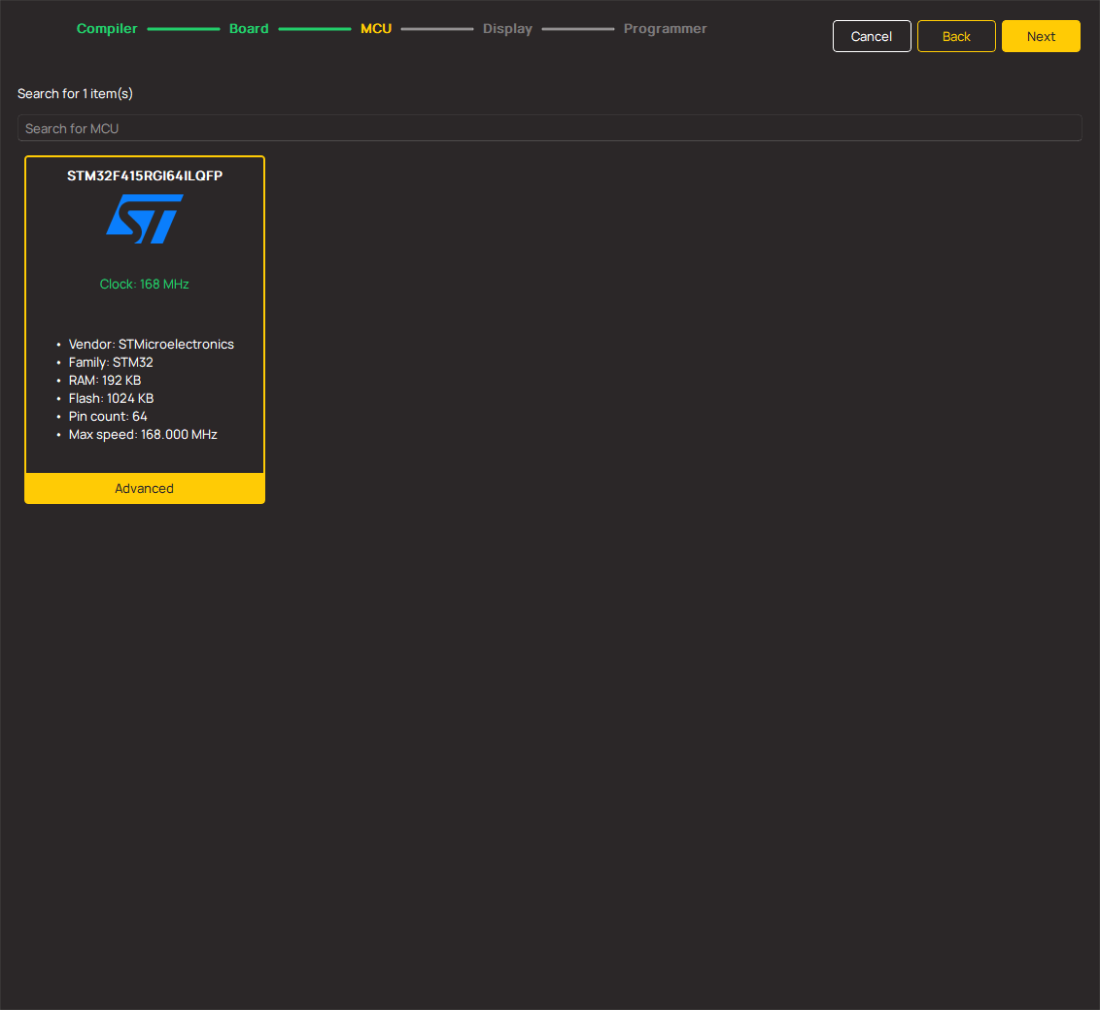
微控制器单元
STM32F031K6
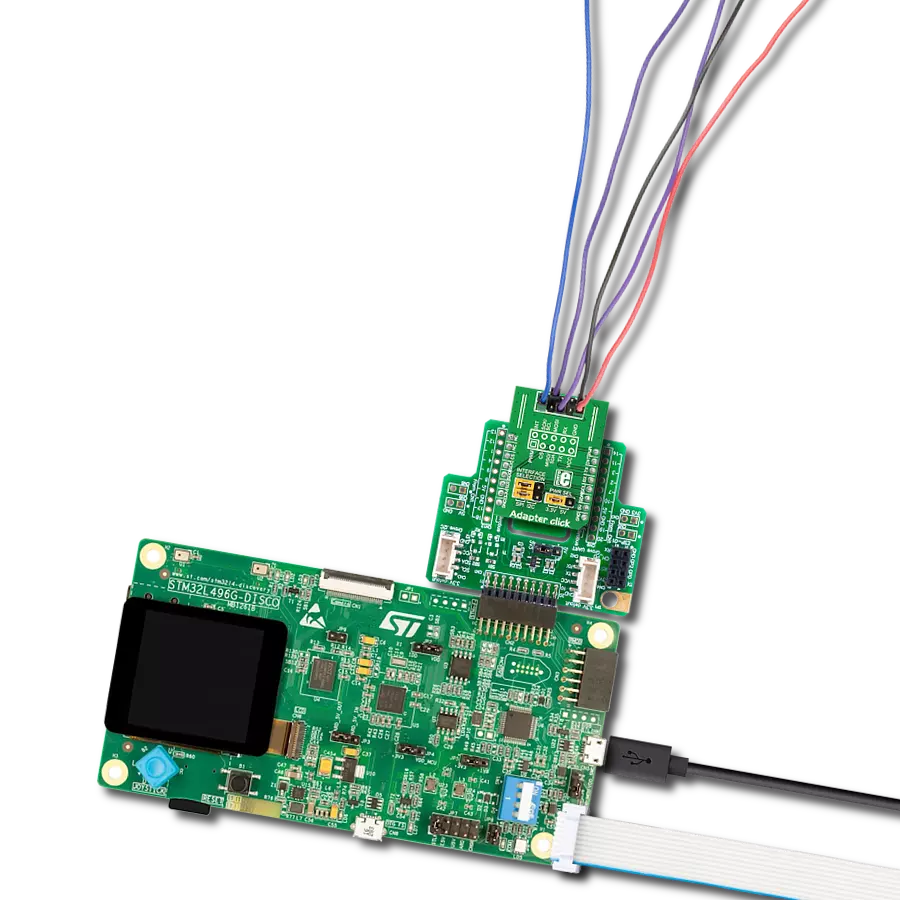
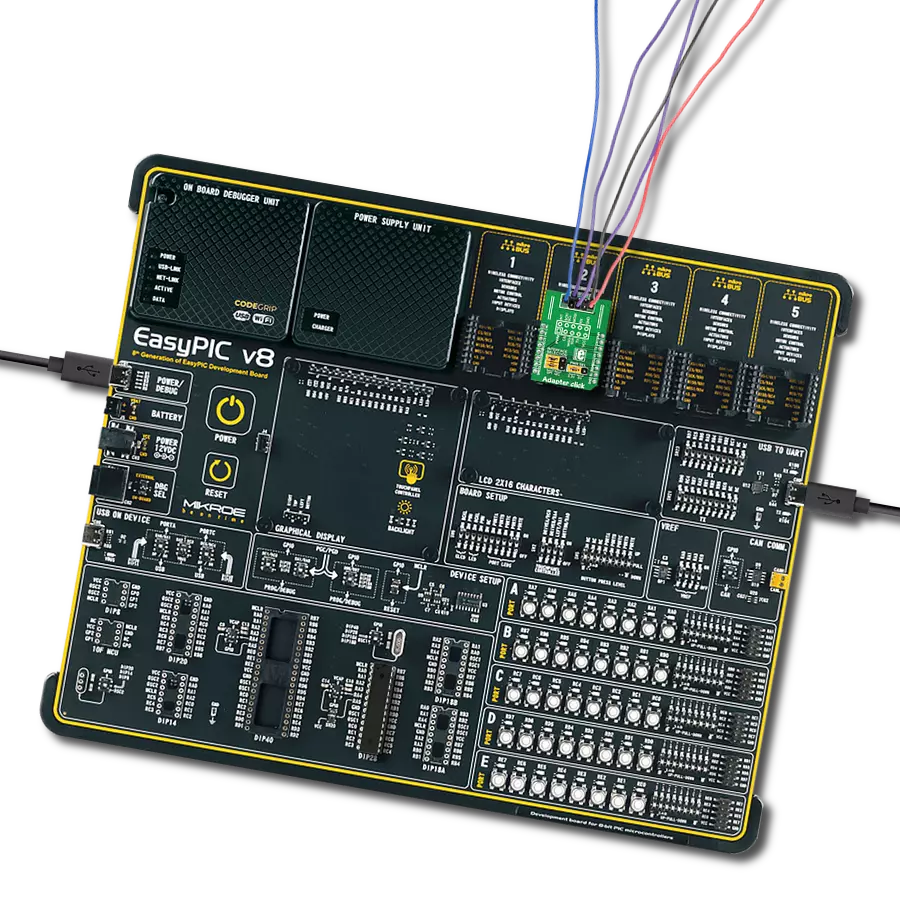
我们的适配器解决方案在MCU和电子墨水显示屏之间建立了完美的共生关系,实现了流畅、直观的控制,开启了无限可能的世界。
A
A
硬件概览
它是如何工作的?
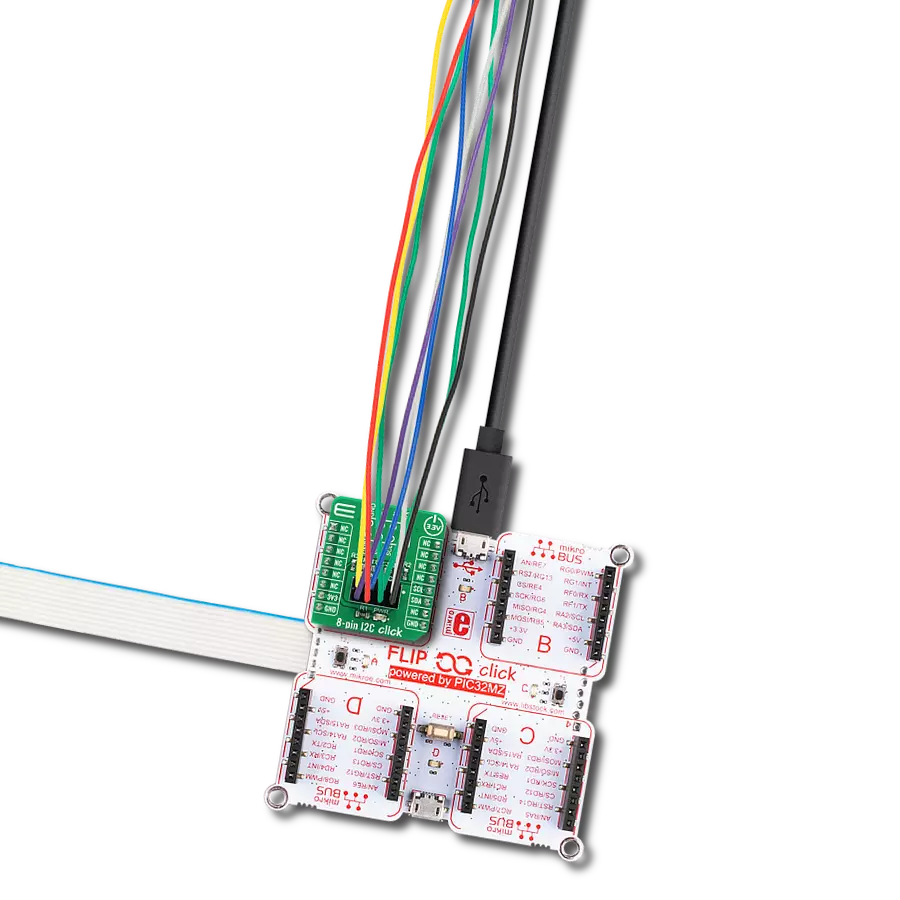
eINK Click是一个适配器Click board™,用于将兼容的eINK显示屏与主控MCU连接。eINK显示屏最显著的特点是其极低的功耗和断电后仍能保留信息的能力。只有在显示内容变化时才会消耗电力。该Click board™随附的是172x72 eINK显示屏,由集成的SSD1606控制器驱动,可以显示4种灰度:黑色、深灰色、浅灰色和白色。同类型的显示屏也被用于流行的Kindle电子阅读器上。eINK是一种相当新的技术,具有光明的前景。暴露在直射阳光下时,显示内容不会降解,实际上显示屏的行为就像真正的纸张;当有更多光线照射到其表面时,显示效果更好。eINK可以应用于各种领域:它可以用于需要显示输出的极低功耗应用,如手机和可穿戴设备、工业和包装应用、电子阅读和写
作、电子货架标签等。eINK显示屏的工作原理相当简单:黑色和白色颜料被困在微胶囊中,在两个电极之间的清晰液体中分散。白色颜料带正电荷,而黑色颜料带负电荷。当电极之间形成电磁场时,颜料根据电场的方向被排斥或吸引到电极上,这导致明亮或暗色的颜料被定位在微胶囊的底部或顶部表面。当黑色颜料定位在微胶囊的顶部表面时,它被观察为黑色像素,反之亦然。还可以将颜料电荷定位,使每种颜色占据微胶囊顶部表面的一半,这就是产生灰度的方法。与eINK Click配套的显示屏是EA-EPA20-A,一款2英寸、172x72像素的电子墨水显示屏,集成了SSD1606驱动器/控制器,来自Electronic Assembly。该显示屏使用SPI通信协议与主控MCU通信。该显示屏具有固有
的宽视角和高对比度,以及在日光条件下良好的可读性。Click board™本身携带了支持电子元件,用于为EPA20-A显示器的正常运行提供所有必要的电压。SSD1606引脚通过显示器的平板电缆传递,并通过Click board上的24引脚、0.5mm ZIF连接器连接。从那里,命令和数据线被路由到eINK click的mikroBUS™上的适当引脚。eINK click还包含LM75热传感器,该传感器使用I2C协议与SSD1606驱动IC通信。这对于显示屏的热补偿是必需的,以便它可以在广泛的温度范围内工作,从0°C到+50°C。这个设备的总功耗非常低。只有在需要重新排列微胞颜料时才需要电力,而维持显示内容不需要电力。即使断电,显示屏也会保留内容。Click board和显示屏通过mikroBUS™的3.3V电源供电。

功能概述
开发板
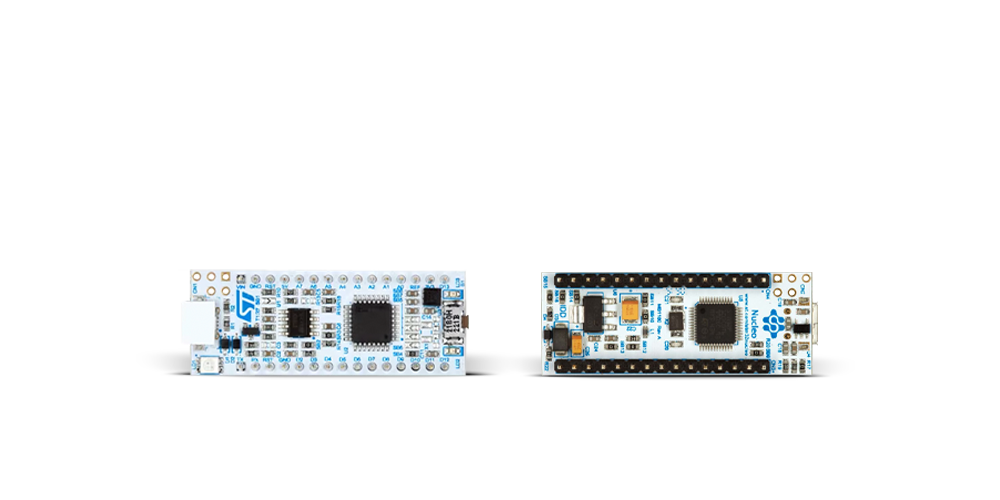
Nucleo 32开发板搭载STM32F031K6 MCU,提供了一种经济且灵活的平台,适用于使用32引脚封装的STM32微控制器进行实验。该开发板具有Arduino™ Nano连接性,便于通过专用扩展板进行功能扩展,并且支持mbed,使其能够无缝集成在线资源。板载集成
ST-LINK/V2-1调试器/编程器,支持通过USB重新枚举,提供三种接口:虚拟串口(Virtual Com port)、大容量存储和调试端口。该开发板的电源供应灵活,可通过USB VBUS或外部电源供电。此外,还配备了三个LED指示灯(LD1用于USB通信,LD2用于电源
指示,LD3为用户可控LED)和一个复位按钮。STM32 Nucleo-32开发板支持多种集成开发环境(IDEs),如IAR™、Keil®和基于GCC的IDE(如AC6 SW4STM32),使其成为开发人员的多功能工具。
微控制器概述
MCU卡片 / MCU
建筑
ARM Cortex-M0
MCU 内存 (KB)
32
硅供应商
STMicroelectronics
引脚数
32
RAM (字节)
4096
你完善了我!
配件
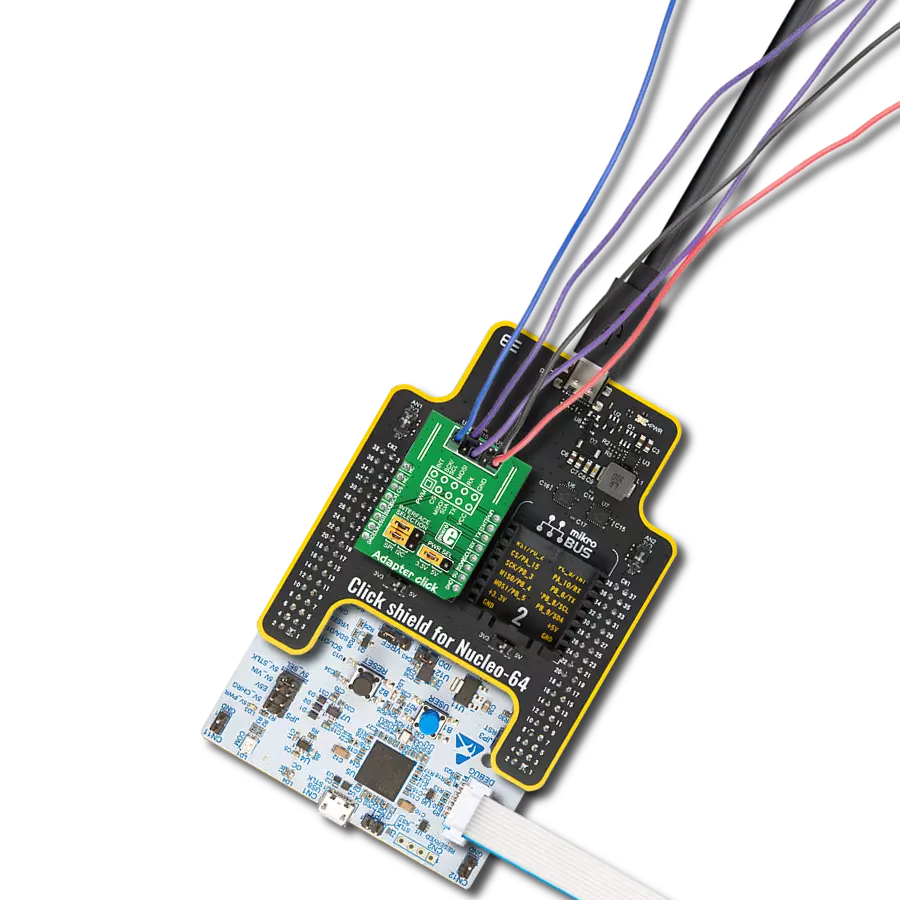
Click Shield for Nucleo-32是扩展您的开发板功能的理想选择,专为STM32 Nucleo-32引脚布局设计。Click Shield for Nucleo-32提供了两个mikroBUS™插座,可以添加来自我们不断增长的Click板™系列中的任何功能。从传感器和WiFi收发器到电机控制和音频放大器,我们应有尽有。Click Shield for Nucleo-32与STM32 Nucleo-32开发板兼容,为用户提供了一种经济且灵活的方式,使用任何STM32微控制器快速创建原型,并尝试各种性能、功耗和功能的组合。STM32 Nucleo-32开发板无需任何独立的探针,因为它集成了ST-LINK/V2-1调试器/编程器,并随附STM32全面的软件HAL库和各种打包的软件示例。这个开发平台为用户提供了一种简便且通用的方式,将STM32 Nucleo-32兼容开发板与他们喜欢的Click板™结合,应用于即将开展的项目中。

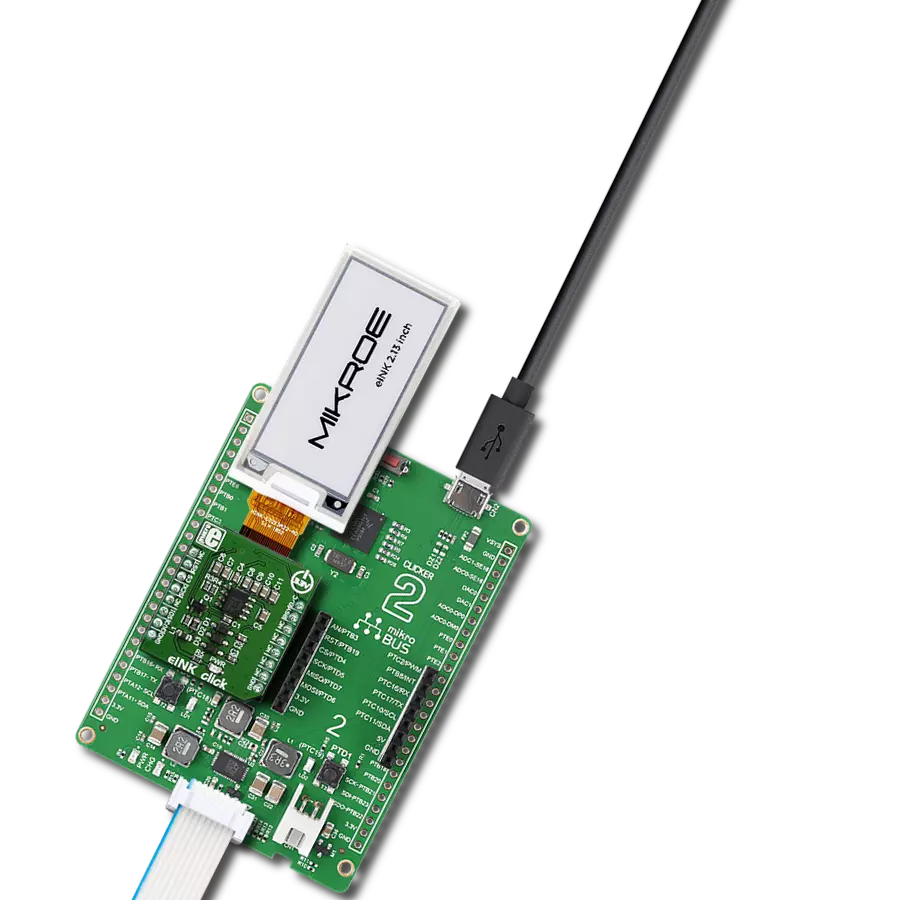
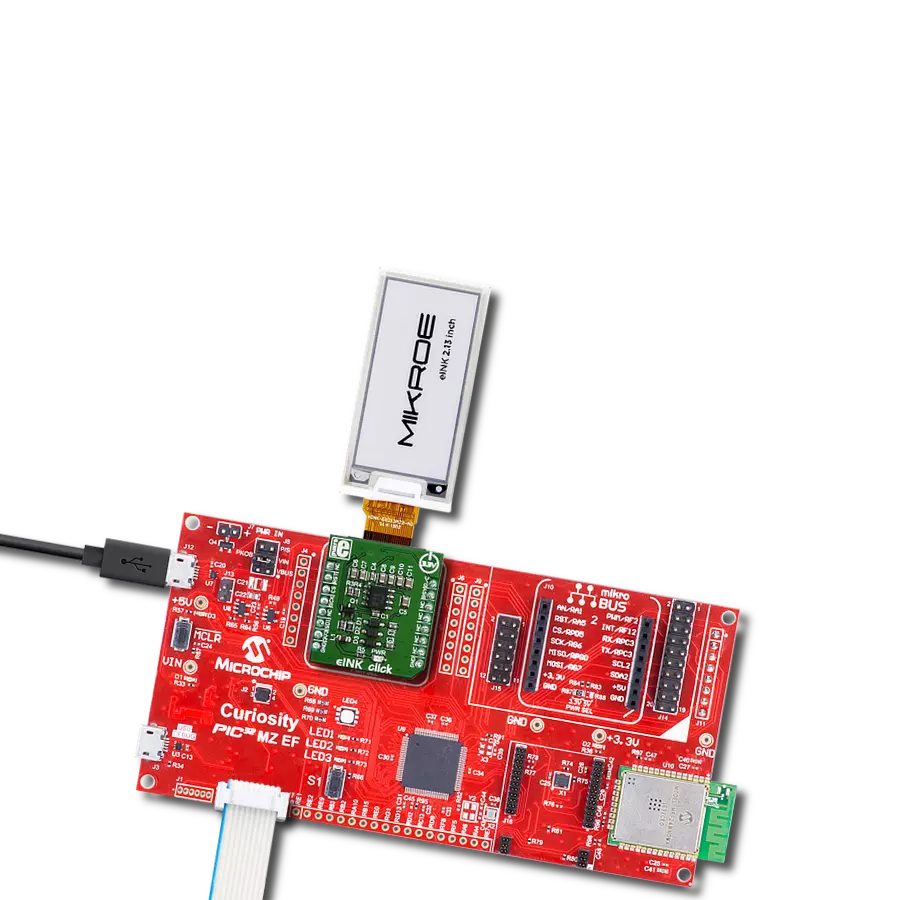
2.13英寸的电子墨水显示屏采用了主动矩阵电泳显示(AMEPD)技术,并具有集成的像素驱动器,该驱动器使用SPI接口与主控MCU通信。该显示屏有一个带有24个引脚的平板印刷电缆,连接到主控器。为了方便连接,Click board™提供了完美的解决方案。2.13英寸的电子墨水显示屏具有122(V) x 250(H)像素的分辨率和23.71 x 48.55的活动显示区域。其方形像素的尺寸为0.194mm x 0.194mm。由于AMEPD技术的采用,屏幕显示的图形清晰而清晰,并具有超宽的视角范围。电子墨水技术的另一个关键特性是极低的功耗,即使在显示屏主动刷新内容时也是如此。

使用的MCU引脚
mikroBUS™映射器
“仔细看看!”
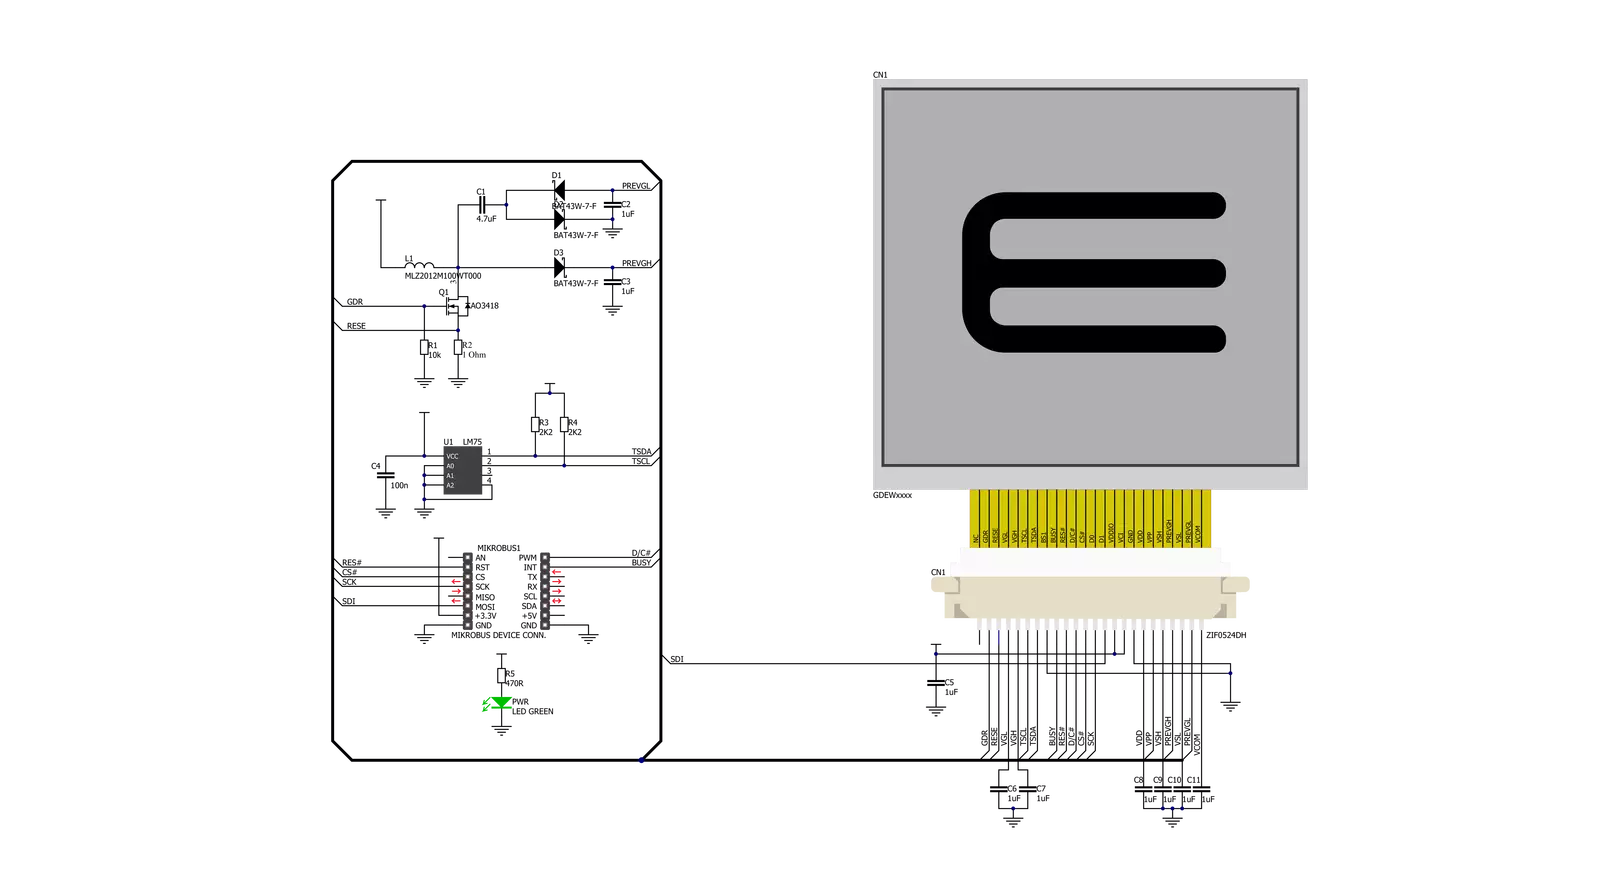
Click board™ 原理图
一步一步来
项目组装

从选择您的开发板和Click板™开始。以Nucleo 32 with STM32F031K6 MCU作为您的开发板开始。


软件支持
库描述
这个库包含了 eINK Click 驱动程序的 API。
关键函数:
eink200_set_lut- 设置LUT表eink200_display_image- 显示图像eink200_set_font- 设置文本字体
开源
代码示例
完整的应用程序代码和一个现成的项目可以通过NECTO Studio包管理器直接安装到NECTO Studio。 应用程序代码也可以在MIKROE的GitHub账户中找到。
/*!
 * \file
 * \brief Eink Click example
 *
 * # Description
 * This application demonstrates the use of eINK Click board.
 *
 * The demo application is composed of two sections :
 *
 * ## Application Init
 * Initializes the driver and configures the Click board for 2.00 inch eINK display.
 * After that, if the TEXT mode is supported, shows a desired text messages on the display.
 *
 * ## Application Task
 * Draws two demo images to the display with a one-second delay between each drawing.
 *
 * @note
 * Due to insuficient RAM memory, only the IMAGE mode is supported with 8-bit PIC microcontrollers.
 *
 * Here is the procedure for creating an Image or Font arrays:
 *
 * - Create Image:
 *    Save the image in resolution of 172x72 px with the extension (jpg) ...
 *    Upload the image to Image2Lcd program
 *    Set parameters to:
 *           1. Output file type : C array
 *           2. Scan Mode : Vertical scan
 *           3. Bits Pixel : 4 Color
 *           4. Max Width and Height : 172x72
 *           5. Select only MSB first checkmark
 *           6. Check Reverse color and adjust Normal type
 *    The image to be generated should contain exact 3096 bytes ...
 *    Insert the image into the file eink_display_image.h
 *
 * - Create Font:
 *    Create a new VisualTFT project
 *    Add label and adjust text font
 *    Generate source code
 *    Copy the font array from resource.c file and paste it to eink200inch_font.h file
 *
 * *** Changing the LUT table can lead to loss of display performance ....
 *
 * \author MikroE Team
 *
 */
// ------------------------------------------------------------------- INCLUDES

#include "board.h"
#include "log.h"
#include "eink.h"
#include "eink200inch_image.h"
#ifndef IMAGE_MODE_ONLY
#include "eink200inch_font.h"
#endif

// ------------------------------------------------------------------ VARIABLES

static eink_t eink;

const uint8_t eink_lut_table[ 90 ] =
{
    0x82, 0x00, 0x00, 0x00, 0xAA, 0x00, 0x00, 0x00,
    0xAA, 0xAA, 0x00, 0x00, 0xAA, 0xAA, 0xAA, 0x00,
    0x55, 0xAA, 0xAA, 0x00, 0x55, 0x55, 0x55, 0x55,
    0xAA, 0xAA, 0xAA, 0xAA, 0x55, 0x55, 0x55, 0x55,
    0xAA, 0xAA, 0xAA, 0xAA, 0x15, 0x15, 0x15, 0x15,
    0x05, 0x05, 0x05, 0x05, 0x01, 0x01, 0x01, 0x01,
    0x00, 0x00, 0x00, 0x00, 0x00, 0x00, 0x00, 0x00,
    0x00, 0x00, 0x00, 0x00, 0x00, 0x00, 0x00, 0x00,
    0x00, 0x00, 0x00, 0x00, 0x00, 0x00, 0x00, 0x00,
    0x00, 0x00, 0x00, 0x00, 0x00, 0x00, 0x00, 0x00,
    0x41, 0x45, 0xF1, 0xFF, 0x5F, 0x55, 0x01, 0x00,
    0x00, 0x00

};

uint8_t demo_text[ 5 ] = { 'e', 'I', 'N', 'K' , 0 };
uint8_t demo_text1[ 8 ] = { 'D', 'i', 's', 'p', 'l', 'a', 'y', 0 };
uint8_t demo_text2[ 10 ] = { '2', '.', '0', '0', 'i', 'n', 'c', 'h', 0 };

// ------------------------------------------------------ APPLICATION FUNCTIONS

void application_init ( void )
{
    eink_cfg_t cfg;
    eink200inch_font_t cfg_font;
    eink_text_set_t text_set;

    //  Click initialization.
    eink_cfg_setup( &cfg );
    EINK_MAP_MIKROBUS( cfg, MIKROBUS_1 );
    eink_init( &eink, &cfg );

    eink_start_config( &eink );
    eink_set_lut( &eink, eink_lut_table, 90 );
    Delay_ms ( 1000 );

#ifndef IMAGE_MODE_ONLY
    cfg_font.p_font = &guiFont_Tahoma_10_Regular[ 0 ];
    cfg_font.color = EINK_SCREEN_COLOR_WHITE;
    cfg_font.orientation = EINK_FO_HORIZONTAL;
    eink_set_font( &eink, &cfg_font );

    text_set.n_char = 4;
    text_set.text_x = 10;
    text_set.text_y = 50;
    eink_text( &eink, &demo_text[ 0 ], &text_set );
    text_set.n_char = 7;
    text_set.text_x = 10;
    text_set.text_y = 90;
    eink_text( &eink, &demo_text1[ 0 ], &text_set );
    text_set.n_char = 8;
    text_set.text_x = 10;
    text_set.text_y = 130;
    eink_text( &eink, &demo_text2[ 0 ], &text_set );
    Delay_ms ( 1000 );
    Delay_ms ( 1000 );
    Delay_ms ( 1000 );
    Delay_ms ( 1000 );
    Delay_ms ( 1000 );
#endif
}

void application_task ( void )
{
    eink_display_image ( &eink, demo_image_black );
    Delay_1sec( );
    eink_display_image ( &eink, demo_image_white );
    Delay_1sec( );
}

int main ( void )
{
    /* Do not remove this line or clock might not be set correctly. */
    #ifdef PREINIT_SUPPORTED
    preinit();
    #endif

    application_init( );

    for ( ; ; )
    {
        application_task( );
    }

    return 0;
}

// ------------------------------------------------------------------------ END
额外支持
资源
类别:适配器