Track the motion and orientation of an object with BMA280 and MK20DN128VFM5
The future in motion: How accelerometers are shaping tomorrow

Published Oct 05, 2023
Click board™
Accel 6 click
Dev. board
Fusion for ARM v8
Compiler
NECTO Studio
MCU
MK20DN128VFM5
This solution empower us to precisely measure and understand changes in motion, enabling innovation and advancement in various fields
A
A
Hardware Overview
How does it work?
Accel 6 Click is based on the BMA280, a 14bit triaxial acceleration sensor with intelligent on-chip motion triggered interrupt controller, from Bosch Sensortec. This is advanced motion and an acceleration sensor, with many features aimed towards simplifying the operation and firmware development. The BMA280 sensor consists of the ASIC circuitry, which converts the output of the microelectromechanical sensing element (MEMS). Both filtered and unfiltered data streams are available for reading. The fastest refresh rate of the unfiltered stream is up to 2kHz, while the refresh rate of the filtered output depends on the selected filter bandwidth. The BMA280 device also offers a thermal measurement sensor. with the resolution of 0.5˚C. The acceleration data width is 14 bits. The filtering can be selected in several steps, with the bandwidth configuration from 8Hz up to 500Hz. The selected bandwidth configuration also affects the refresh rate, resulting in up to 64ms between consequent readings for the 8Hz setting. The unfiltered stream takes up to 0.5ms between readings. The range selection affects the size of the measurement steps. There are four different acceleration measurement ranges that can be selected: ±2g, ±4g, ±8g, and ±16g. The step size of the ranges varies between ±0.244mg (±2g range)
and ±0.977mg (±16g range). Up to eight configurable interrupts are available, allowing tap sensing, orientation detection, motion detection, slope detection, new data availability, and more. The interrupt event is reported by the appropriate bit in the Status Register (flag). The interrupt controller allows the interrupt flags to be set in a range of different ways: the interrupt flag bit can be latched, non-latched, and temporal, with predetermined timings. The interrupt inputs can be both filtered and unfiltered readings, allowing optimal settings to be used for simplified firmware development. The BMA280 sensor offers three different offset compensation methods: slow, fast, manual compensation, as well as the inline calibration. The offset compensation is performed with the unfiltered values, but it is applied to both data streams as well. The offset compensation is important for getting reliable data since the offset in readings might appear for a number of reasons. Compensation values are generated internally, but can also be manually written, or stored in the NV memory for using them after POR. This device is also equipped with the NV memory, which is used to store working parameters to locations which will not be reset after the Power ON Reset event (POR). There are eight NV registers, with four of
them corresponding to the offset related operations and two of them for general purpose. The offset related register values are loaded to the appropriate volatile mirror locations after each POR. There are six power modes available, offering a different set of options and working parameters. The device can be set as the normal mode, deep suspend mode, suspend mode, standby mode, low power mode 1, and low power mode 2. All these modes allow flexible selection of the power consumption vs performance to be selected. The Click board™ offers both I2C and SPI communication interface. By moving the group of jumpers labeled as COM SEL, it is possible to choose between I2C or SPI interface. Note that all the jumpers have to be moved to the same side. Otherwise, the device might become unresponsive. Accel 6 click is powered via the mikroBUS™ +3.3V rail. However, it offers a logic voltage selection, via the VCC SEL jumper. Since the BMA280 sensor cannot operate with signals up to 5V, a level shifting IC is used to allow both 3.3V and 5V MCUs to be interfaced with this Click board™. The VCC SEL jumper routes either 3.3V or 5V to the voltage reference pin of the PCA9306, a dual bidirectional level shifting IC.


Features overview
Development board
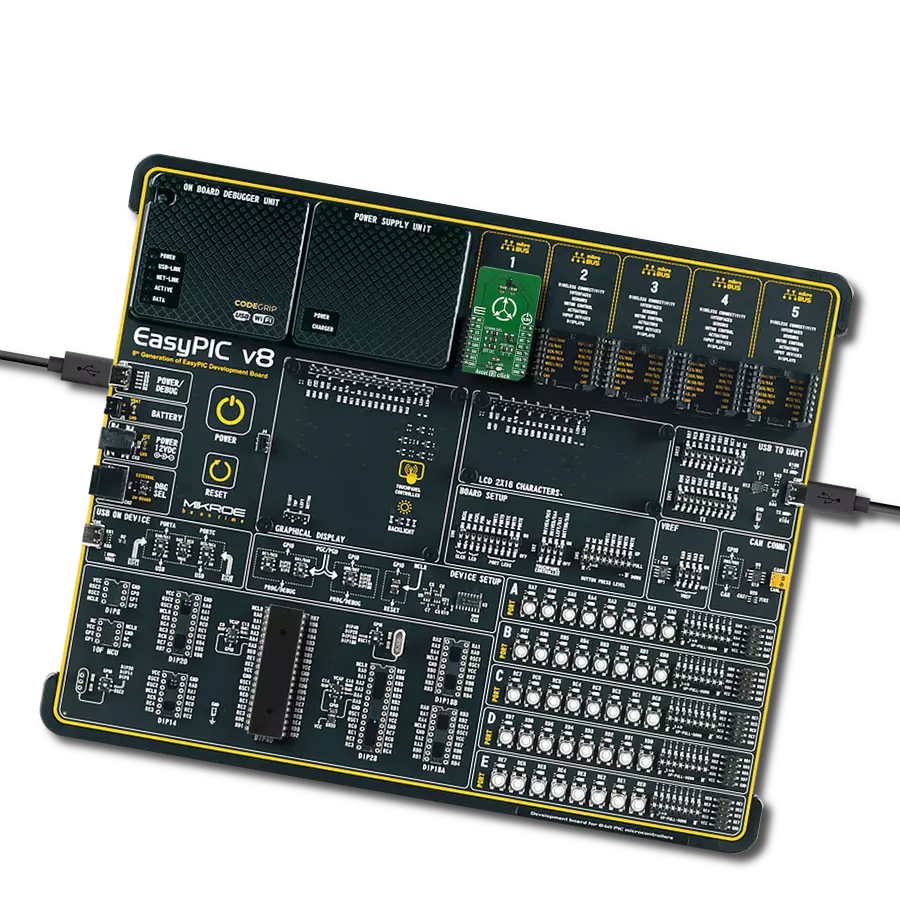
Fusion for ARM v8 is a development board specially designed for the needs of rapid development of embedded applications. It supports a wide range of microcontrollers, such as different ARM® Cortex®-M based MCUs regardless of their number of pins, and a broad set of unique functions, such as the first-ever embedded debugger/programmer over WiFi. The development board is well organized and designed so that the end-user has all the necessary elements, such as switches, buttons, indicators, connectors, and others, in one place. Thanks to innovative manufacturing technology, Fusion for ARM v8 provides a fluid and immersive working experience, allowing access anywhere and under any
circumstances at any time. Each part of the Fusion for ARM v8 development board contains the components necessary for the most efficient operation of the same board. An advanced integrated CODEGRIP programmer/debugger module offers many valuable programming/debugging options, including support for JTAG, SWD, and SWO Trace (Single Wire Output)), and seamless integration with the Mikroe software environment. Besides, it also includes a clean and regulated power supply module for the development board. It can use a wide range of external power sources, including a battery, an external 12V power supply, and a power source via the USB Type-C (USB-C) connector.
Communication options such as USB-UART, USB HOST/DEVICE, CAN (on the MCU card, if supported), and Ethernet is also included. In addition, it also has the well-established mikroBUS™ standard, a standardized socket for the MCU card (SiBRAIN standard), and two display options for the TFT board line of products and character-based LCD. Fusion for ARM v8 is an integral part of the Mikroe ecosystem for rapid development. Natively supported by Mikroe software tools, it covers many aspects of prototyping and development thanks to a considerable number of different Click boards™ (over a thousand boards), the number of which is growing every day.

Microcontroller Overview
MCU Card / MCU
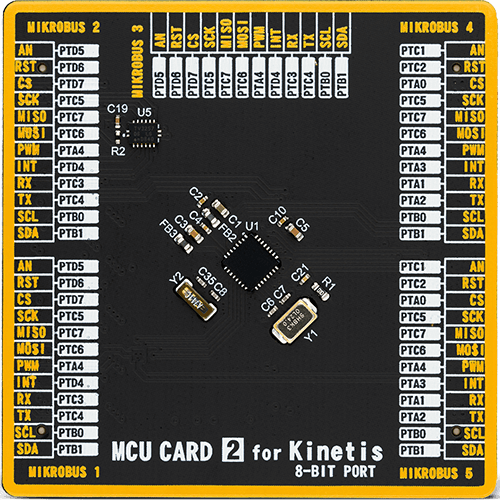
Type
8th Generation
Architecture
ARM Cortex-M4
MCU Memory (KB)
128
Silicon Vendor
NXP
Pin count
32
RAM (Bytes)
16384
Used MCU Pins
mikroBUS™ mapper
Take a closer look
Click board™ Schematic

Step by step
Project assembly

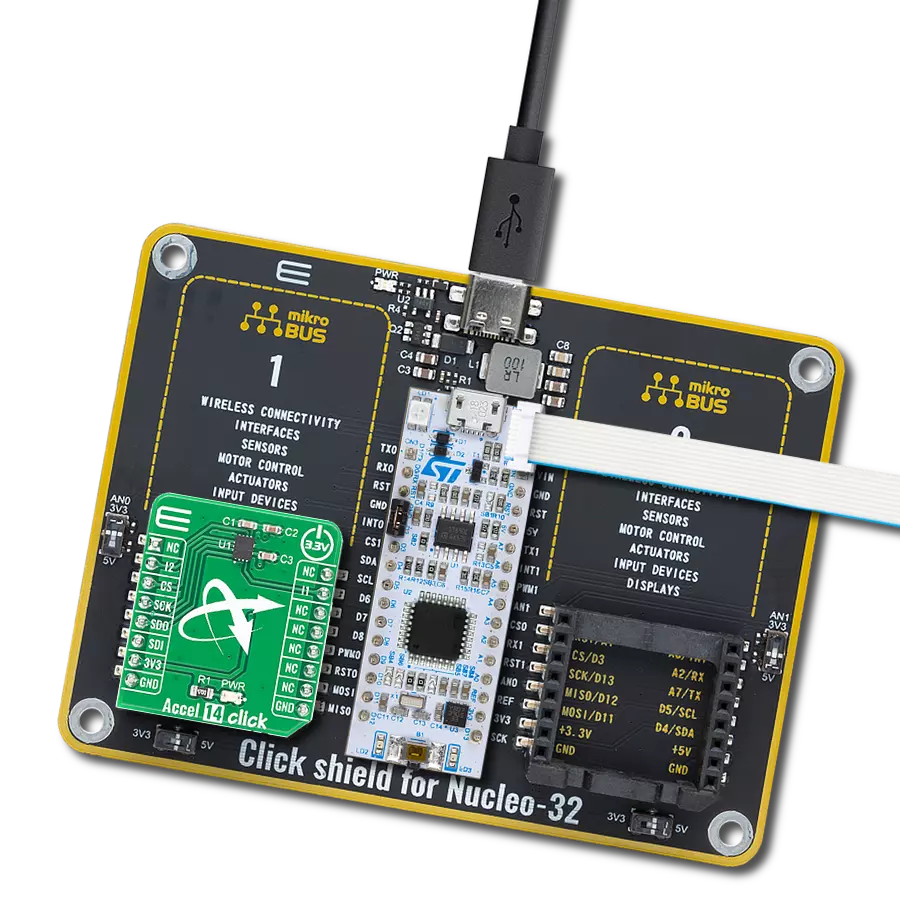
Start by selecting your development board and Click board™. Begin with the Fusion for ARM v8 as your development board.


Software Support
Library Description
This library contains API for Accel 6 Click driver.
Key functions:
accel6_data_offset- Functions for set offsetaccel6_get_orient- Functions for read orientaccel6_get_axis- Functions for read axis data
Open Source
Code example
The complete application code and a ready-to-use project are available through the NECTO Studio Package Manager for direct installation in the NECTO Studio. The application code can also be found on the MIKROE GitHub account.
/*!
 * \file
 * \brief Accel6 Click example
 *
 * # Description
 * This application allows acceleration measurement in three perpendicular axes.
 *
 * The demo application is composed of two sections :
 *
 * ## Application Init
 * Initializes Driver init and settings accelerometer data range,
 * bandwidth, mode and sleep timer which are necessary for the init chip.
 *
 * ## Application Task
 * Reads the accel X / Y / Z axis data in mg,
 * Temperature data in C, detects the orientation of the X,Y and Z axis
 * and checking on which axis the tap is detected.
 * All data logs on usb uart for every 500 ms.
 *
 * \author MikroE Team
 *
 */
// ------------------------------------------------------------------- INCLUDES

#include "board.h"
#include "log.h"
#include "accel6.h"

// ------------------------------------------------------------------ VARIABLES

static accel6_t accel6;
static log_t logger;

// ------------------------------------------------------ APPLICATION FUNCTIONS

void application_init ( void )
{
    log_cfg_t log_cfg;
    accel6_cfg_t cfg;

    /**
     * Logger initialization.
     * Default baud rate: 115200
     * Default log level: LOG_LEVEL_DEBUG
     * @note If USB_UART_RX and USB_UART_TX
     * are defined as HAL_PIN_NC, you will
     * need to define them manually for log to work.
     * See @b LOG_MAP_USB_UART macro definition for detailed explanation.
     */
    LOG_MAP_USB_UART( log_cfg );
    log_init( &logger, &log_cfg );
    log_info( &logger, "---- Application Init ----" );

    //  Click initialization.

    accel6_cfg_setup( &cfg );
    ACCEL6_MAP_MIKROBUS( cfg, MIKROBUS_1 );
    accel6_init( &accel6, &cfg );

    accel6_soft_reset( &accel6 );
    Delay_1sec();
    log_info( &logger, "---- Device reset done ----" );

    accel6_default_cfg( &accel6, ACCEL6_PMU_RANGE_4g,
                                          ACCEL6_PMU_BW_125Hz,
                                          ACCEL6_PMU_LPW_NORMAL_MODE |
                                          ACCEL6_PMU_LPW_SLEEP_10ms );

    log_info( &logger, "---- Device configuration done ----" );

    Delay_1sec();
}

void application_task ( )
{
    uint8_t tap_detect;
    uint8_t orient;
    uint8_t z_orient;
    uint8_t xy_orient;
    float f_axis = 0.0;
    float temp = 0.0;

    f_axis = accel6_get_axis ( &accel6, ACCEL6_AXIS_X );
    log_printf( &logger, " X axis: %f mg \r\n ", f_axis );


    f_axis = accel6_get_axis ( &accel6, ACCEL6_AXIS_Y );
    log_printf( &logger, " Y axis: %f mg \r\n ", f_axis );

    f_axis = accel6_get_axis ( &accel6, ACCEL6_AXIS_Z );
    log_printf( &logger, " Z axis: %f mg \r\n ", f_axis );

    temp = accel6_get_temperature( &accel6 );
    log_printf( &logger, " Temperature: %.2f C \r\n ", temp );

    accel6_get_orient( &accel6, &z_orient, &xy_orient );

    switch ( z_orient )
    {
        case 1:
        {
            log_printf( &logger, " Z orient : UPWARD looking \r\n " );
            break;
        }
        case 2:
        {
            log_printf( &logger, " Z orient : DOWNWARD looking \r\n " );
            break;
        }
        default:
        {
            break;
        }
    }

    switch ( xy_orient )
    {
        case 1:
        {
            log_printf( &logger, " XY orient : UPSIDE DOWN \r\n " );
            break;
        }
        case 2:
        {
            log_printf( &logger, " XY orient : LANDSCAPE LEFT \r\n " );
            break;
        }
        case 3:
        {
            log_printf( &logger, " XY orient : LANDSCAPE RIGHT \r\n " );
            break;
        }
        case 4:
        {
            log_printf( &logger, " XY orient : UPRIGHT \r\n " );
            break;
        }
        default:
        {
            break;
        }
    }

	tap_detect = accel6_get_tap_status( &accel6 );
    switch ( tap_detect )
    {
        case 1:
        {
            log_printf( &logger, " Tap status : X negative \r\n " );
            break;
        }
        case 2:
        {
            log_printf( &logger, " Tap status : Y negative \r\n " );
            break;
        }
        case 3:
        {
            log_printf( &logger, " Tap status : Z negative \r\n " );
            break;
        }
        case 4:
        {
            log_printf( &logger, " Tap status : X positive \r\n " );
            break;
        }
        case 5:
        {
            log_printf( &logger, " Tap status : Y positive \r\n " );
            break;
        }
        case 6:
        {
            log_printf( &logger, " Tap status : Z positive \r\n " );
            break;
        }
        default:
        {
            break;
        }
    }

    log_printf( &logger, "   \r\n" );
    Delay_ms ( 1000 );
    Delay_ms ( 1000 );
}

int main ( void )
{
    /* Do not remove this line or clock might not be set correctly. */
    #ifdef PREINIT_SUPPORTED
    preinit();
    #endif

    application_init( );

    for ( ; ; )
    {
        application_task( );
    }

    return 0;
}


// ------------------------------------------------------------------------ END
Additional Support
Resources
Category:Motion