Pure offline speech recognition solution
A
A
Hardware Overview
How does it work?
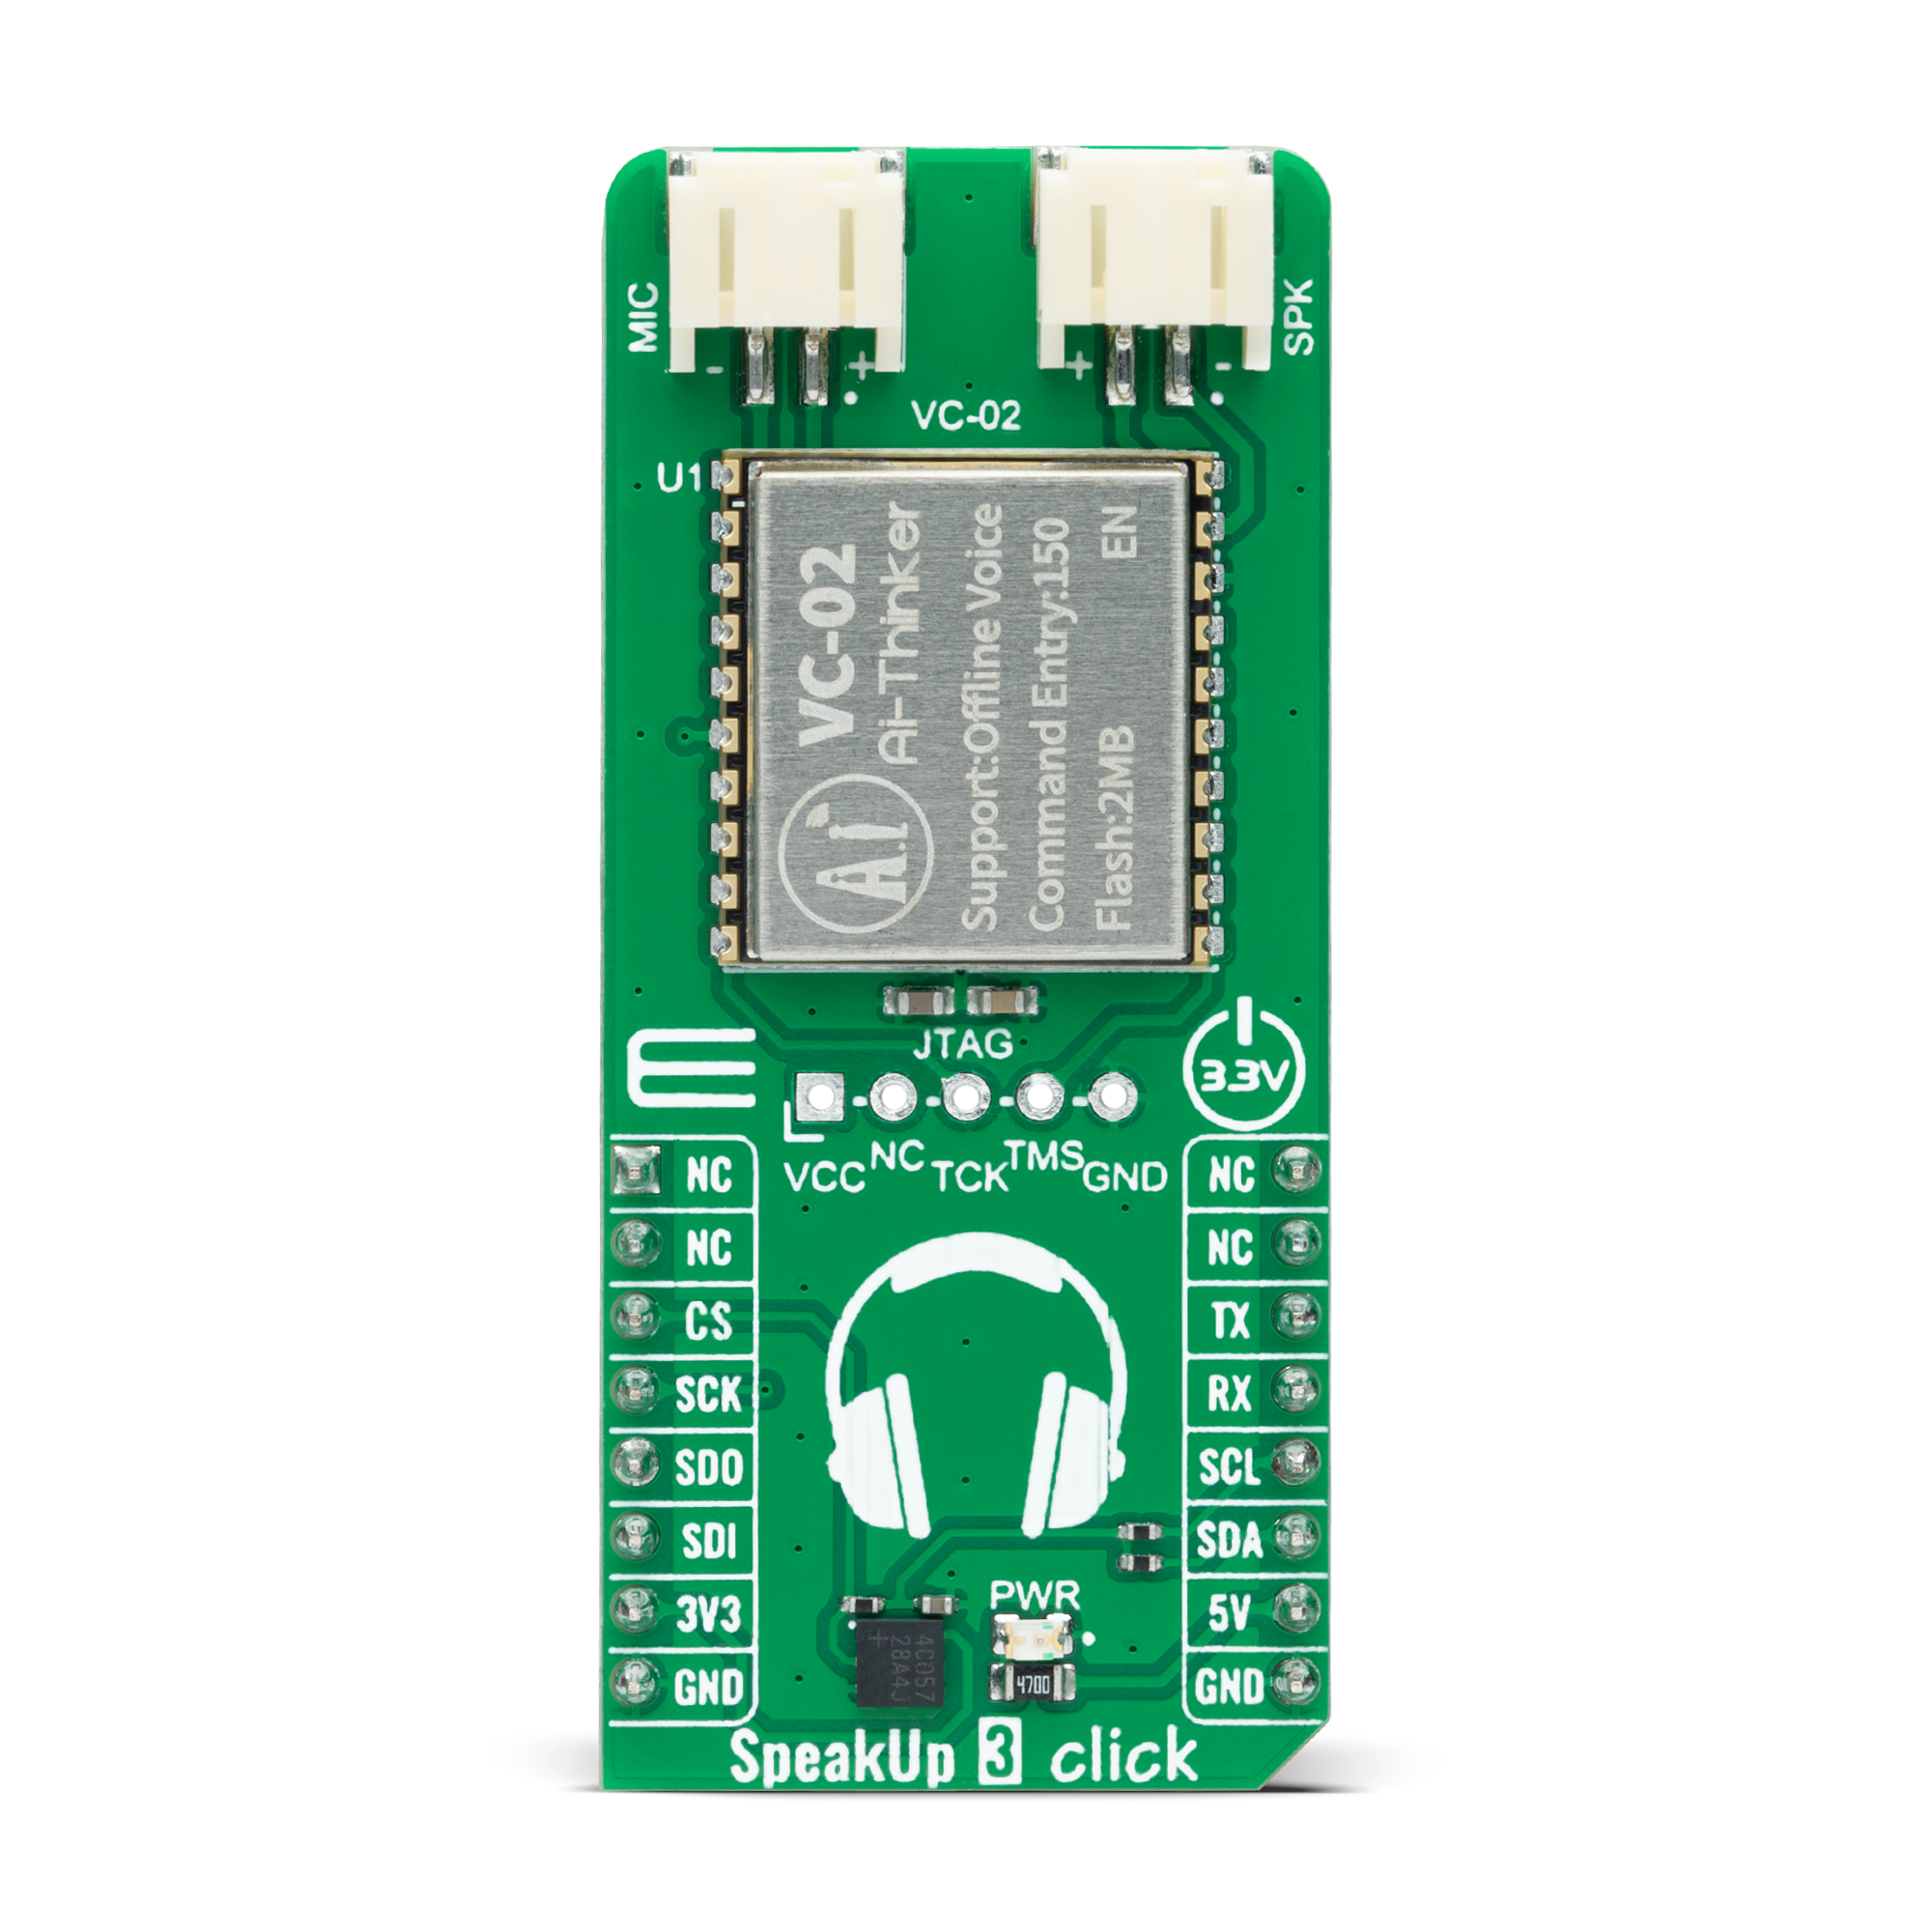
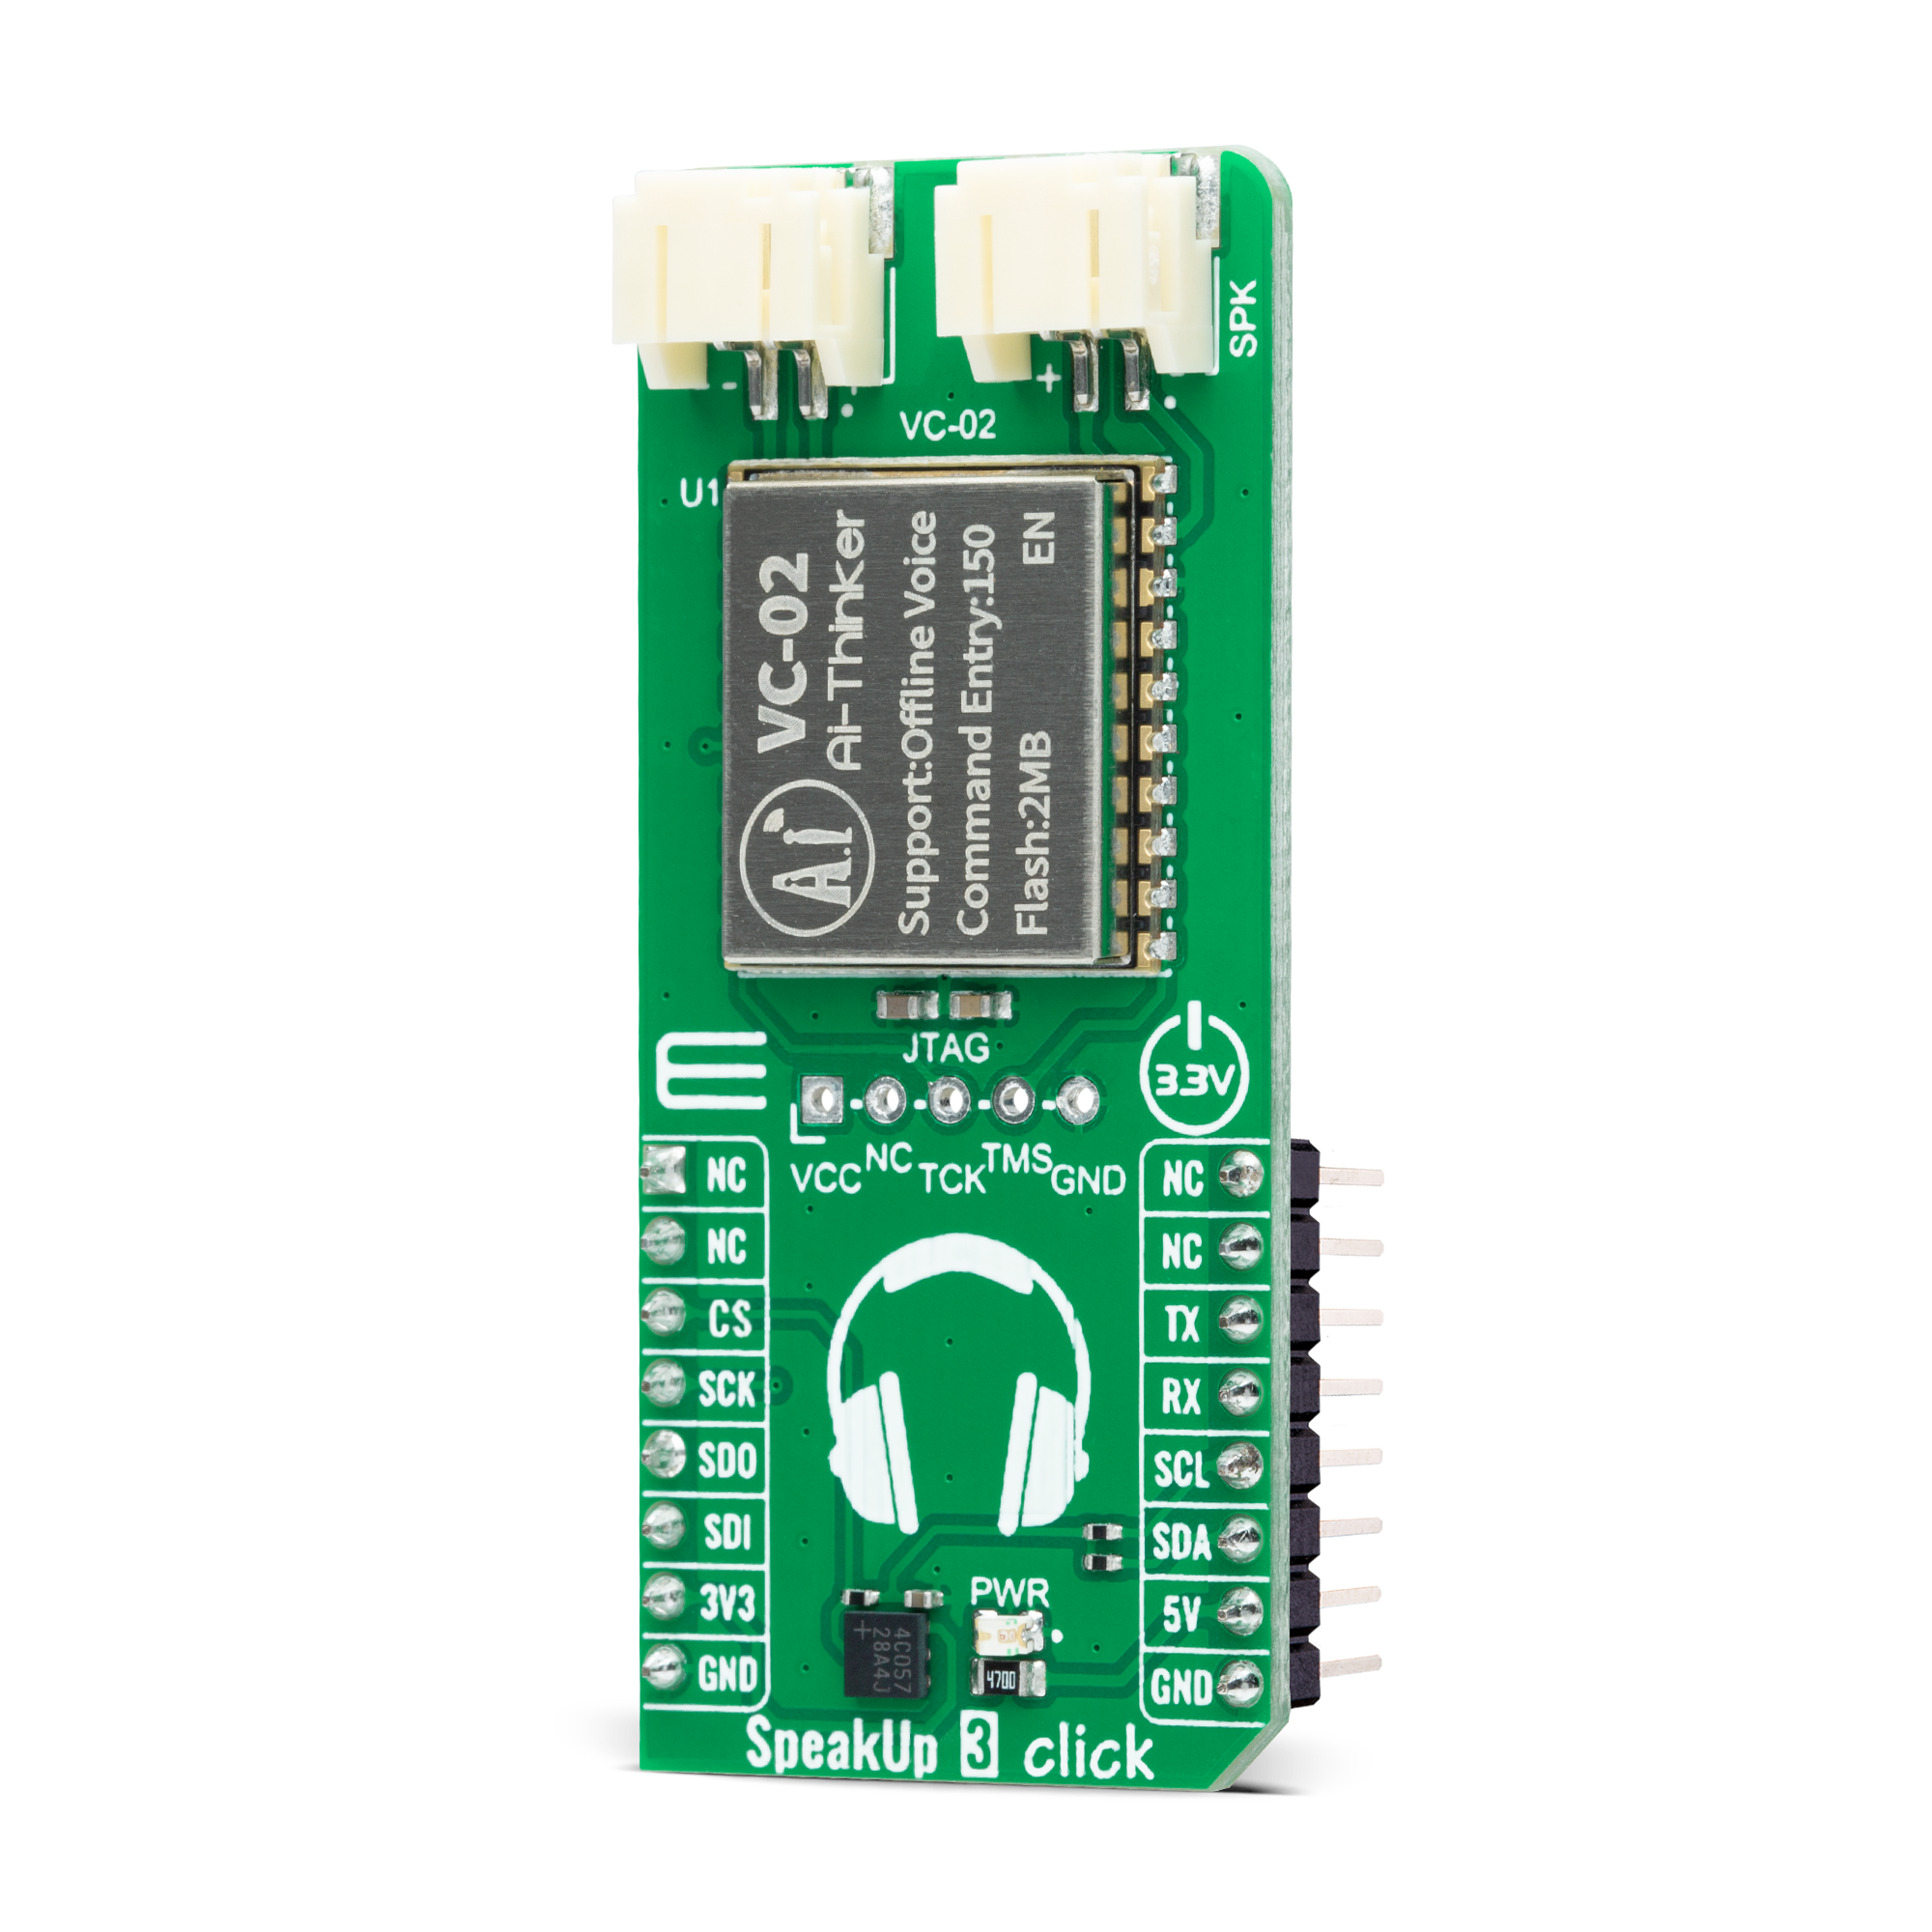
SpeakUp 3 Click is based on the VC-02, an offline voice recognition AI module from Ai-Thinker Technology, characterized by high reliability and robust versatility. The VC-02 module uses an integrated voice chip US516P6 from Unisound, which continuously optimizes and innovates algorithms in speech recognition technology. The offline recognition algorithm is deeply integrated with the chip architecture, providing customers with an ultra-low-cost offline voice recognition solution. This board can be widely and quickly applied to all smart small household appliances and products requiring voice control. The US516P6 chip uses a 32-bit RSIC architecture core, running at 240MHz, and incorporates a DSP instruction explicitly set for signal processing and speech recognition, an FPU arithmetic unit that supports floating-point operations, and an FFT accelerator (support 1024-point complex FFT/IFFT operations, or 2048-point real FFT/IFFT operations). What makes this module unique are features like
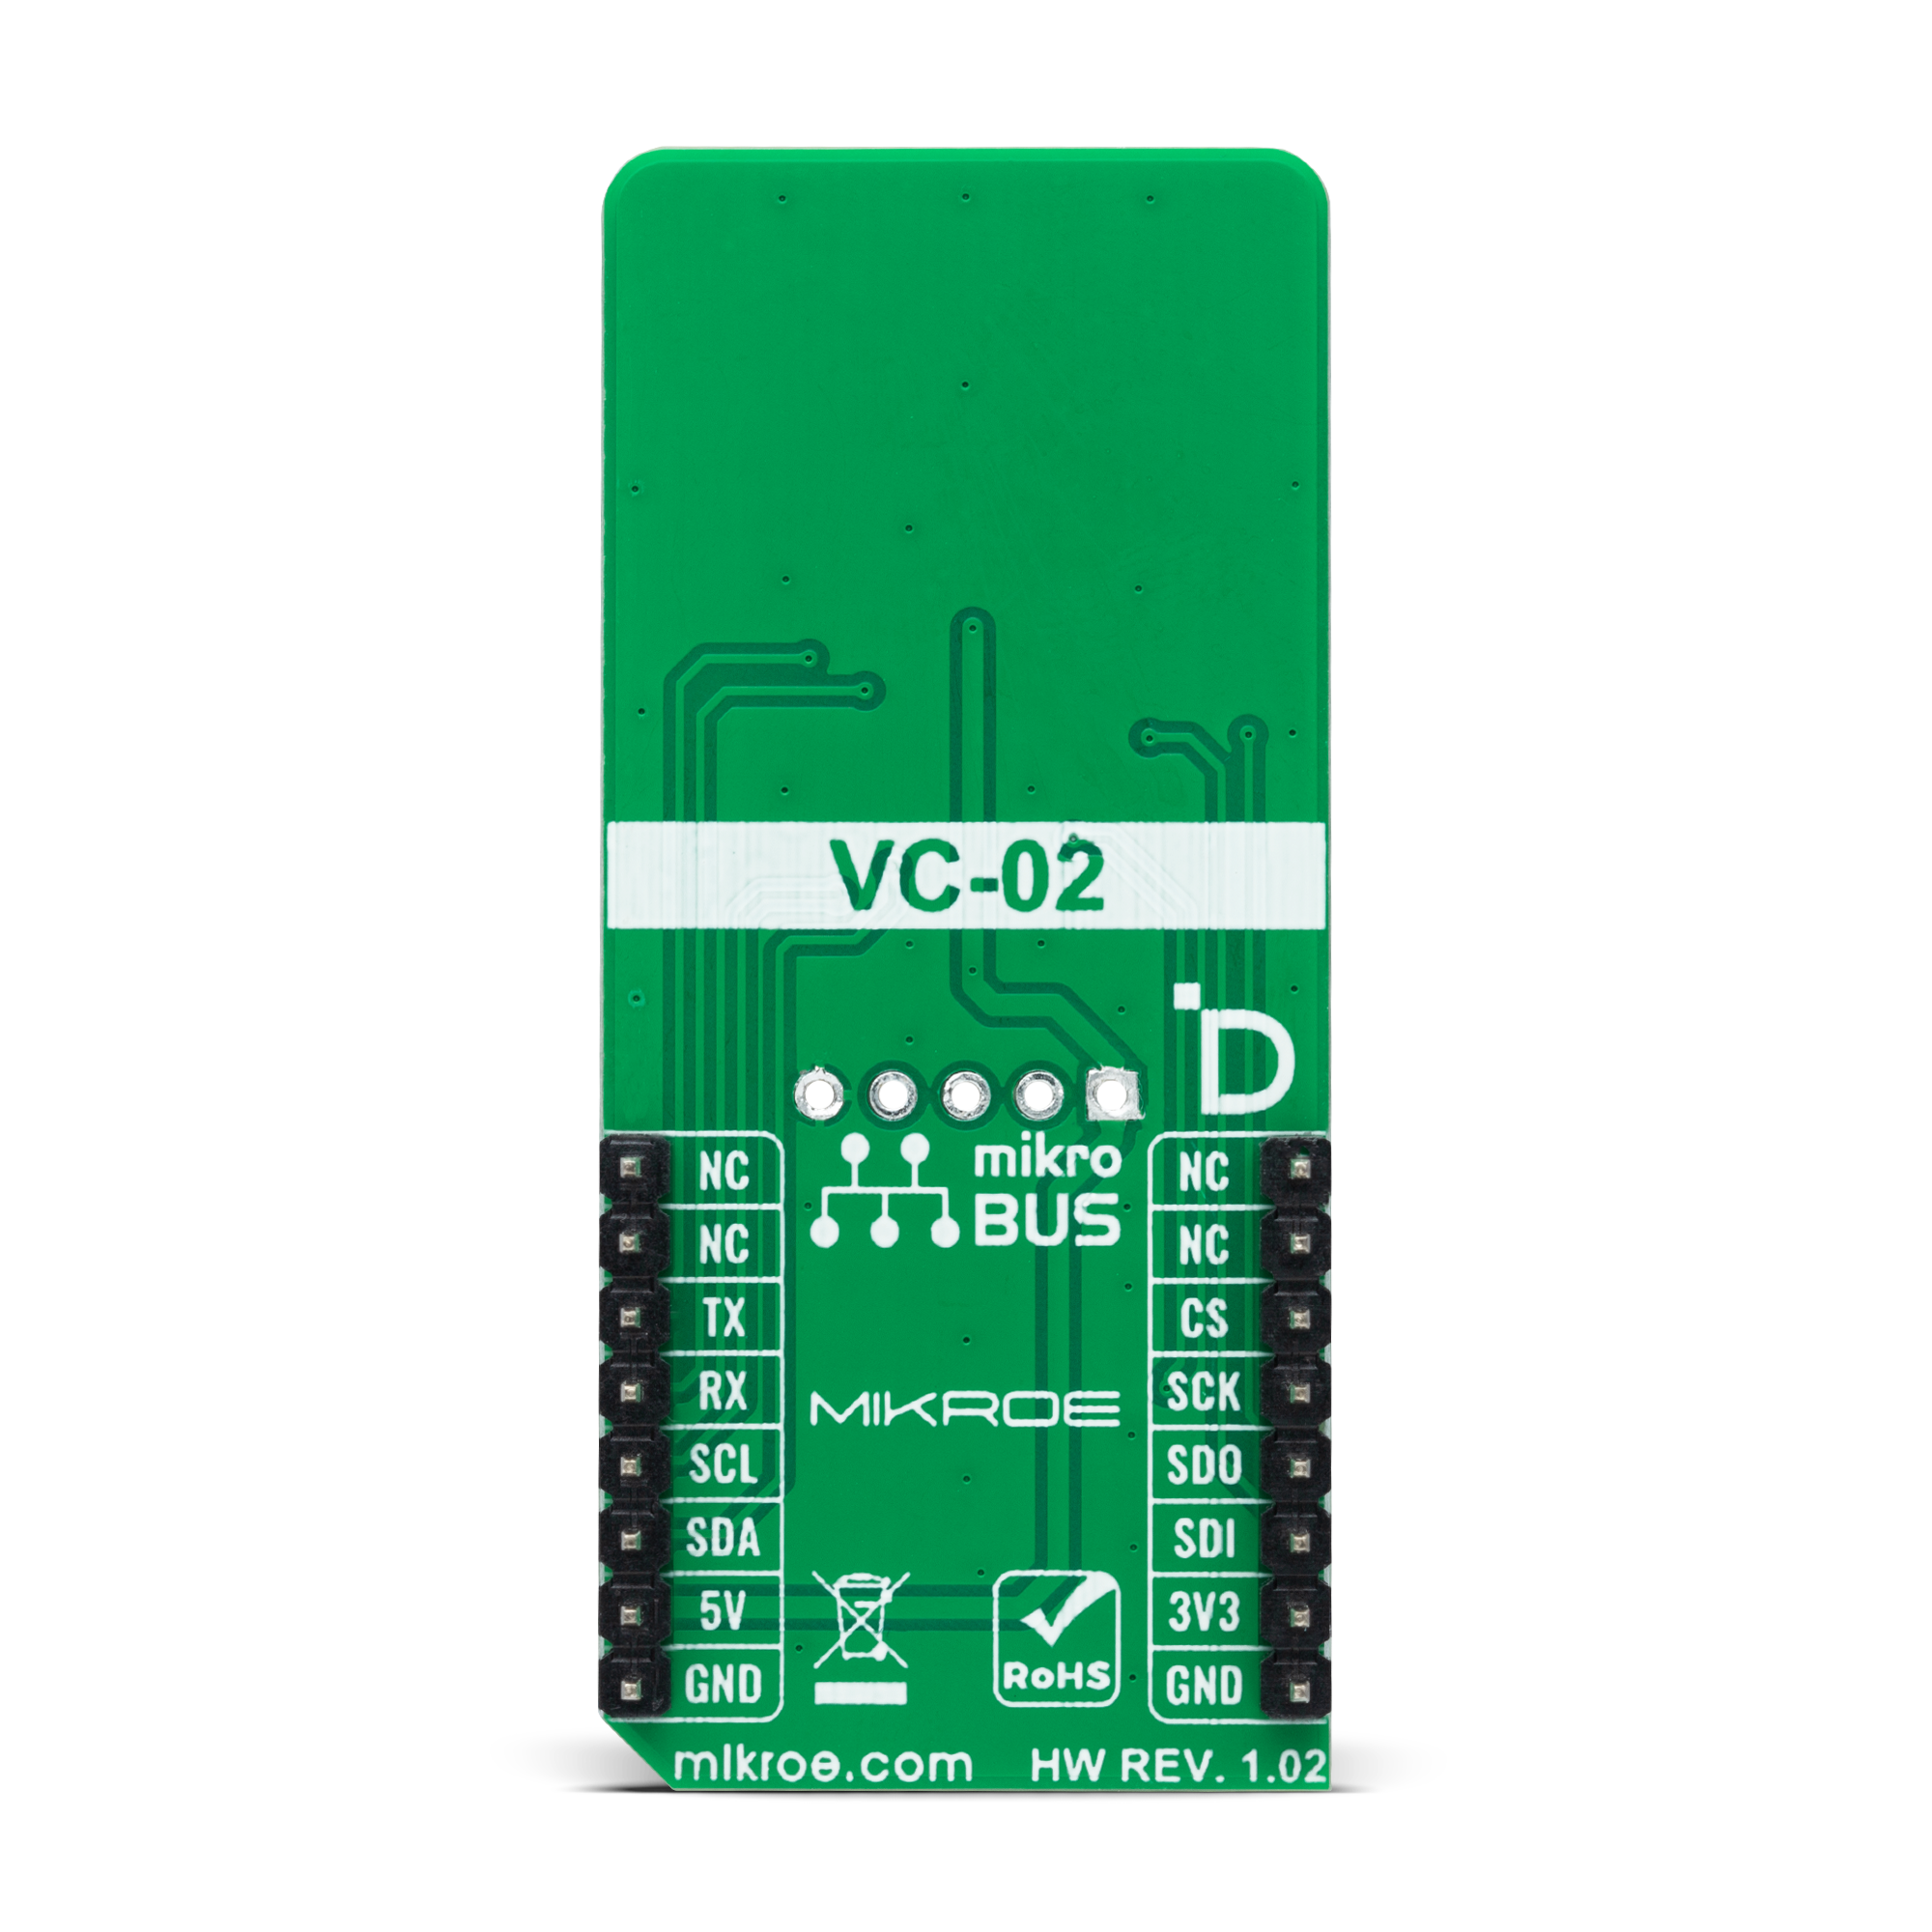
offline identification of 150 local instructions and self-learning of wake-up words, RTOS lightweight system, 90% recognition rate in a far field distance from 1 up to 5m, firmware update feature, as well as the selection of the communication method with the module. This Click board™ comes with a configurable host interface allowing communication with MCU using the chosen interface. The VC-02 can communicate with MCU using the UART interface, a default communication interface with commonly used UART RX and TX pins, and a default baud rate of 115200bps. Users can also use other interfaces, such as SPI and I2C, to configure the module and write the library by themselves. At the center of the SpeakUp 3 Click, an additional unpopulated header offers full support for debugging and programming capabilities. The Ai-Thinker has provided its users with a VC series development page. With a simple registration, they can create
their own command list/SDK/firmware for this module quickly and easily for free. With this header, the user can use a JTAG interface, in addition to the UART interface, for programming and debugging available through the JTAG interface pins (TCK and TMS). For more information and help when creating custom firmware, you can contact their help center. A special addition to this Click board™ are connectors, marked as MIC and SPK, for an analog omnidirectional microphone and 8Ω 2W cavity speaker from Shenzhen Anxinke Technology. These parts can be found in the same package as the Click board or can be acquired as a solo version in our shop. This Click board™ can only be operated with a 3.3V logic voltage level. The board must perform appropriate logic voltage level conversion before using MCUs with different logic levels. However, the Click board™ comes equipped with a library containing functions and an example code that can be used as a reference for further development.
Features overview
Development board
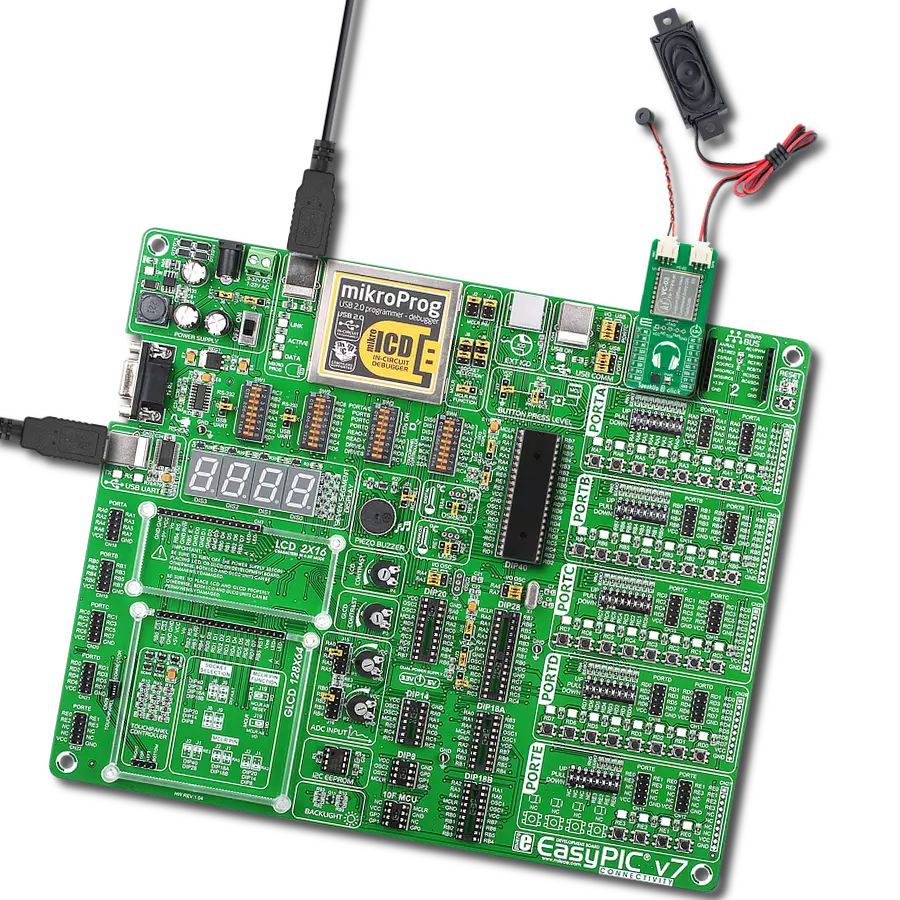
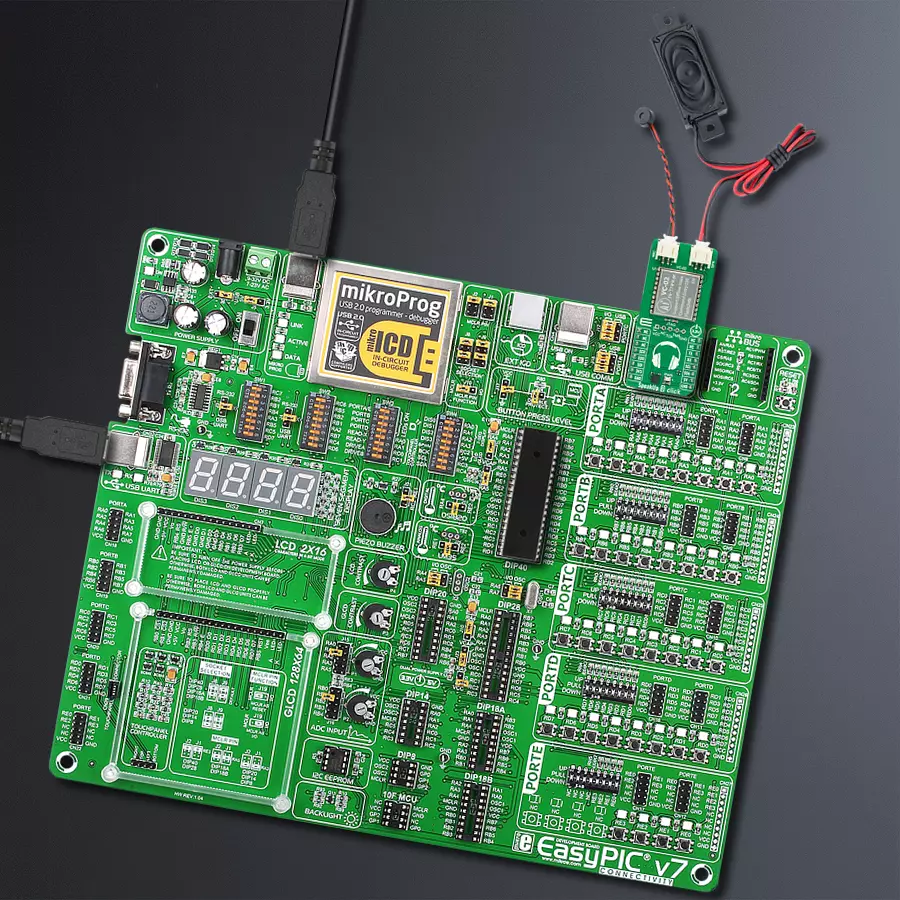
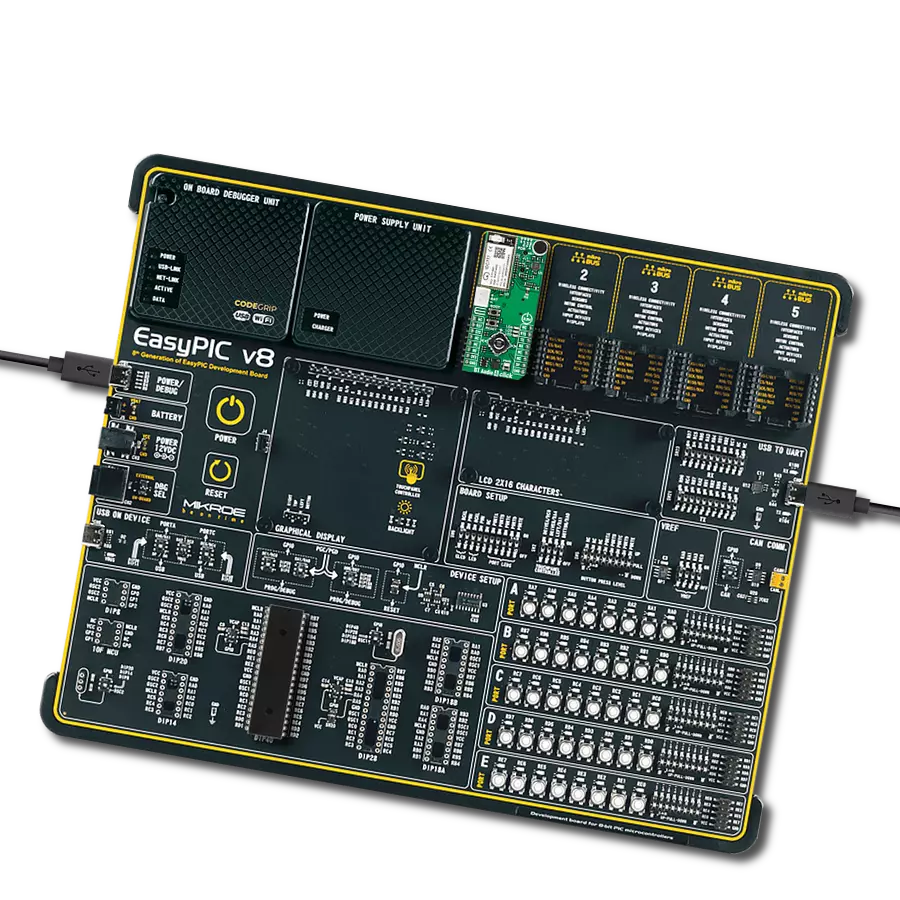
EasyPIC v7 is the seventh generation of PIC development boards specially designed to develop embedded applications rapidly. It supports a wide range of 8-bit PIC microcontrollers from Microchip and has a broad set of unique functions, such as a powerful onboard mikroProg programmer and In-Circuit debugger over USB-B. The development board is well organized and designed so that the end-user has all the necessary elements in one place, such as switches, buttons, indicators, connectors, and others. With four different connectors for each port, EasyPIC v7 allows you to connect accessory boards, sensors, and custom electronics more efficiently than ever. Each part of
the EasyPIC v7 development board contains the components necessary for the most efficient operation of the same board. An integrated mikroProg, a fast USB 2.0 programmer with mikroICD hardware In-Circuit Debugger, offers many valuable programming/debugging options and seamless integration with the Mikroe software environment. Besides it also includes a clean and regulated power supply block for the development board. It can use various external power sources, including an external 12V power supply, 7-23V AC or 9-32V DC via DC connector/screw terminals, and a power source via the USB Type-B (USB-B) connector. Communication options such as
USB-UART and RS-232 are also included, alongside the well-established mikroBUS™ standard, three display options (7-segment, graphical, and character-based LCD), and several different DIP sockets. These sockets cover a wide range of 8-bit PIC MCUs, from PIC10F, PIC12F, PIC16F, PIC16Enh, PIC18F, PIC18FJ, and PIC18FK families. EasyPIC v7 is an integral part of the Mikroe ecosystem for rapid development. Natively supported by Mikroe software tools, it covers many aspects of prototyping and development thanks to a considerable number of different Click boards™ (over a thousand boards), the number of which is growing every day.
Microcontroller Overview
MCU Card / MCU
Architecture
PIC
MCU Memory (KB)
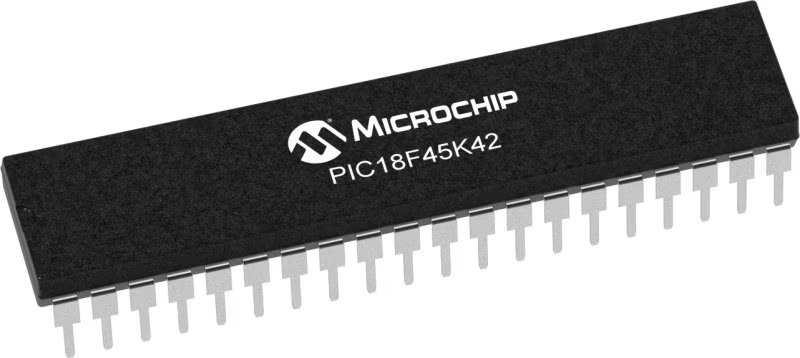
32
Silicon Vendor
Microchip
Pin count
40
RAM (Bytes)
2048
You complete me!
Accessories
Microphone with PH2.0 female connector is an analog-type omnidirectional electret microphone, an electrostatic capacitor-based microphone, and is available with a lead terminated in a PH2.0 female connector. This microphone eliminates the need for a polarizing power supply by using permanently-charged material. With operating frequencies ranging from 100 to 20.000Hz, the microphone features sensitivity ratings as low as -40dB (±3) and signal-to-noise ratios from 57 to 70dBA (typical 60dBA). Housed in a compact package with diameters as small as 6mm, this omnidirectional microphone is ideally suited for various high-quality recordings in industrial and outdoor applications where moisture and environmental contaminants are present.
Speaker with PH2.0 female connector is an 8Ω 2W portable all-in-one passive cavity speaker available in wire-lead mount configuration with a PH2.0 female connector with an operating frequency of 100kHz. This speaker is characterized by a long service life based on excellent build-material and technology, which enhance its service life, making it convenient and reliable. It is also built on strict quality control standards (design improved for more durability) with a low distortion rate, keeping the sound stable (clear sound quality providing superb music reproductions). Housed in a compact package with dimensions of 40×20×5.8mm (LxWxH), this cavity loudspeaker offers stable performance ideally suited for various audio-producing applications in consumer, medical, security, and many more.
Used MCU Pins
mikroBUS™ mapper
Take a closer look
Click board™ Schematic

Step by step
Project assembly
Software Support
Library Description
This library contains API for SpeakUp 3 Click driver.
Key functions:
speakup3_generic_readThis function reads a desired number of data bytes by using UART serial interface.speakup3_wait_for_replyThis function waits up to @b wait_ms for a reply to the voice command.
Open Source
Code example
The complete application code and a ready-to-use project are available through the NECTO Studio Package Manager for direct installation in the NECTO Studio. The application code can also be found on the MIKROE GitHub account.
/*!
 * @file main.c
 * @brief SpeakUp 3 Click Example.
 *
 * # Description
 * This example demonstrates the use of the SpeakUp 3 Click board by reading
 * and displaying the voice commands reply messages.
 *
 * The demo application is composed of two sections :
 *
 * ## Application Init
 * Initializes driver and logger.
 *
 * ## Application Task
 * Waits for the reply message to a voice command and displays it on the USB UART.
 *
 * ## Additional Function
 * - static void speakup3_display_reply ( void )
 *
 * @author Stefan Filipovic
 *
 */

#include "board.h"
#include "log.h"
#include "speakup3.h"

static speakup3_t speakup3;
static log_t logger;

/**
 * @brief SpeakUp 3 display reply function.
 * @details This function displays on the USB UART the reply message for the selected
 * reply instruction code.
 * @param[in] reply_ins : Reply instruction code.
 * @return None.
 * @note None.
 */
static void speakup3_display_reply ( uint8_t reply_ins );

void application_init ( void )
{
    log_cfg_t log_cfg;  /**< Logger config object. */
    speakup3_cfg_t speakup3_cfg;  /**< Click config object. */

    /**
     * Logger initialization.
     * Default baud rate: 115200
     * Default log level: LOG_LEVEL_DEBUG
     * @note If USB_UART_RX and USB_UART_TX
     * are defined as HAL_PIN_NC, you will
     * need to define them manually for log to work.
     * See @b LOG_MAP_USB_UART macro definition for detailed explanation.
     */
    LOG_MAP_USB_UART( log_cfg );
    log_init( &logger, &log_cfg );
    log_info( &logger, " Application Init " );

    // Click initialization.
    speakup3_cfg_setup( &speakup3_cfg );
    SPEAKUP3_MAP_MIKROBUS( speakup3_cfg, MIKROBUS_1 );
    if ( UART_ERROR == speakup3_init( &speakup3, &speakup3_cfg ) )
    {
        log_error( &logger, " Communication init." );
        for ( ; ; );
    }

    log_info( &logger, " Application Task " );
}

void application_task ( void )
{
    uint8_t reply_ins;
    if ( SPEAKUP3_OK == speakup3_wait_for_reply ( &speakup3, &reply_ins, 1000 ) )
    {
        speakup3_display_reply ( reply_ins );
    }
}

int main ( void )
{
    /* Do not remove this line or clock might not be set correctly. */
    #ifdef PREINIT_SUPPORTED
    preinit();
    #endif

    application_init( );

    for ( ; ; )
    {
        application_task( );
    }

    return 0;
}

static void speakup3_display_reply ( uint8_t reply_ins )
{
    log_printf( &logger, " Reply: " );
    switch ( reply_ins )
    {
        case SPEAKUP3_INS_ENTER_WAKE_UP:
        {
            log_printf( &logger, "Hi, how can I help? / Hi, what's up? / Yes, I'm here.\r\n" );
            break;
        }
        case SPEAKUP3_INS_EXIT_WAKE_UP:
        {
            log_printf( &logger, "See you later.\r\n" );
            break;
        }
        case SPEAKUP3_INS_LEARN_MATCH_AC:
        {
            log_printf( &logger, "OK, match the air conditioner.\r\n" );
            break;
        }
        case SPEAKUP3_INS_AC_TURN_ON:
        {
            log_printf( &logger, "OK, turn on the air conditioner.\r\n" );
            break;
        }
        case SPEAKUP3_INS_AC_TURN_OFF:
        {
            log_printf( &logger, "OK, turn off the air conditioner.\r\n" );
            break;
        }
        case SPEAKUP3_INS_AC_MODE_AUTO:
        {
            log_printf( &logger, "OK, automatic mode.\r\n" );
            break;
        }
        case SPEAKUP3_INS_AC_MODE_COLD:
        {
            log_printf( &logger, "OK, cold mode.\r\n" );
            break;
        }
        case SPEAKUP3_INS_AC_MODE_HEAT:
        {
            log_printf( &logger, "OK, heat mode.\r\n" );
            break;
        }
        case SPEAKUP3_INS_AC_MODE_DRY:
        {
            log_printf( &logger, "OK, dry mode.\r\n" );
            break;
        }
        case SPEAKUP3_INS_AC_MODE_FAN:
        {
            log_printf( &logger, "OK, fan mode.\r\n" );
            break;
        }
        case SPEAKUP3_INS_AC_MODE_SLEEP:
        {
            log_printf( &logger, "OK, sleeping mode.\r\n" );
            break;
        }
        case SPEAKUP3_INS_AC_WIND_AUTO:
        {
            log_printf( &logger, "OK, automatic fan.\r\n" );
            break;
        }
        case SPEAKUP3_INS_AC_WIND_LOW:
        {
            log_printf( &logger, "OK, low fan.\r\n" );
            break;
        }
        case SPEAKUP3_INS_AC_WIND_MID:
        {
            log_printf( &logger, "OK, medium fan.\r\n" );
            break;
        }
        case SPEAKUP3_INS_AC_WIND_HIGH:
        {
            log_printf( &logger, "OK, high fan.\r\n" );
            break;
        }
        case SPEAKUP3_INS_AC_WIND_INC:
        {
            log_printf( &logger, "OK, higher the fan.\r\n" );
            break;
        }
        case SPEAKUP3_INS_AC_WIND_DEC:
        {
            log_printf( &logger, "OK, lower the fan.\r\n" );
            break;
        }
        case SPEAKUP3_INS_AC_TMP_16:
        {
            log_printf( &logger, "OK, sixteen centigrade.\r\n" );
            break;
        }
        case SPEAKUP3_INS_AC_TMP_17:
        {
            log_printf( &logger, "OK, seventeen centigrade.\r\n" );
            break;
        }
        case SPEAKUP3_INS_AC_TMP_18:
        {
            log_printf( &logger, "OK, eighteen centigrade.\r\n" );
            break;
        }
        case SPEAKUP3_INS_AC_TMP_19:
        {
            log_printf( &logger, "OK, nineteen centigrade.\r\n" );
            break;
        }
        case SPEAKUP3_INS_AC_TMP_20:
        {
            log_printf( &logger, "OK, twenty centigrade.\r\n" );
            break;
        }
        case SPEAKUP3_INS_AC_TMP_21:
        {
            log_printf( &logger, "OK, twenty one centigrade.\r\n" );
            break;
        }
        case SPEAKUP3_INS_AC_TMP_22:
        {
            log_printf( &logger, "OK, twenty two centigrade.\r\n" );
            break;
        }
        case SPEAKUP3_INS_AC_TMP_23:
        {
            log_printf( &logger, "OK, twenty three centigrade.\r\n" );
            break;
        }
        case SPEAKUP3_INS_AC_TMP_24:
        {
            log_printf( &logger, "OK, twenty four centigrade.\r\n" );
            break;
        }
        case SPEAKUP3_INS_AC_TMP_25:
        {
            log_printf( &logger, "OK, twenty five centigrade.\r\n" );
            break;
        }
        case SPEAKUP3_INS_AC_TMP_26:
        {
            log_printf( &logger, "OK, twenty six centigrade.\r\n" );
            break;
        }
        case SPEAKUP3_INS_AC_TMP_27:
        {
            log_printf( &logger, "OK, twenty seven centigrade.\r\n" );
            break;
        }
        case SPEAKUP3_INS_AC_TMP_28:
        {
            log_printf( &logger, "OK, twenty eight centigrade.\r\n" );
            break;
        }
        case SPEAKUP3_INS_AC_TMP_29:
        {
            log_printf( &logger, "OK, twenty nine centigrade.\r\n" );
            break;
        }
        case SPEAKUP3_INS_AC_TMP_30:
        {
            log_printf( &logger, "OK, thirty centigrade.\r\n" );
            break;
        }
        case SPEAKUP3_INS_AC_TMP_INC:
        {
            log_printf( &logger, "OK, warmer.\r\n" );
            break;
        }
        case SPEAKUP3_INS_AC_TMP_DEC:
        {
            log_printf( &logger, "OK, cooler.\r\n" );
            break;
        }
        case SPEAKUP3_INS_AC_SWEPT_ON:
        {
            log_printf( &logger, "OK, start to fan.\r\n" );
            break;
        }
        case SPEAKUP3_INS_AC_SWEPT_OFF:
        {
            log_printf( &logger, "OK, stop to fan.\r\n" );
            break;
        }
        case SPEAKUP3_INS_AC_SWEPT_VERT:
        {
            log_printf( &logger, "OK, air swing up and down.\r\n" );
            break;
        }
        case SPEAKUP3_INS_AC_SWEPT_CROSS:
        {
            log_printf( &logger, "OK, air swing left and right.\r\n" );
            break;
        }
        case SPEAKUP3_INS_SET_RESTORE:
        {
            log_printf( &logger, "OK, air conditioner reset.\r\n" );
            break;
        }
        default:
        {
            log_printf( &logger, "Unknown.\r\n" );
            break;
        }
    }
}

// ------------------------------------------------------------------------ END
