Say goodbye to dry skin troubles with FDC2112 and STM32F373VC
Stay glowing and healthy with instant skin moisture analysis

Published Nov 07, 2023
Click board™
Moisture click
Dev Board
Fusion for STM32 v8
Compiler
NECTO Studio
MCU
STM32F373VC
Our moisture detection solution takes the guesswork out of skincare, enabling you to maintain healthy, glowing skin with precise hydration analysis at your fingertips.
A
A
Hardware Overview
How does it work?
Moisture Click is based on the FDC2112, a very precise 12bit capacitance to digital converter, from Texas Instruments. The working principle of the Moisture Click is based on measuring the skin capacitance property in order to determine the skin moisture level or hydration state of the outer epidermis. The studies show that various skin hydration measurement methods are complementary and no single method gives 100% accurate result for all skin conditions. However, measurement of the capacity turned out to be the most effective and reliable of measuring the skin hydration. The main challenge for all the capacitive sensing applications is the presence of EMI and noise, which can reduce the sensitivity. The FDC2112 IC employs an innovative narrow band architecture, which reduces the electromagnetic interferences (EMI) and noise influence. It uses an L-C resonator, (L-C tank) and monitors changes of its resonant frequency, which occurs as a result of a change in the capacitance. The IC features an internal referent frequency generator, which is compared with the measured oscillation frequency of the L-C tank. The 16bit conversion result is stored on the 12bit output registers, and it is available via the I2C interface. The digital gain function allows a higher dynamic
range of the measurement to be obtained, by shifting the internal 16bit value. The device features 2 internal sensing channels, of which only one is required for this application. There are two connections, IN0A and IN0B, forming the necessary L-C resonator circuit, along with the copper trace that serves as the capacitance sensor. By placing a finger on the pad, the capacitance of the resonator is changed, and the frequency is shifted. This frequency shift is measured and stored at the output registers. The working parameters of this circuit can be configured by the appropriate registers, such for example - the input deglitch filter which suppresses EMI and ringing above the sensor frequency, conversion time, sequencing mode through the channels, and so on. The FDC2112 datasheet offers a complete description of all the registers and their functions. There are two power modes available, used to reduce the power consumption. The device goes into the Sleep mode right after the POR (Power-ON Reset), waiting to be configured. When the Sleep Mode Enable bit in the status register is cleared, the device enters the Normal mode, ready to make measurements. The manufacturer recommends configuring the device only while in the Sleep mode. If frequent data acquisition is not
required, the device can be put into the Sleep mode between the readings, saving power that way. The configuration data is retained in this mode, and the I2C interface is operational. The configurable INTB pin of the FDC2112 IC can be used for the host controller notification. It can be configured to notify the host MCU for a range of different functions, including data ready event, watchdog error, amplitude too low or too high error, etc. Each of these events can be set to raise a flag and be reported by asserting the INTB pin. This pin is open-drain configuration and it is pulled to a LOW logic level when asserted. It is routed to the mikroBUS™ INT pin. I2C address of the FDC2112 IC can be selected with the SMD jumper labeled as ADD SEL. This jumper sets the state of the least significant bit (LSB) of the I2C slave address, to either 0 or 1, according to the jumper position it occupies (labeled as 0 and 1). Lines of the I2C interface are routed to the appropriate mikroBUS™ pins (SCL and SDA) providing an easy and reliable connection with the host MCU. This Click board™ requires only 3.3V for the operation and it should not be interfaced with the MCUs operating with 5V signal levels without a proper logic voltage level shifter.

Features overview
Development board
Fusion for STM32 v8 is a development board specially designed for the needs of rapid development of embedded applications. It supports a wide range of microcontrollers, such as different 32-bit ARM® Cortex®-M based MCUs from STMicroelectronics, regardless of their number of pins, and a broad set of unique functions, such as the first-ever embedded debugger/programmer over WiFi. The development board is well organized and designed so that the end-user has all the necessary elements, such as switches, buttons, indicators, connectors, and others, in one place. Thanks to innovative manufacturing technology, Fusion for STM32 v8 provides a fluid and immersive working experience, allowing
access anywhere and under any circumstances at any time. Each part of the Fusion for STM32 v8 development board contains the components necessary for the most efficient operation of the same board. An advanced integrated CODEGRIP programmer/debugger module offers many valuable programming/debugging options, including support for JTAG, SWD, and SWO Trace (Single Wire Output)), and seamless integration with the Mikroe software environment. Besides, it also includes a clean and regulated power supply module for the development board. It can use a wide range of external power sources, including a battery, an external 12V power supply, and a power source via the USB Type-C (USB-C) connector.
Communication options such as USB-UART, USB HOST/DEVICE, CAN (on the MCU card, if supported), and Ethernet is also included. In addition, it also has the well-established mikroBUS™ standard, a standardized socket for the MCU card (SiBRAIN standard), and two display options for the TFT board line of products and character-based LCD. Fusion for STM32 v8 is an integral part of the Mikroe ecosystem for rapid development. Natively supported by Mikroe software tools, it covers many aspects of prototyping and development thanks to a considerable number of different Click boards™ (over a thousand boards), the number of which is growing every day.

Microcontroller Overview
MCU Card / MCU

Type
8th Generation
Architecture
ARM Cortex-M4
MCU Memory (KB)
256
Silicon Vendor
STMicroelectronics
Pin count
100
RAM (Bytes)
49152
Used MCU Pins
mikroBUS™ mapper
Take a closer look
Schematic

Step by step
Project assembly

Start by selecting your development board and Click board™. Begin with the Fusion for STM32 v8 as your development board.


Track your results in real time
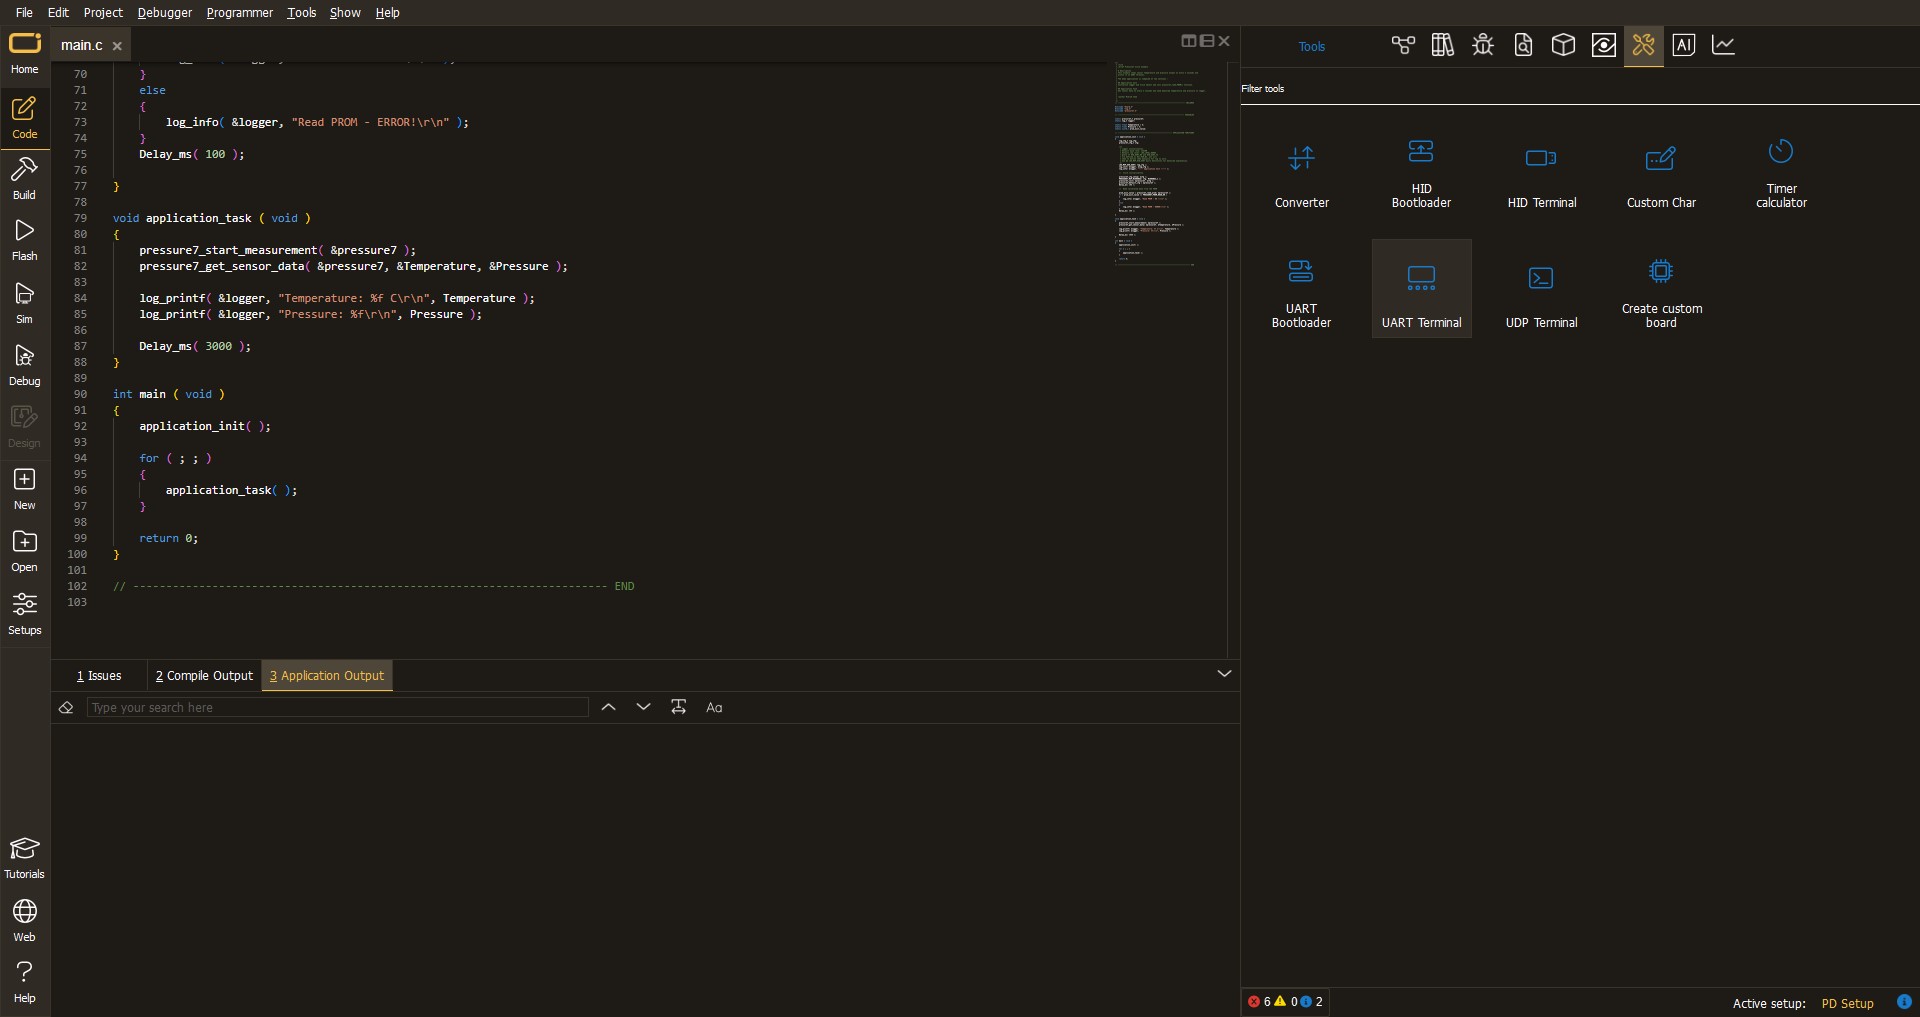
Application Output
After pressing the "FLASH" button on the left-side panel, it is necessary to open the UART terminal to display the achieved results. By clicking on the Tools icon in the right-hand panel, multiple different functions are displayed, among which is the UART Terminal. Click on the offered "UART Terminal" icon.
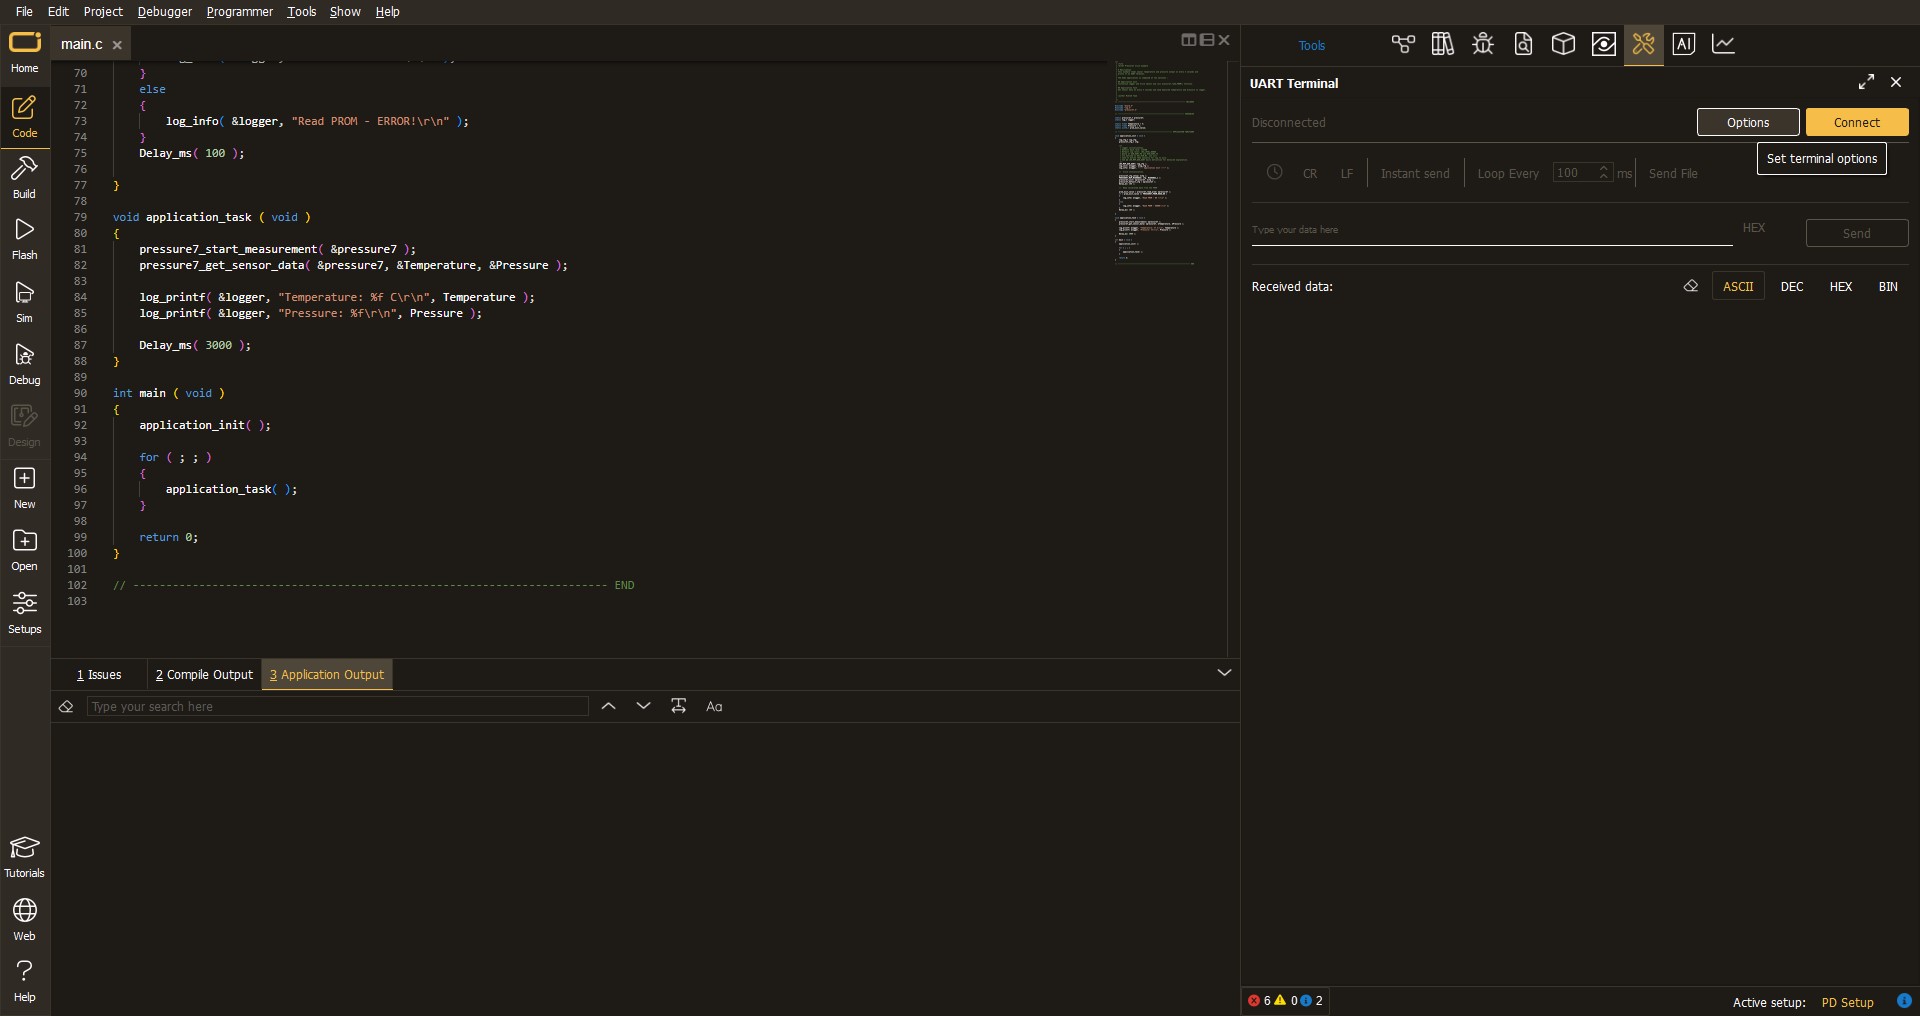
Once the UART terminal is opened, the window takes on a new form. At the top of the tab are two buttons, one for adjusting the parameters of the UART terminal and the other for connecting the UART terminal. The tab's lower part is reserved for displaying the achieved results. Before connecting, the terminal has a Disconnected status, indicating that the terminal is not yet active. Before connecting, it is necessary to check the set parameters of the UART terminal. Click on the "OPTIONS" button.
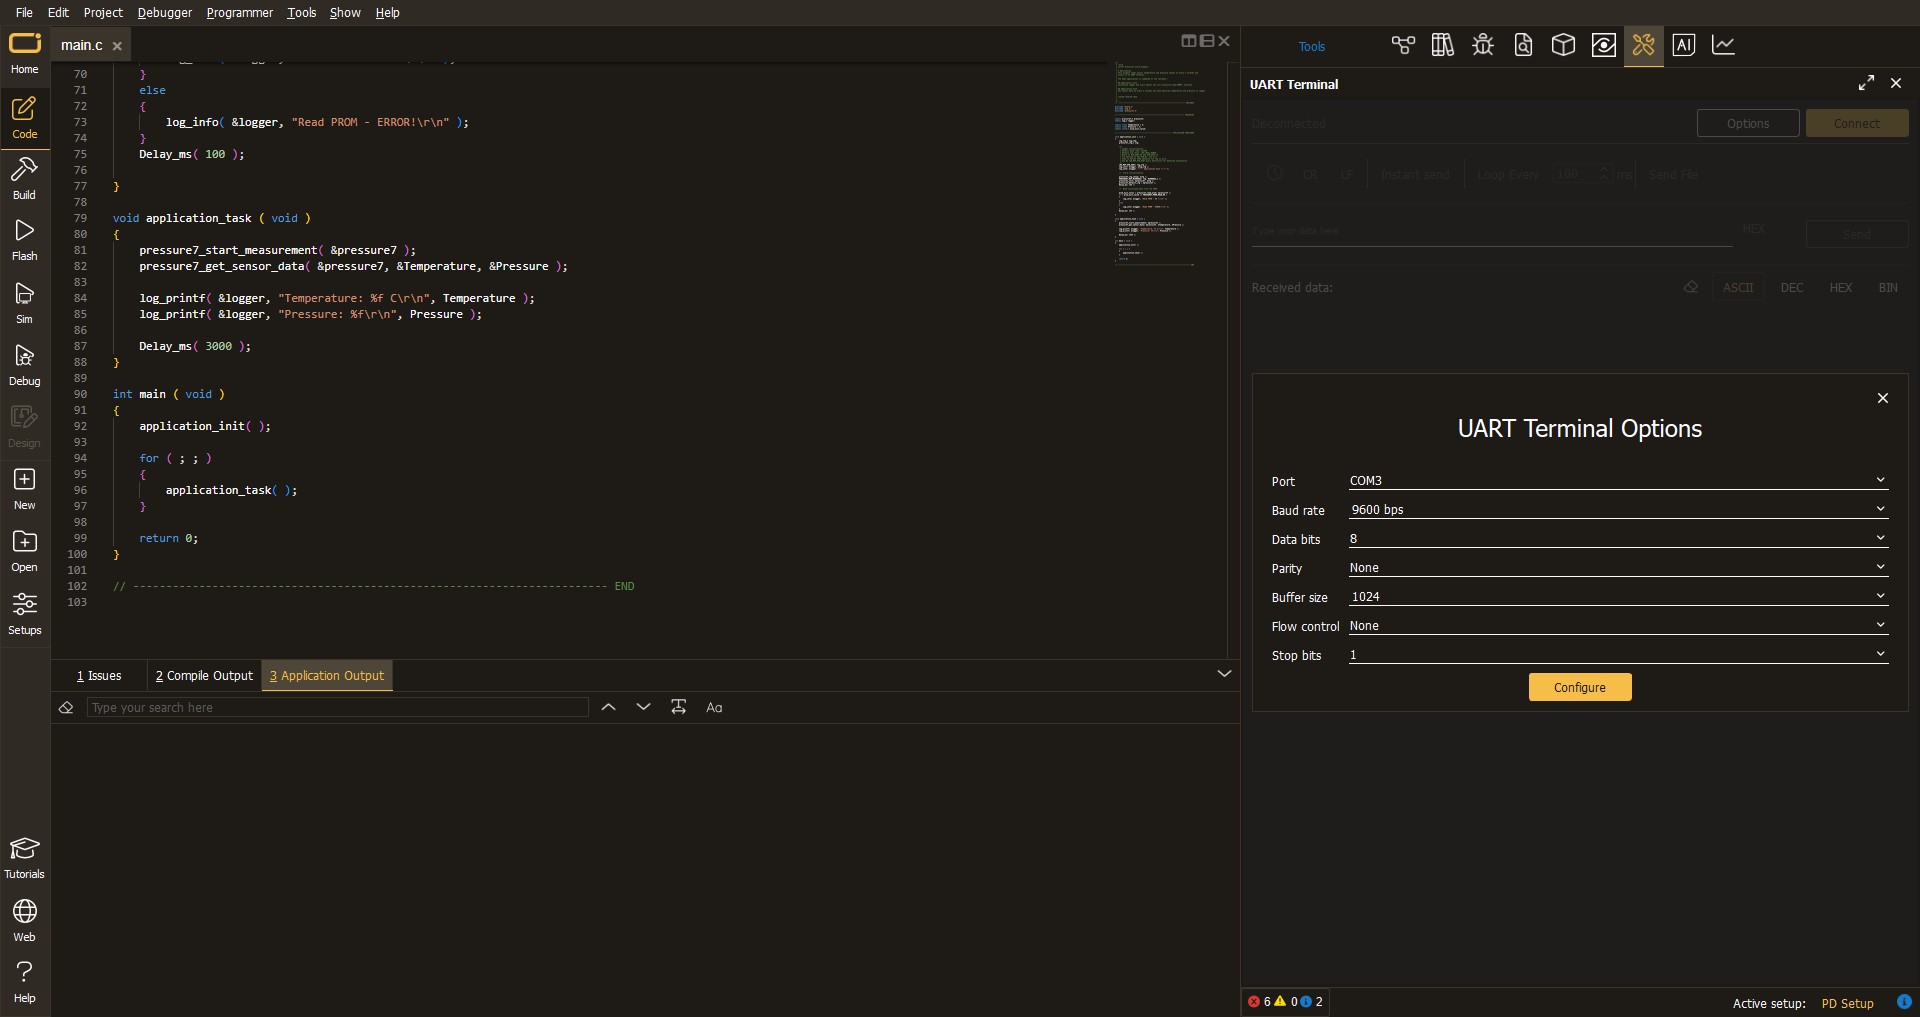
In the newly opened UART Terminal Options field, we check if the terminal settings are correct, such as the set port and the Baud rate of UART communication. If the data is not displayed properly, it is possible that the Baud rate value is not set correctly and needs to be adjusted to 115200. If all the parameters are set correctly, click on "CONFIGURE".
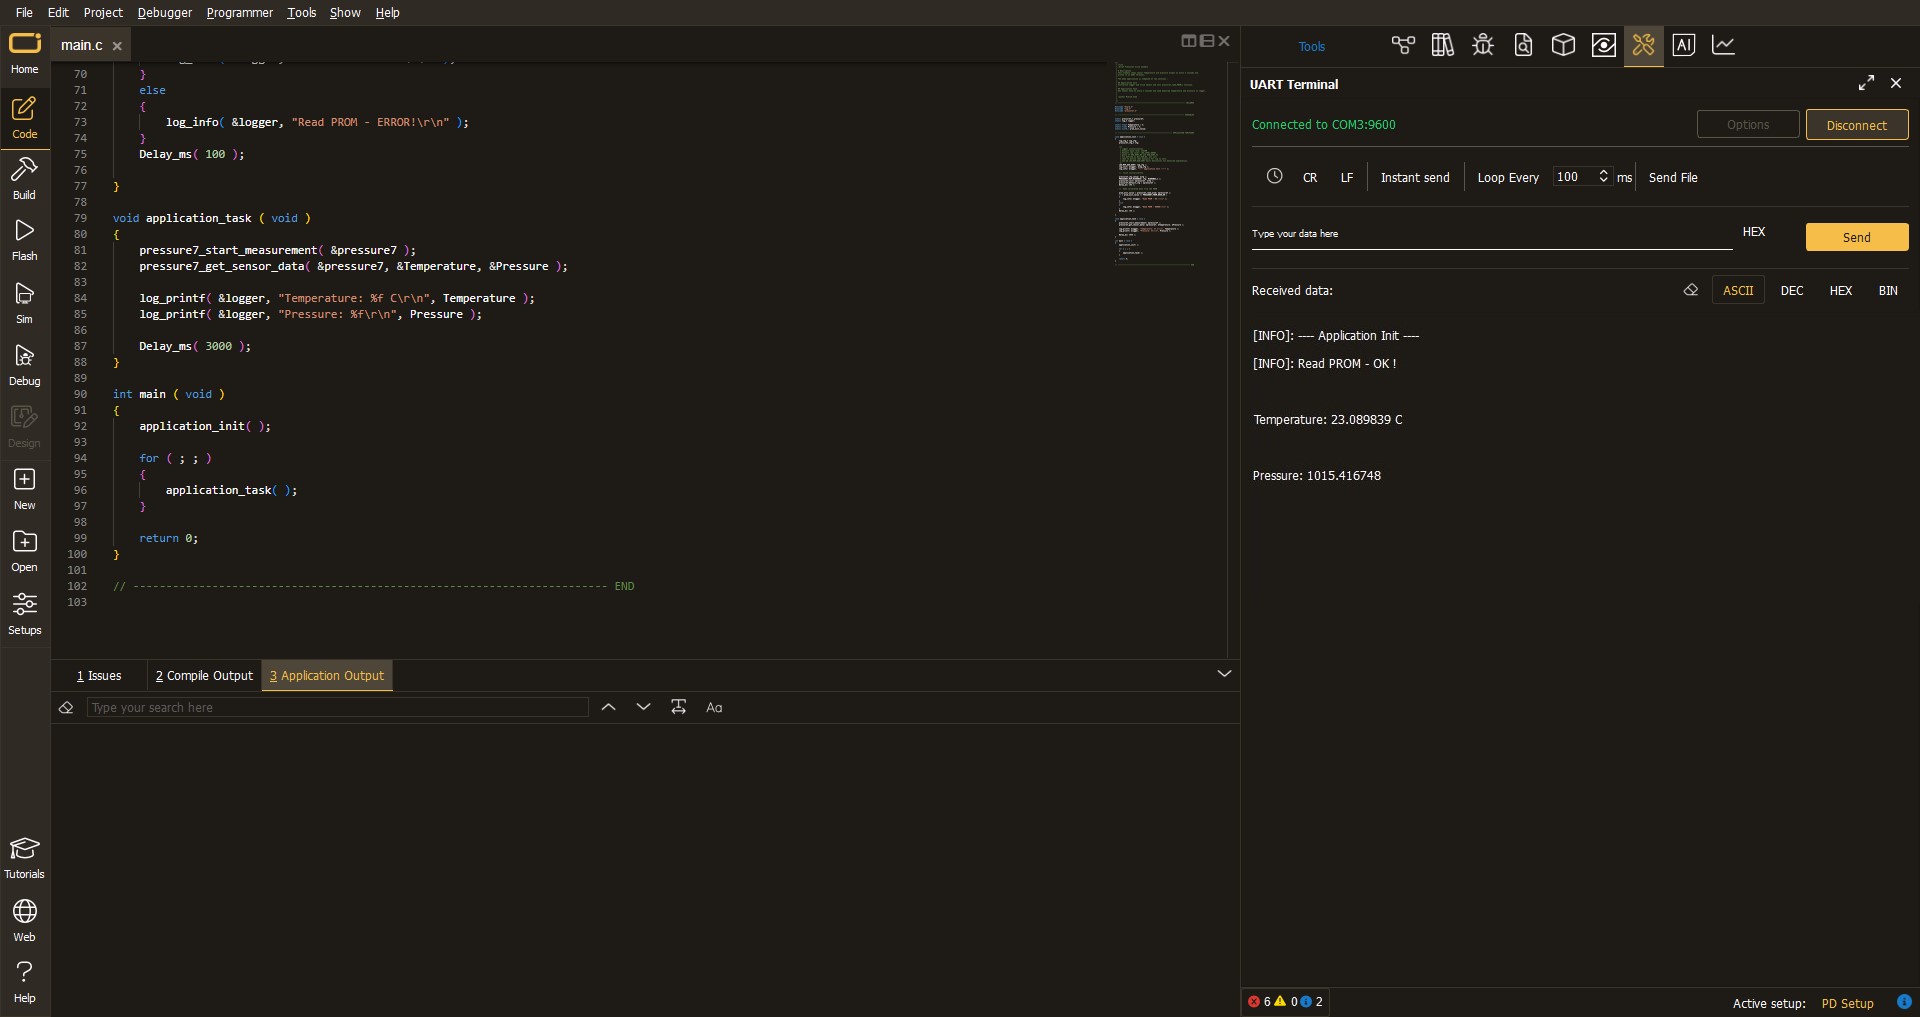
The next step is to click on the "CONNECT" button, after which the terminal status changes from Disconnected to Connected in green, and the data is displayed in the Received data field.
Software Support
Library Description
This library contains API for Moisture Click driver.
Key functions:
moisture_get_data- Measurement data functionmoisture_cfg- Configure device functionmoisture_soft_reset- Soft reset function
Open Source
Code example
This example can be found in NECTO Studio. Feel free to download the code, or you can copy the code below.
/*!
 * \file
 * \brief Moisture Click example
 *
 * # Description
 * The demo application displays relative moisture measurement using Moisture click.
 *
 * The demo application is composed of two sections :
 *
 * ## Application Init
 * Initializes Driver and sets moisture gain, offset data and clock divider
 * and performs calibration of the device. We advise you not to touch,
 * or expose sensor to moisture during the calibration.
 *
 * ## Application Task
 * The device measure moisture and displays data in percentage every 500ms.
 *
 * \author Jovan Stajkovic
 *
 */
// ------------------------------------------------------------------- INCLUDES

#include "board.h"
#include "log.h"
#include "moisture.h"

// ------------------------------------------------------------------ VARIABLES

static moisture_t moisture;
static log_t logger;

static uint8_t moisture_data;
static uint16_t data_res;

// ------------------------------------------------------ APPLICATION FUNCTIONS

void application_init ( void )
{
    log_cfg_t log_cfg;
    moisture_cfg_t cfg;

    /**
     * Logger initialization.
     * Default baud rate: 115200
     * Default log level: LOG_LEVEL_DEBUG
     * @note If USB_UART_RX and USB_UART_TX
     * are defined as HAL_PIN_NC, you will
     * need to define them manually for log to work.
     * See @b LOG_MAP_USB_UART macro definition for detailed explanation.
     */
    LOG_MAP_USB_UART( log_cfg );
    log_init( &logger, &log_cfg );
    log_info( &logger, "---- Application Init ----" );

    //  Click initialization.

    moisture_cfg_setup( &cfg );
    MOISTURE_MAP_MIKROBUS( cfg, MIKROBUS_1 );
    moisture_init( &moisture, &cfg );
    moisture_soft_reset( &moisture );
    Delay_ms( 1000 );

    data_res = moisture_read_word( &moisture, MOISTURE_REG_DEVICE_ID );

    if ( ( data_res != MOISTURE_FDC2112_ID ) && ( data_res != MOISTURE_FDC2212_ID ) )
    {
        log_printf( &logger, "---- Comunication ERROR!!! ---- \r\n" );
        for ( ; ; );
    }
    else
    {
        log_printf( &logger, "---- Comunication OK!!! ---- \r\n" );
    }

    moisture_cfg( &moisture, MOISTURE_OUTPUT_GAIN_x16, MOISTURE_DEFAULT_OFFSET, MOISTURE_CLOCK_DIVIDERS_x10 );
    moisture_default_cfg( &moisture );

    log_printf( &logger, " --- Calibration start --- \r\n" );
    moisture_cal( &moisture );
    Delay_ms( 1000 );

    log_printf( &logger, " --- Calibration finishing --- \r\n" );
}

void application_task ( void )
{
    moisture_data = moisture_get_data( &moisture  );
    log_printf( &logger, " Moisture data : %d \r\n", (int16_t)moisture_data );
    Delay_ms( 500 );
}

void main ( void )
{
    application_init( );

    for ( ; ; )
    {
        application_task( );
    }
}


// ------------------------------------------------------------------------ END


